Sharon Lovejoy on Garden Ideas for Kids

I first met Sharon Lovejoy in the pages of her lovely book Sunflower Houses when I stumbled upon it in the library years ago. I checked it out and was immediately captivated by her whimsical artwork and creative children’s garden projects just begging to be tried.
Consequently, the first project I selected was the namesake of her book, the sunflower house. My two children and I had a fun summer planting and playing in our own sunflower house.

In the years since, I’ve added many of her other books to my collection, each one a treasure trove of ideas and inspiration. Recently, Sharon graciously agreed to let me interview her, and we talked about garden ideas for kids and her own gardening background.
Sharon’s Childhood
In her early years, Sharon’s love for nature was awakened by her Grandmother Lovejoy. Sharon’s parents built a tiny 420 square foot house in her grandmother’s back yard. “The first seven years of my life I lived in her garden …. My parents house was right smack under the peach trees and the apricot trees, and by the pathway of hollyhocks. It was absolutely in her garden,” she said.

Every morning, Sharon ran down the Hollyhock pathway to Grandma’s house. The two explored outside, planted gardens, created art projects, and baked confections — often using the garden’s bounty.
Those idyllic years inspired Sharon to pursue a life as an artist, herbalist, writer, and all-around creative. She fills her books with gardening adventures galore that any child and child-at-heart will love.
Cultivate A Gardening Life with Your Kids
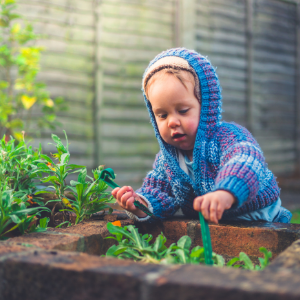
Just as she was, Sharon wholeheartedly believes that children need to be outside in the fresh air and sunshine. “Outside nurtures us. Inside takes away,” she said.
In her young adult years, she followed that advice with her own family. “I started taking my son Noah out into the garden when he was just 10 days old,” she said. “I grew herbs …. I would hold his little hand and brush it over things and hold things up to him and talk to him about them. He does that with his own children now.”
Sharon believes that even if your family has never gardened, you can change that. “The garden can become a tradition, and once it’s a tradition, it’s part of your family history,” she said.
I think we can all agree that sounds wonderful, but how do you go about actually doing it, especially if gardening hasn’t been in your DNA? Whether you want to plant a toddler garden for little ones, a vegetable patch, or flowers, let’s look at some fun garden ideas for kids from Sharon.
Gardening Projects
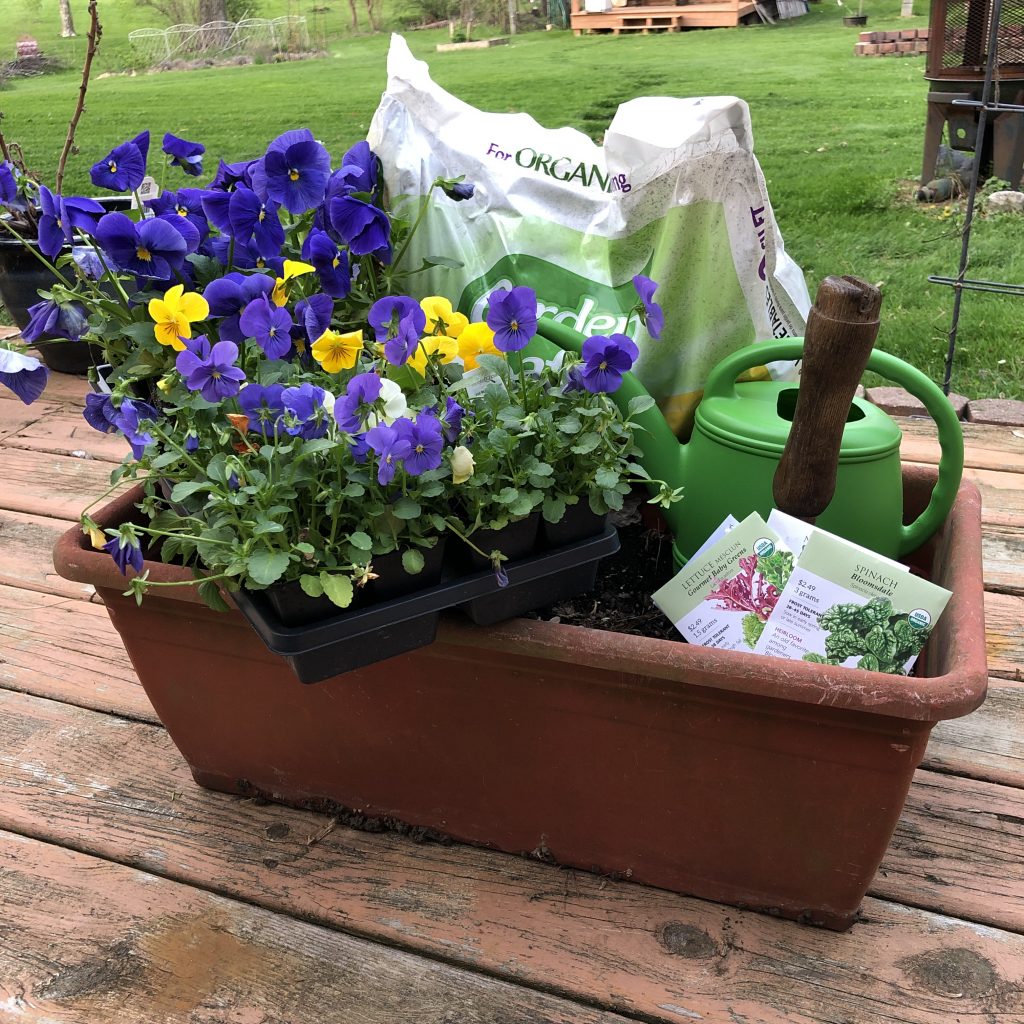
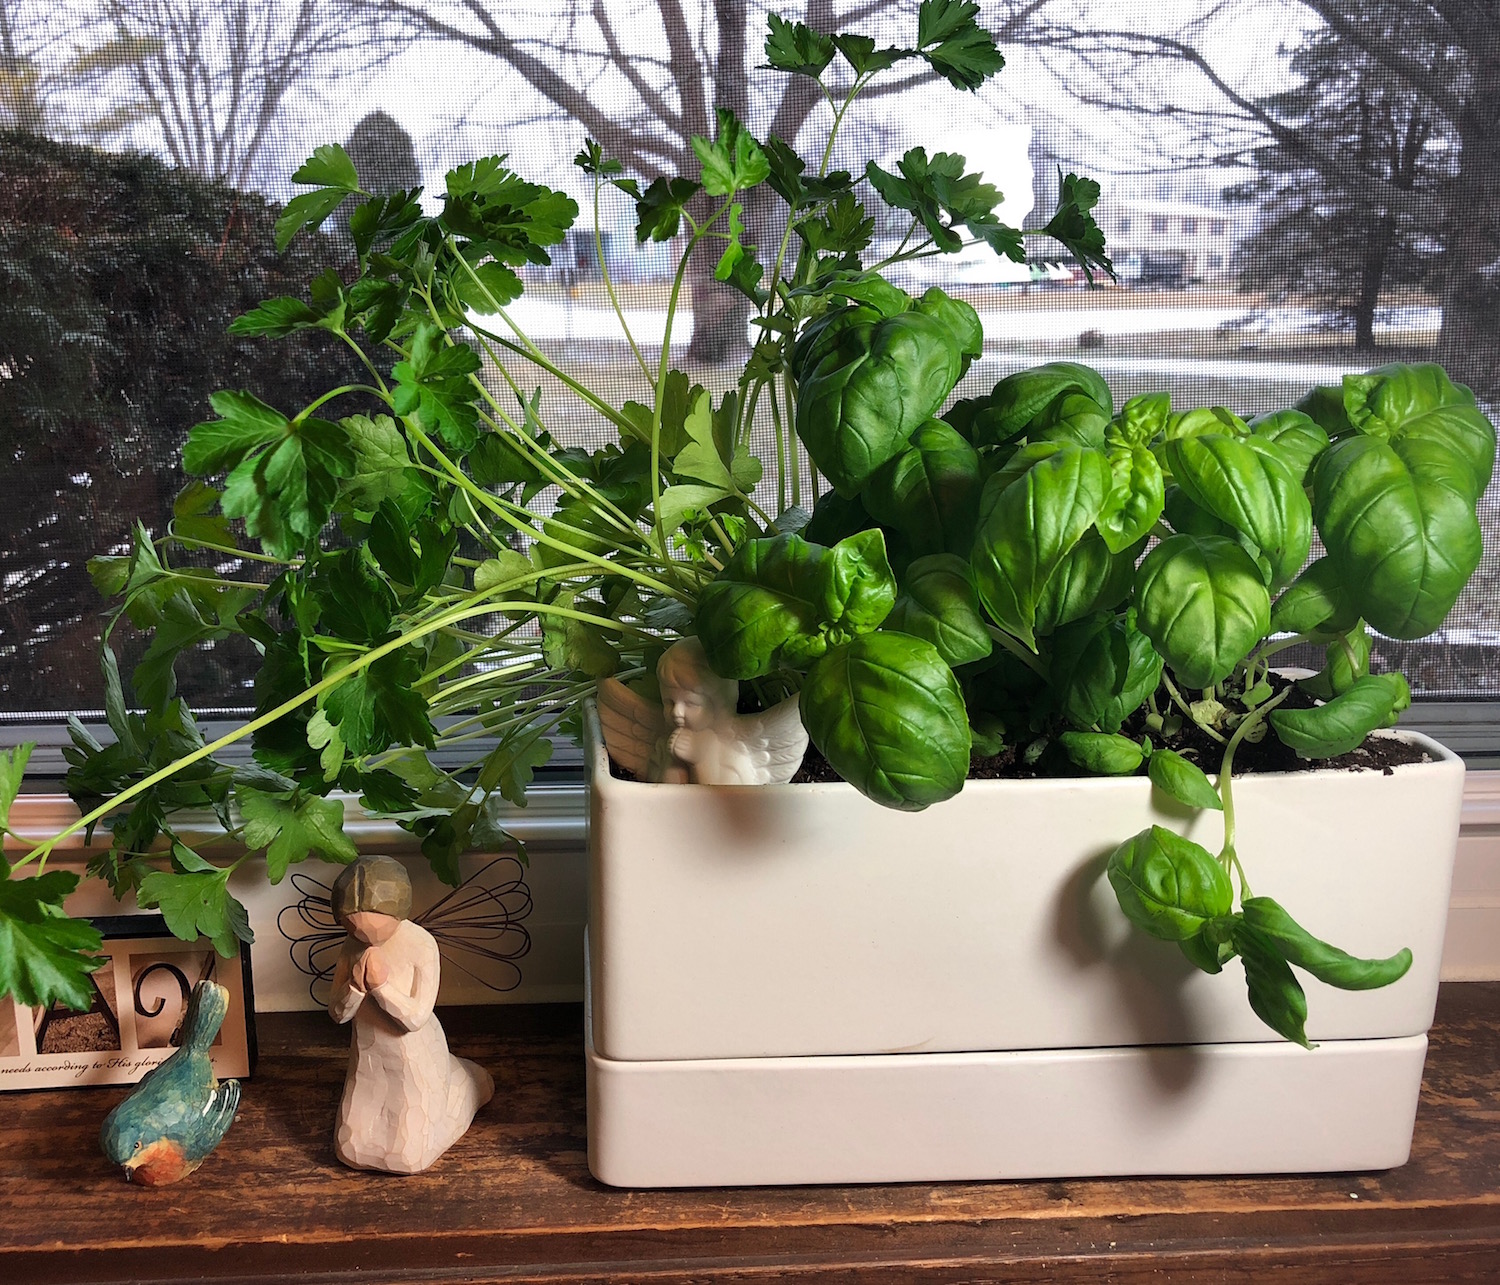
For a first project, a container garden is perfect for children and parents to do together, especially if you don’t want to dig up the yard or don’t have much green space to work with.
Container Gardening in a Half-Barrel
Half barrels or big pots are just right for growing vegetables. You can plant almost anything in them including vegetables, herbs, and flowers. Sharon pointed me to her book Camp Granny on page 141 for the details.
- Put your pot in an area of your yard that receives at least six hours of sun a day.
- Drill a few 1/4 inch or 1/2 inch-size drainage holes in the bottom of the basket or pot (if it doesn’t already have them).
- Cover the drainage holes on the bottom with pieces of screen or cheesecloth so the soil doesn’t fall out of the holes.
- Add a few inches of gravel to the bottom of the barrel (it helps with drainage).
- Fill the pot to the brim with bagged potting soil. If you’re planting a plant rather than seeds, you may have to remove some of the soil to make room. Water thoroughly.
- Plant your seeds or plants following the directions on the package. Water seeds lightly (a spray bottle works for seeds) and plants more thoroughly (a watering can or hose). Always try to water plants from the bottom so you’re not dousing the leaves whenever you water.
Container Garden Ideas
Now let’s look at some ideas on what to plant in the containers.
- Herbs. Some favorites are basil, oregano, dill, parsley, cilantro, rosemary, garlic, and thyme. Take a trip to the nursery, and you’re sure to find some new ones to try too.
- Vegetables. Cherry tomatoes do very well in big pots, as do lettuces, radishes, tiny carrots, squash (remember it will vine out over the pot unless you have a trellis for it to climb), and bell peppers.
- Flowers. Try some edible flowers to add to salads like nasturtiums, violas, pansies, chive blooms, bachelor’s button, and dianthus.
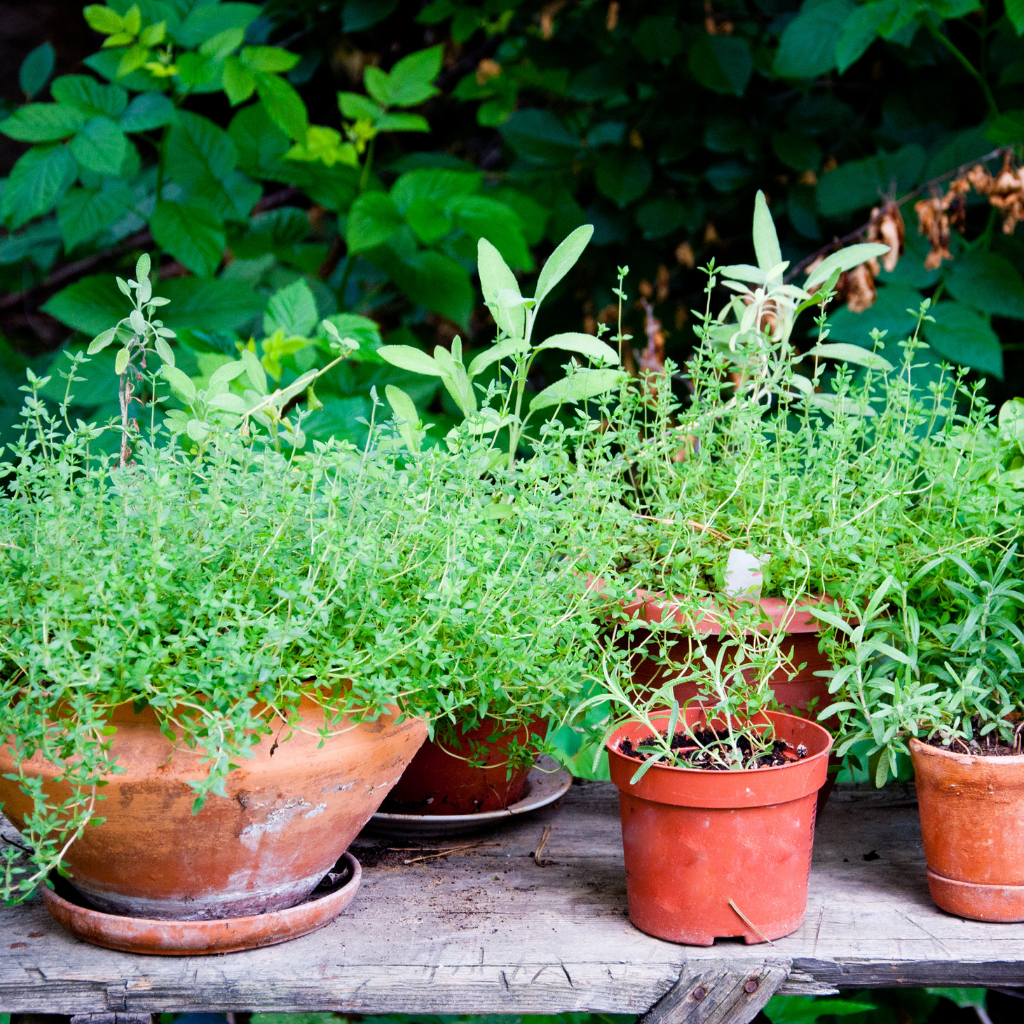
Remember, don’t be afraid to mix the plants. For instance, pair a basil plant with a Roma tomato. Try an edible flower with cut-and-come-again mesclun and chives. It’s fun! For help with this, search the internet for the phrase companion planting.
Sharon’s Container Gardening Tips
Keep Sharon’s best tips for gardening in mind as you and your kids try different projects.
- Put the container garden by your in-and-out door or other high-traffic area so that it’s convenient for your child to access.
- Buy a child-size watering can for your kids. The big ones are hard for children to handle because they get too heavy. Don’t use a hose. The water stream will blast the dirt out of the container and it helps spread any disease lurking in the dirt.
- Buy kid-size yard tools. They are much easier for children to use.
- “The best fertilizer is the gardener’s hands,” Sharon said. “Every day, every day, a mom or a dad or a grandma or an auntie should go outside with the child to check for bad bugs, check for any weeds that might have blown in there, and to make sure that things are moist.”
- No poisons. No sprays. Use fingers to pick things off.
- Talk to your plants.
- Learn the good and bad critters. Her book Trowel and Error has illustrations.
- “Plant a tree for each of your children and let them chart life on that tree. Soon they’ll be saying things like, ‘That tree was that big when I was 6’ ” she said.
- Let children try unusual containers for planting. Sharon leads workshops where kids bring an old pair of shoes or boots to plant in. The children absolutely love it. Just be sure to put in drainage holes.
- Take pictures of your kids in the garden.
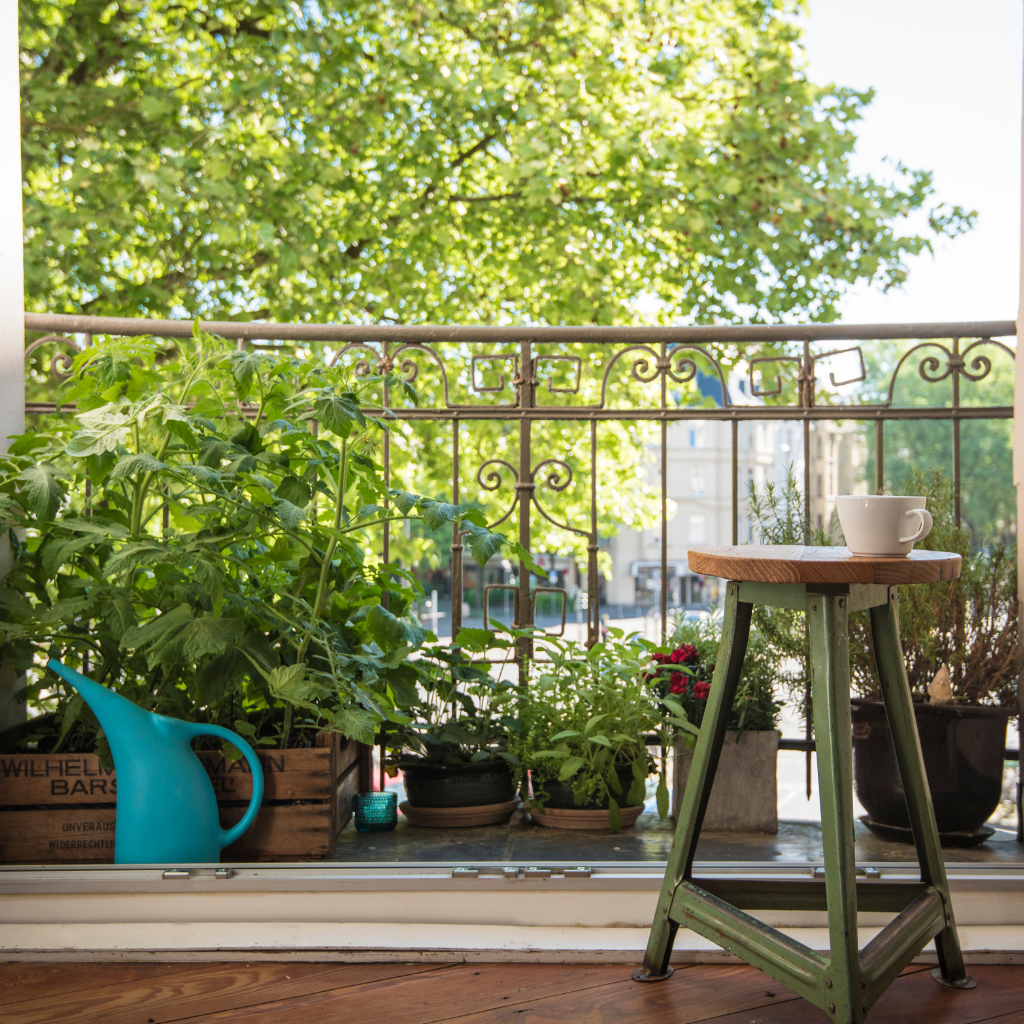
Urban Gardening Ideas
But what if you live in the city and don’t have any or very little green space for gardening? No worries! Sharons has great ideas for urban gardeners too. Try one of these::
Kitchen Garbage Gardens
Now before you think “ewww” and move on, garbage gardens are exciting projects that are all grown indoors using food scraps from your kitchen. Chapter 4 in Sharon’s book Camp Granny is all about garbage gardens and filled with oodles of ideas, but here’s one to get you started.
Citrus Plant
The next time your child eats an orange or other citrus fruit, save the seeds and follow these directions:
- Rinse the seeds and soak overnight in a cup of warm water.
- Fill a 4-inch wide pot or recycled container (like a yogurt cup) with potting soil. Making sure there are drainage holes in the bottom.
- Plant two seeds to a container, one-half inch deep and cover with soil.
- Water it thoroughly and label it.
- Place the pot in a shallow tray or saucer filled with some gravel and water.
- Place the tray in a sunny spot.
- When the soil feels dry to touch (poke your finger about an inch deep in a different spot than where you planted the seeds), it’s time to water again.
- Once the seedlings sprout, keep track of their growth by measuring monthly and recording progress in a nature journal.
- Repot as necessary. Use a natural fertilizer every few weeks.
Indoor Gardening
In her book Trowel & Error, the last section covers indoor gardening projects. Sharon suggests urban gardeners can grow herbs indoors in a sunny south window or under a Gro-light. Try any or all of the following herbs, as they are better situated for indoor growing conditions than some others: rosemary, oregano, savory, chives, thyme, mint, parsley, and sage.
Sharon’s Urban Gardening Tips for Indoor Herbs
- Turn them weekly so they grow evenly
- Talk to them
- Trim them as needed for cooking
- Feed them weekly with a half solution of a balanced fertilizer
- Water as needed
Explorer’s Kit
Perhaps you need to encourage an indoor-loving child to get outside a bit more. What child can resist a kid’s gardening kit? Here’s what Sharon keeps on hand for her grandchildren and other children when they come over:
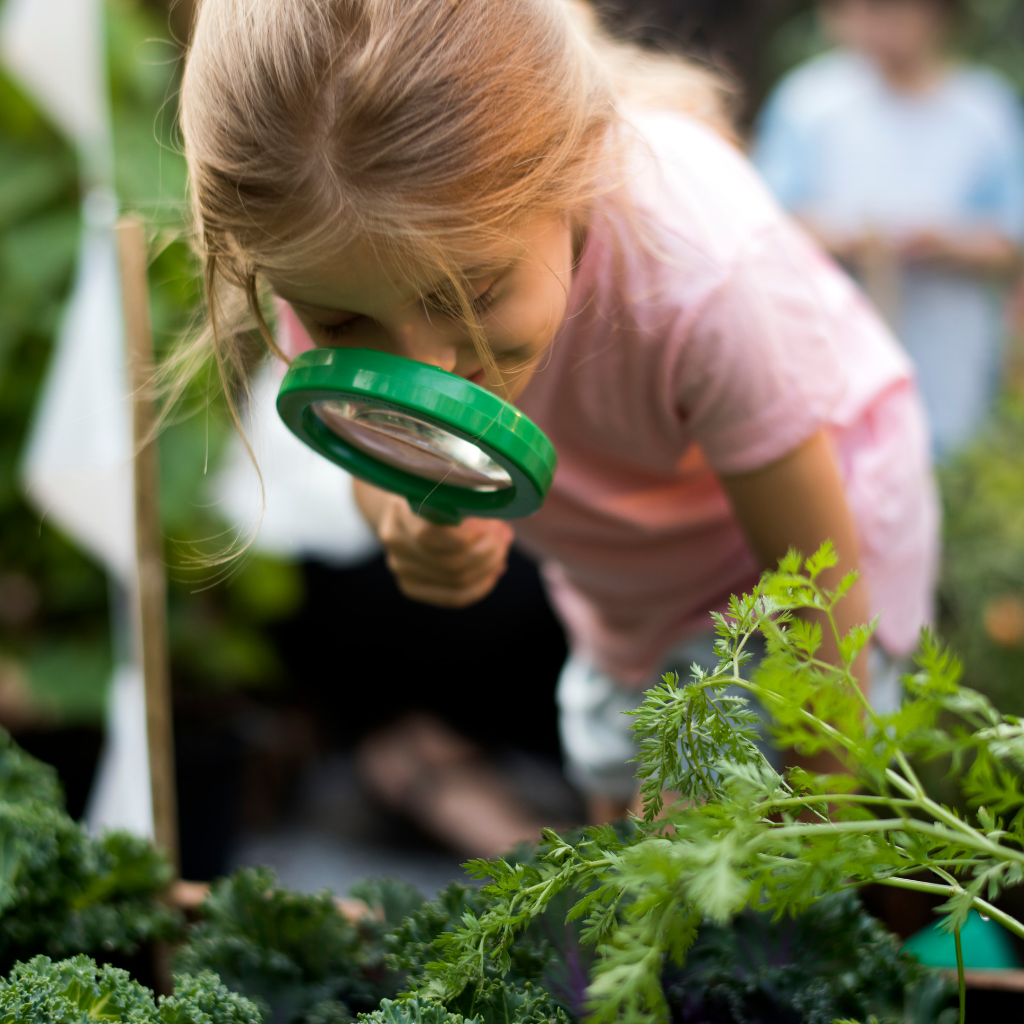
- A magnifying glass to look at the tiny details of plants and insects.
- A notebook or journal for children to write or draw about what they see.
- A sheet of plexiglass to view insects on. They can look at all sides of them through the plexiglass.
- A stethoscope for listening to trees drinking and bugs chewing and boring into the bark.
- A canning jar with a ring lid and a piece of nylon screen to observe insects and then let them go.
- A measuring tape or ruler.
- A camera for those not-to-miss shots in the garden.
- A flashlight to use at night.
Above all, Sharon is a big believer in getting out into the garden everyday with kids to observe it. “There isn’t a day that goes by that I’m not absolutely astonished,” she said. “Paying attention is my daily inspiration.”
A Word About Creativity
Finally, Sharon believes that children are naturally creative. It’s the adults who have often had their creativity stomped out from the ups and downs of life. Adults need to be sure they aren’t stifling the creativity in their children, and perhaps work to recapture their own.

Overall, Sharon said one of the most important things is to do what the poet Mary Oliver says, “Pay attention. Be astonished. Tell about it.”
You can find Sharon Lovejoy online at her website, on Instagram, and on Facebook.
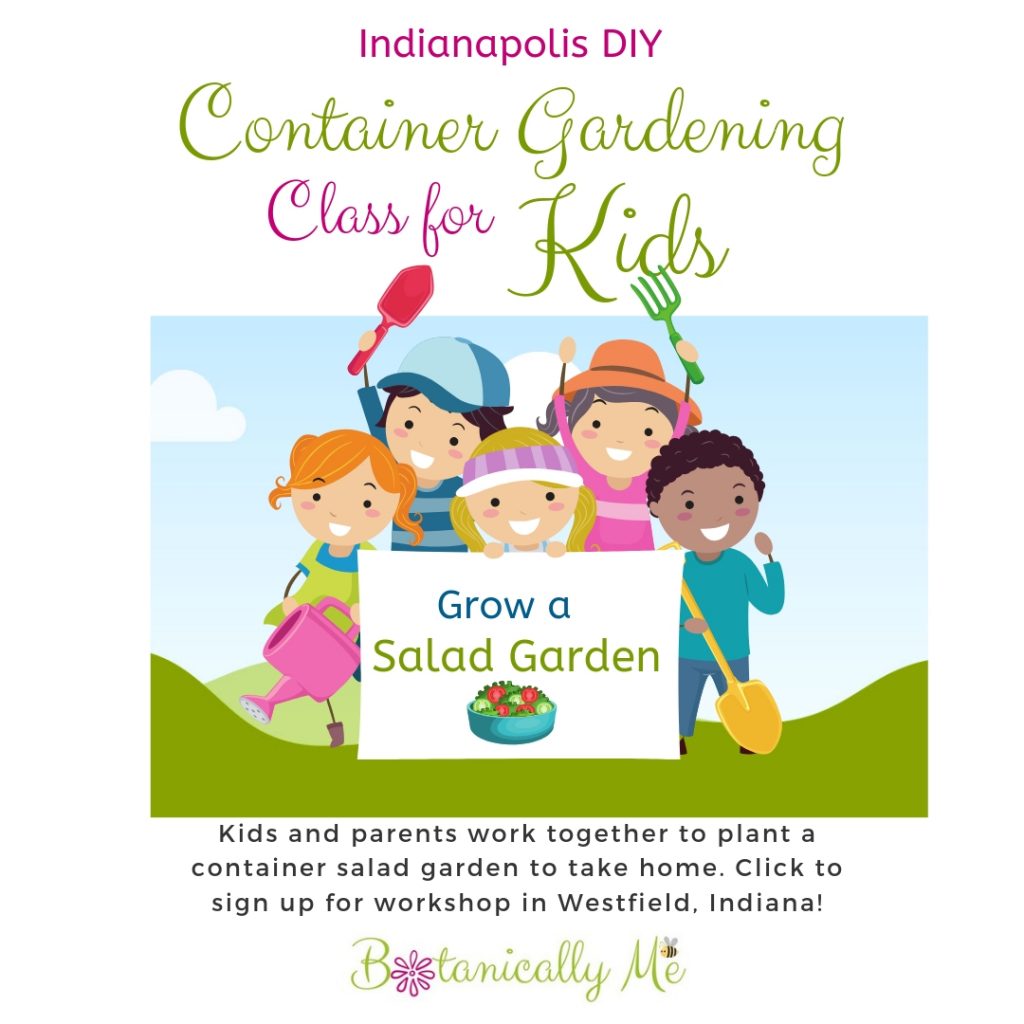
How about you? Are you inspired to try a gardening project with your kids? Let me know what you’ll be planting this summer and fall. If you’d like help with a gardening project, I offer a container gardening workshop in the Indianapolis area for parents and kids to do together. This is a great time to start a container garden for late summer/early fall harvest. Just click on the above link or the picture for details! It’s in Westfield and convenient to Noblesville, Carmel, Fishers, Zionsville, Sheridan, and the surrounding areas.

Just a note, my links to Sharon’s books are Amazon affiliate links, and if you purchase any of them, I will receive a small amount of money from that purchase. Thank you if you do that. It helps me to continue my work!


 where I purchase my dried echinacea root and many other things. I believe you can also purchase from them online. If you can’t find a local source,

