How to Use a Tea Press

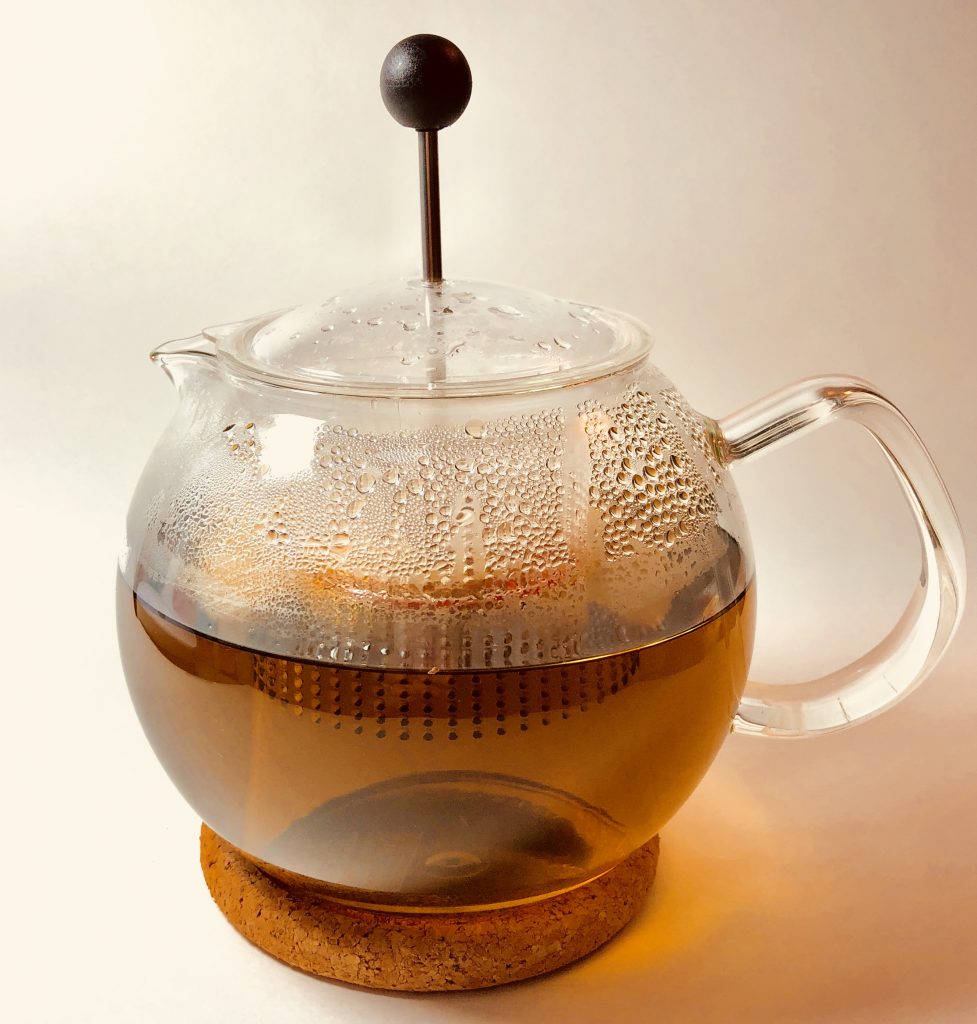
One day I was in Goodwill looking through the kitchen supplies area when I saw a kitchen gadget I’d been wanting to buy for a long time—a tea press! I couldn’t believe it. I breathed a prayer of thanks to God and picked it up. It was a Bodum, a great brand. I had already purchased two glass Bodum teacups several years ago and loved them. I knew the quality of this would match the teacups.

Is a Tea Press and a French Coffee Press the Same Thing?

It may be that you are wondering how to use a tea press too. I recorded this short video to show you how simple it is. Incidentally, a tea press and a French coffee press do the same thing with one difference, so if you have a coffee press, you can use it to make your herb tea. The difference is that when you push the plunger down on the tea press, it stops the tea from steeping any longer. From what I understand, a French coffee press will allow the tea leaves to continue steeping, so you need to pour all of your tea out of the press at that point if you don’t want it any stronger. Also if you have already used your French press for coffee, be sure you wash it thoroughly so that the tea doesn’t taste like coffee.

In the video I mention nettles tea. Yes, this is the same plant that is known as stinging nettle (Urtica spp.). It is a nutritive herb and contains calcium, magnesium, and chlorophyll. It has a green, veggie flavor, but it’s an excellent base tea. You can blend it with other nutritive teas like oat straw, the mints, chamomile, rose, hibiscus, ginger, cinnamon, and so on. In the video, I also mention that it is excellent to add to soup bases. You can either make the tea ahead of time like I do in the video and use that as part of your broth base, or put a few teaspoons of dried nettle in a tea bag and let it steep in the soup while it’s cooking. Just remember to remove it when it’s done.
Let me know if you use a tea press and what type of tea you like to make in it. Have fun experimenting!

Enjoy!

Botanically me,

How To Use a Tea Press from Jane VanOsdol on Vimeo.
SaveSave

SaveSave

SaveSave

SaveSave

SaveSave

SaveSave

SaveSave


Start a New Healthy Habit in 2018

Ready or not, 2018 has arrived! I don’t know about you, but for me 2017 went by in a blur. It was an eventful year with a bucket list trip of my husband’s realized, our first grandchild born, and the loss of my mom. I was stretched in many ways last year.

But that’s now in the past, and this fresh year is waiting, ready to be realized, explored, and developed. Have you set any goals? I’ve always set goals, but haven’t been very good at sticking with them. Over the last few years, I’ve been challenged to live into and lean into my goals, to bring as many of them to reality as possible — because nobody else is going to do it for me! I’m responsible for the direction of my life and what I achieve.

This year I’d like to encourage you to start a new healthy habit. Let’s talk through a few points that will help make this goal stick.

Which Goal Should I Pick?

I like to set goals in different areas, like spiritual, physical, “soulful,” and work. For our purposes, let’s just choose one. After you complete the process, you can then go on to create as many other goals as you would like. Where to start?

Start in the area where you have the greatest need.

Perhaps you feel like your spiritual life has been stagnant and could use a boost, so you can start there. Or maybe your health has taken a beating and you need to make some changes in this area (physical). It could be you’ve realized that you are always last on the priority list, so you need to build some time in your life to do things that feed your soul ( your mind, mood, will, emotions), or perhaps you want to set a goal that focuses on the work you do (this could be your own business, your home with your kids and spouse, your job, or your volunteer work).

Brainstorm ideas and pick one. Now schedule it. Actually write it in your planner/add it to your online calendar. Until you make room for it, it won’t actually happen. If you like, there are some downloadable fun habit tracker worksheets where you check or color in a circle each time you do the new habit. Do whatever motivates and works for you.

Inspiration

Need some inspiration? Start here:

Soul Goal:

  • Choose your one word for the year. I love this goal, because its so simple yet it can touch every area of your life. One word simply means that you choose one word to focus on that seems to apply to you at this phase of your life. For example, my one word for 2018 is consistent because I need to focus on being consistent in some areas of my life, like work. As you think about it, usually one word pops into your mind.

Physical Goal:

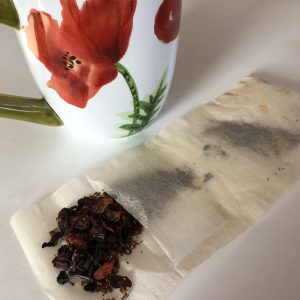
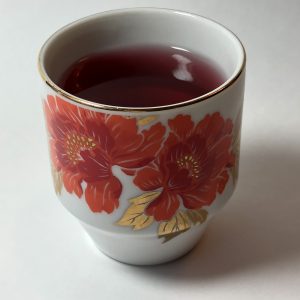
To help support my health, this year I have decided to drink at least one cup of herbal tea each day, and I want to try my own blends (including the one at the right). Herbal tea was actually the go-to medicine for people before the advent of modern medicine, and herbal teas contain wonderful properties that support health.

Here’s the recipe to my blend if you’d like to try it:

Happiness Tea

  • 1 tsp. Hibiscus
  • 1 tsp. Rooibos
  • 1 tsp. Rosehips
  • 1 tsp. Gogi berries.

Pour 2 cups just-boiled water over the top and steep for 15 minutes. Sweeten as desired.

Spiritual Goal:

To encourage my spiritual growth, this year I want to add 30 minutes of prayer to my devotional time in the morning. I’m keeping a prayer notebook to record all my requests and insights too.

Work Goal:

This year I have set the goal to be consistent (there’s that one word) in posting one blog a week.

Now it’s your turn.

What’s one new healthy habit that you can start this year? Let me know what you’re thinking, and I’ll be cheering you on as I work through my goal too!

Botanically me,


SaveSave

SaveSave

SaveSave

SaveSave


Christmas Essential Oil Blend

Lovely miniature nativity made from tree bark and beeswax

Simply thinking of the nativity scene puts me in a Christmas mood.

I love the story of Mary and Joseph traveling to Bethlehem for the census and the arrival of baby Jesus, born in a stable.

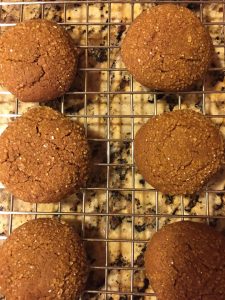
As I think about Christmases past and present, my mind wanders to the people, music, baking, lights, and aromas that I have come to associate with Christmas.We all have our own bank of memories that we draw upon, and I especially love the wonderful smells that mean Christmas to me. Smells like pine trees, and cinnamon sticks. Sweet oranges covered in spicy cloves and gingerbread molasses cookies baking in the oven.

The real thing is always the best, but holiday essential oil blends can make our homes smell good any time we want—we don’t have to be baking or have a Christmas tree in the family room to enjoy our favorite aromas.

DIY Aromatherapy Recipe

So when you’d like a little help in making your home ready for the holidays, here’s a Christmas essential oil DIY recipe I developed that captures the scent of the holidays.

Scent of Christmas

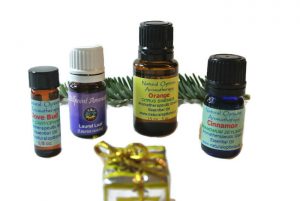
Christmas Scents Essential Oils

  • 5 drops Sweet Orange
  • 3 drops Laurel, Bay
  • 2 drops Cinnamon
  • 2 drops Cloves

Mix all the essential oils together in a small glass bottle and adjust it to your preference. I like to use this synergy in my aromatherapy diffuser. Since it’s only 12 drops, I add it all to my diffuser and turn it on. Run it for about 20 minutes and then turn it off for about  90 minutes. You can cycle it on and off like this.

If you’d like to make more of the recipe for future use, just triple it or quadruple it until you have the amount you’d like, store it in a glass vial, and then add about 10 to 12 drops to your diffuser.

Health Information and a Caution

Not only does this smell good, but laurel is an essential oil that is historically known to be (broad spectrum) antibacterial, antiviral, and an expectorant. So diffusing it is an excellent way to use it, especially during the winter cold and flu season. NOTE: Pregnant women should not use this recipe. Use with caution on children under age 5. Laurel is strong, so refer to an aromatherapy dilution chart for the correct rate for your child’s age.  (Follow the link and scroll down until you see the chart under the tab that says Children). Babies under 4 months of age should generally not use aromatherapy unless under the care of a doctor or clinical aromatherapist.

I hope you enjoy this recipe. Let me know if you have a favorite Christmas recipe.

Merry Christmas!


SaveSave

SaveSave

SaveSave

SaveSave

SaveSave


One Tip On Dealing with a Chronic Disease or Health Crisis


My daughter was 16 when a serious flare-up of her asthma became life-threatening and landed her in the hospital for several days.

What I didn’t realize then is that incident would start a yearlong battle full of twists and turns to help her regain her health. I learned many things during that time, but today I want to share one tip that can make a huge difference if you find yourself in the middle of a health crisis or chronic illness.It’s a simple thing to do, but it can give you an advantage as you wage your fight:

Start a health notebook.

As I said, it’s a simple thing, but creating a notebook will save you so much time and headaches and maybe even a few missteps along the way. Here is how I did it. Tweak it to work for you.

  1. Get a three-ring binder and purchase some tabbed dividers. Fill the notebook with paper and create sections according to your needs. My suggestions: Symptoms, Medications, Doctor visits, Insurance, Nutrition/Diet, Supplements, Research, Resources, School
  2. Put the person’s name in the notebook along with their birthdate. Sometimes a family member who may not know birthdates will be in charge, so put in the birthday and year.
  3. Create a medication list of all the meds the family member is on. Be sure to list the medication name, dosage, how many times a day they take it, and the date they started it. Print the list out and put it in the notebook. Update it every time it changes.
  4. List any vitamins, herbs, essential oils, tinctures, etc. the person is taking. This is important for contraindications for meds.
  5. List any medication allergies in the same section.
  6. In the doctor section, put a printout of every doctor name, telephone and fax number, and address.
  7. Make a few copies of your insurance card and put them in the Insurance section.

How To Use a Health Notebook

This notebook will be a huge help during this stressful phase of your life. Let’s look at a few ways you can use it.

  • Every time you go to a doctor appointment, take the notebook with you. Start a new page, put the date of the appointment, who the doctor is and what was said/decided at the appointment. It is too easy to forget things especially if you’re tired, stressed, or otherwise distracted. Don’t assume that all your doctors are communicating with each other. Hopefully they are, but make sure you update them as to any changes another doctor made in treatment/meds.
  • Between appointments keep track of symptoms/episodes and write them down along with the date and time in the Symptoms section. This can help you detect any patterns.
  • Keep track of any ongoing insurance phone calls/claims/information in that section. Write down the date, who you talked to, and what was said. It’s so much easier to prove what happened when you take careful notes and you’re not hunting around for the scrap of paper you wrote it on.
  • Is the person trying a special diet, such as an elimination diet or gluten-free diet, etc.? Keep a copy of it in the notebook, along with the date it was started and any progress.
  • In the research section, you may want to include any information you have found that you want to show to your doctors. It’s easier to keep a master digital file, but having a printout of that new study you want to discuss with your doctor is helpful when you’re out and about. And this brings up a good point. Be your own best health advocate and research on your own. You have one patient you’re in charge of. Your doctor has many.
    •  Google the condition/disease, research alternative treatments, and pay attention. Being informed is important, and you may find something that will help. For example, when my son was in the hospital suffering from burns, through my research I discovered that protein was

      My son during his hospital stay.

      critical in helping his skin to heal. Every day my daughter and I made/bought protein-rich smoothies for him. He healed more quickly than any of us expected. I don’t know if it was the shakes, but it certainly didn’t hurt him. It’s a good idea to let the nurse/doctor know what you’re doing to make sure it won’t cause any problems.

  • As you find helpful resources, create a list so you’re able to find them again. For example, write down the name of that new product you want to try and how to get it/how much it costs. Write down the name of the specialist your neighbor told you about.
  • If the person is in school, keep track of assignments, notifications to the school, anything the school needs to do/be aware of, and so on.

My daughter and her family today.

These are just a few suggestions. I’m sure you’ll think of many more. I’ve created and used these health notebooks four times in my life, and each time they made a difficult season of life much easier to navigate. I hope they do for you too. I’m praying for you! Let me know your thoughts on how to use it.

Botanically yours,


SaveSave

SaveSave

SaveSave

SaveSave

SaveSave

SaveSave

SaveSave

SaveSave

SaveSave

SaveSave

SaveSave

SaveSave

SaveSave


Aromatherapy Inhalers for Kids


I was leading an aromatherapy workshop several months ago with a group of moms and their kids. At that particular workshop, the popular items were aromatherapy inhalers. They just couldn’t get enough of them. One of the moms shared with me that her young son “John” has a hard time settling down to do his homework in the evening. So we decided to let him make his own inhaler that he could use at home when it was homework time.

John “sniff tested” several of the essential oils to see what he liked and wanted in his blend. He came up with two essential oils that I hadn’t really thought about combining before, but he loved them: cinnamon and lemongrass. John and his mom worked together to make the essential oil inhaler, and then he proudly passed it around for everyone there to smell.

We were all so captivated by his choice that a couple of the other moms decided to make that same personal inhaler for either themselves or their children.

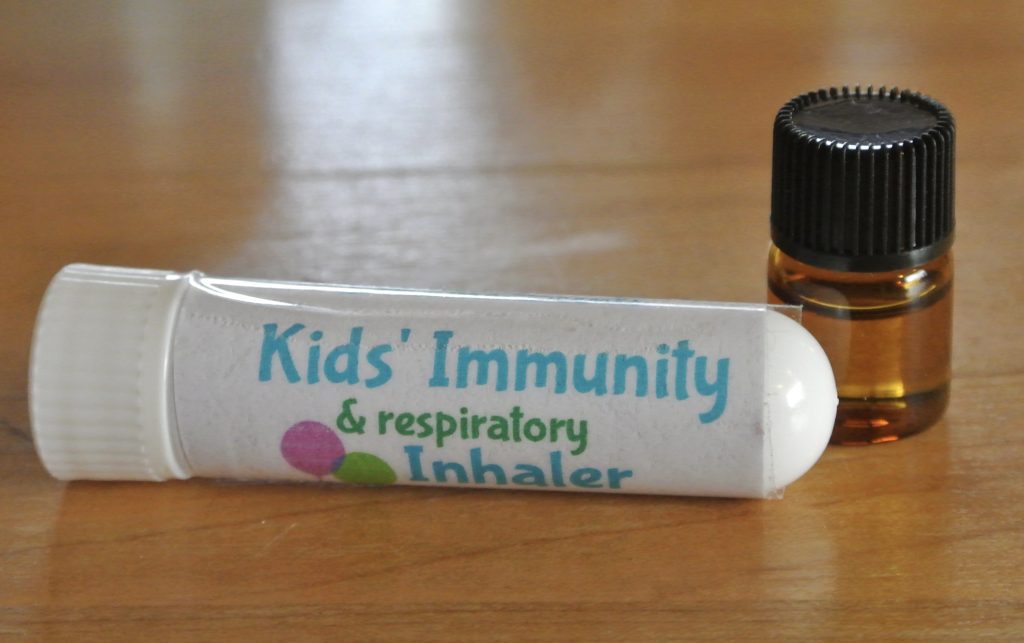
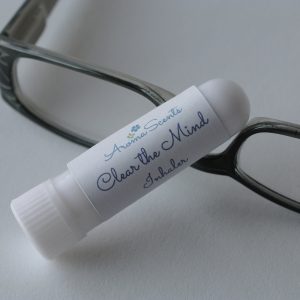
Perhaps you’ve not tried aromatherapy inhalers before. They look just like the Vicks tube inhalers that were popular years ago. And they make a wonderfully portable aromatherapy experience.

 Benefits of Aromatherapy Inhalers

  • They are small and easily slide into your pocket or purse.
  • They are customizable to the condition you’re trying to address: stress, chest congestion, sleep, lack of energy, and a fuzzy mind just to name a few.
  •  Many of them are refreshable.
  • They are inexpensive. They usually last for several months.

If you’d like to make your own inhalers, you can easily find the blank inhalers online. Here’s John’s recipe to get you started. The dilution rate of the essential oils are in an amount that is safe for an elementary-aged child. As always, if your child is on any medication, please check WebMd.com for possible interactions between the essential oils and the medication.

Settle Down Inhaler

  • 1 blank inhaler (with cotton insert)
  • 5 drops of lemongrass (Cymbopogon citratus)
  • 3 drops of cinnamon (Cinnamomum zeylanicum)

Directions: Mix the drops of essential oils in a small glass. Take the cotton insert and absorb the drops. Put the insert in the inhaler and snap on the bottom cap. You may have to press very hard to get it on correctly. It’s now ready to use.

If you don’t want to go to the trouble of making your own, you can purchase inhalers from my Etsy shop. These are very easy for me to customize, so if you don’t see the one you want, hit the orange Request Custom Order button on the left side of my Etsy page and let me know what you would like.

Do you have a favorite recipe for essential oil inhalers? If so, please share it in the comments below.

Botanically yours,


SaveSave


From Garden to Table: 4 Ways to Use Nasturtium

Have you looked out the window at your garden lately? The beginning of August is prime garden season in Indiana where I am. Most of the plants that l planted back in April and May are growing like mad. It’s time to start reaping the benefits of these beautiful blooms. Where to start?

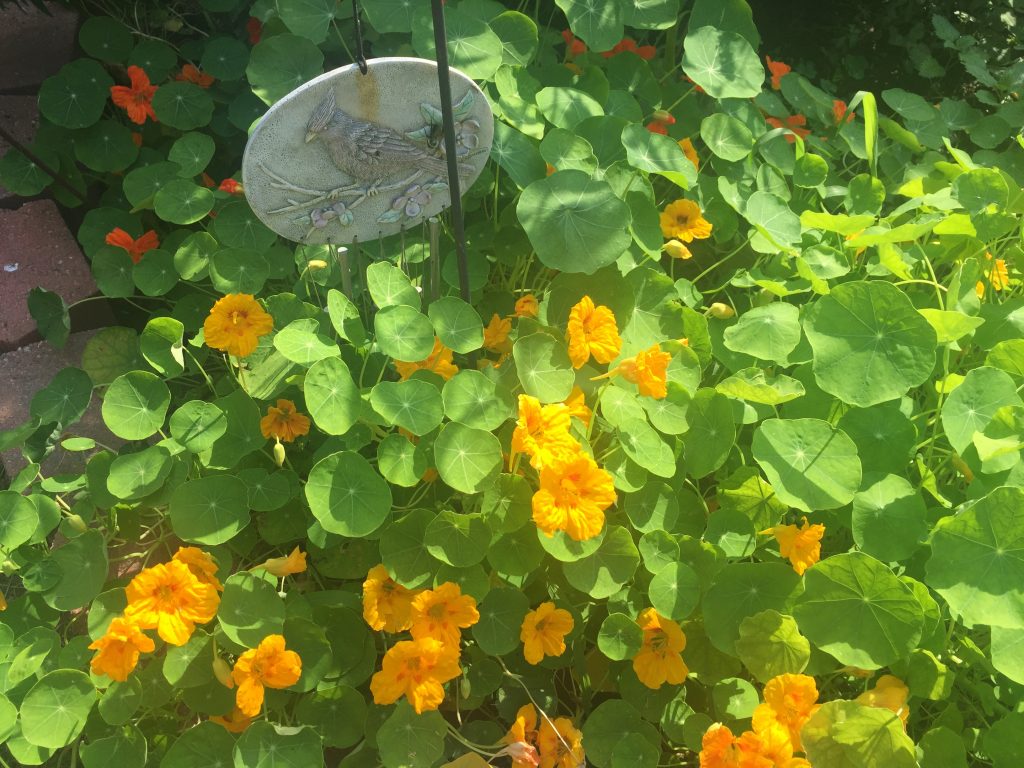
Nasturtiums spreading joyfully through the garden

For me, I’m starting with my nasturtiums.

From just three or four plants I planted this spring, I’ve got a bumper crop of nasturtiums. If you’ve not planted them before, they spread like crazy and happily fill in the blank places in your garden. They’re a low-maintenance, high-enjoyment type of plant. Let’s look at some ways I like to use them at my house.

Arrange them in a Vase

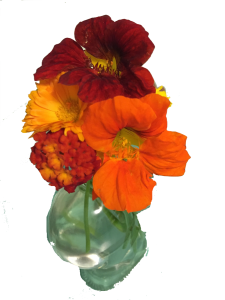
I love to snip several stems of nasturtiums, tie them together, add water, and put them in a pretty little vase. It doesn’t get much simpler than that. But simple doesn’t mean boring. They certainly pack a punch of color and scent. I adore the smell of nasturtiums. They’re a close second to the scent of roses. When you walk by a patch basking in the summer sun, you can’t help but be enveloped in their warm, sweet aroma. And even a small display in your home will infuse your room with their lovely scent for a few days.


Add them to your Salad

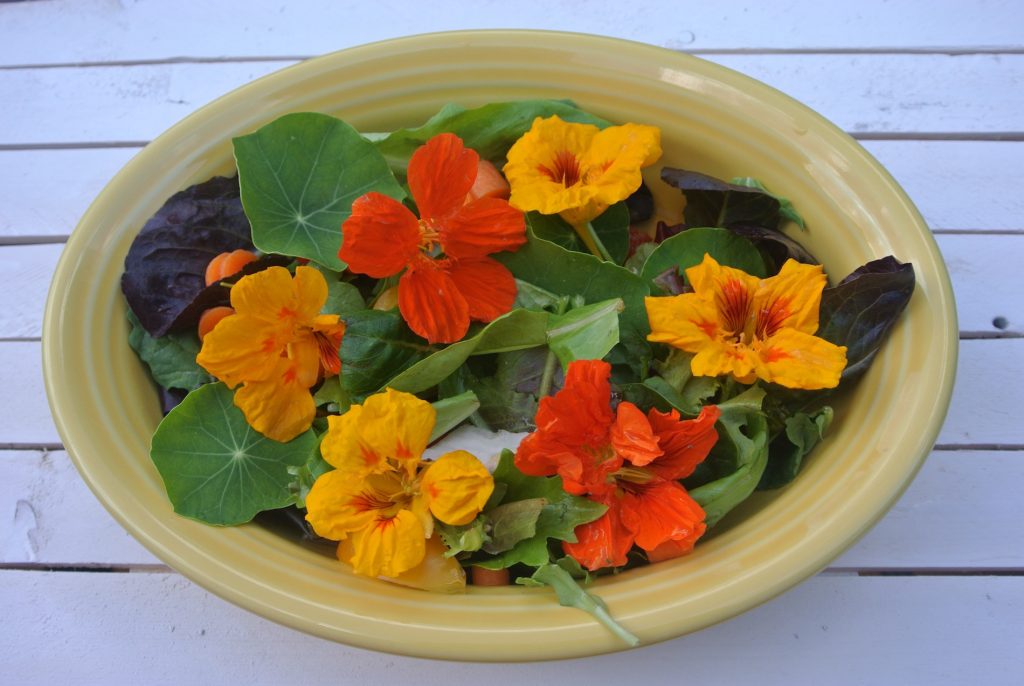
Both the flowers and the leaves of nasturtiums are edible and high in Vitamin C. Snip the mild-peppery flavored leaves into smaller pieces and toss them in with other salad greens. The flowers are tasty too and make a beautiful display in your salad. I purchased a bottle of violet balsamic vinegar from a specialty shop, and I splash that over the top of the salad along with EVOO (extra virgin olive oil). Use about twice as much EVOO as vinegar. It tastes divine!


Make a Roll-up with the Leaves

Nasturtium leaves can grow as large as the palm of your hand, so they make an excellent roll-up for cheese spreads, tuna, egg, or chicken salad, and the like. Simply spread the leaf with the

filling of your choice (I love dill-flavored cream cheese), add any other filling you desire such as shaved turkey or ham, roll up, and secure with a toothpick. Arrange on a plate and drizzle your favorite type of dressing over the top. To really make it shine, add a few nasturtium flowers to the plate.


Recipe from Phyllis Shaudys The Pleasure of Herbs

My very first herb book that I ever purchased was The Pleasure of Herbs by Phyllis Shaudys, and it is still my favorite. I bought my copy in the 1980s and it is packed with recipes and projects. I found this recipe for Nasturtium Salad, which she adapted from the Herb Society of Greater Cincinnati in the August chapter, and I’ve adapted by adding lettuce and other vegetables.

Nasturtium Salad
Author: Phyllis Shaudys
Cuisine: salad
Serves: 4 servings
 

Ingredients
  • 1 cucumber
  • 1 cucumber
  • 12 small nasturtium leaves
  • 12 small nasturtium leaves
  • ½ tsp. Dry mustard
  • ½ tsp. Dry mustard
  • 2 Tbsp. Wine vinegar
  • 2 Tbsp. Wine vinegar
  • 6 Tbsp. Salad oil
  • 6 Tbsp. Salad oil
  • Salt, freshly ground pepper to taste
  • Salt, freshly ground pepper to taste
  • 2 Tbsp. Chopped fresh tarragon
  • 2 Tbsp. Chopped fresh tarragon
  • 6 Nasturtium flowers with leaves

Instructions
  1. Peel and slice cucumbers thinly. Wash cherry tomatoes, red pepper, mesclun leaves. Wash nasturtium leaves; remove stems and drain. Mix well in blender the remaining ingredients except for the flowers with leaves. When ready to serve, combine the cucumbers, small nasturtium leaves, mesclun, tomatoes, pepper strips and the dressing and toss gently. Garnish with the flowers with leaves.

#version#

Now it’s your turn. If you don’t have nasturtiums in your garden, choose something else and delight yourself in the botanical goodness that’s right our your back door. Leave a comment as to what you’re harvesting today!

Botanically me,

SaveSave

SaveSave

SaveSave

SaveSave