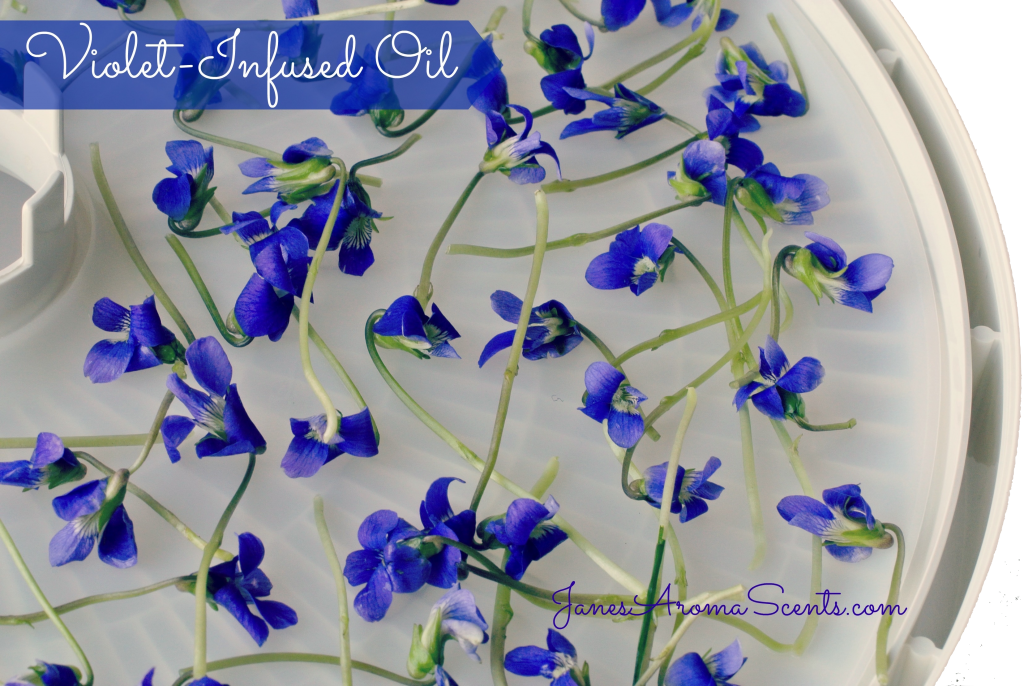
Make Your Own Violet Oil

infused violet oilOver the last week, I’ve seen them peeping from behind their heart-shaped leaves. Little flower faces shyly stretching up to the sky. Could there be a sweeter flower than violets?

Certainly one of my favorites, violets are a joy to behold when spring arrives. Their aroma fills the air when warmed by the spring sunshine. They’re so lovely I can’t help but think of this quote from L.M. Montgomery in Anne of Green Gables,

 “Do you think amethysts can be the souls of good violets?”

Beauty and All That?

IMG_2573 copy
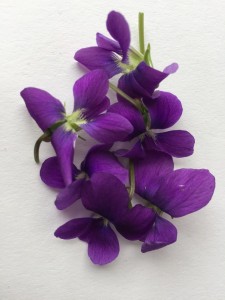
Besides being beautiful, violets can add variety to life as we candy, infuse, tincture, press, and otherwise use them in ways that are a delight. To be clear, I am talking about Viola odorata, not African violets, which are not edible and a different plant entirely.

This spring I’ve decided to gather violets from my yard to make my own infused oil. They are anti-inflammatory, antiseptic, and antifungal, which make a potent healing oil suitable for use right out of the bottle or in creams, lotions, and salves.

Their leaves also contain Vitamin C and can be infused along with the flowers for a hot or cool tisane. But today I’d like to focus on making an herbal oil with violet flowers and leaves. For your oil, you can use either fresh or dried material. (Note: garlic, cottonwood, St. John’s Wort, and mullein flowers should always be infused fresh).

Preparing the Violets

If you’re using fresh, we need to address the topic of how to prepare them for infusion. Herbalists handle this differently. Some herbalists wash fresh herbs before using, some don’t. I think it depends upon several factors:

  1. Where have the herbs come from? If they’re from your own yard and you know you didn’t use any chemicals on them, you may feel ok not washing them. Do you have pets (or neighbors’ pets) that may have contaminated them? That also plays into the equation.
  2. Will you be selling your products or giving them away? Then for your own protection and peace of mind, I would wash them.
  3. If you’ve purchased them elsewhere and don’t know how they were grown/handled, wash them.

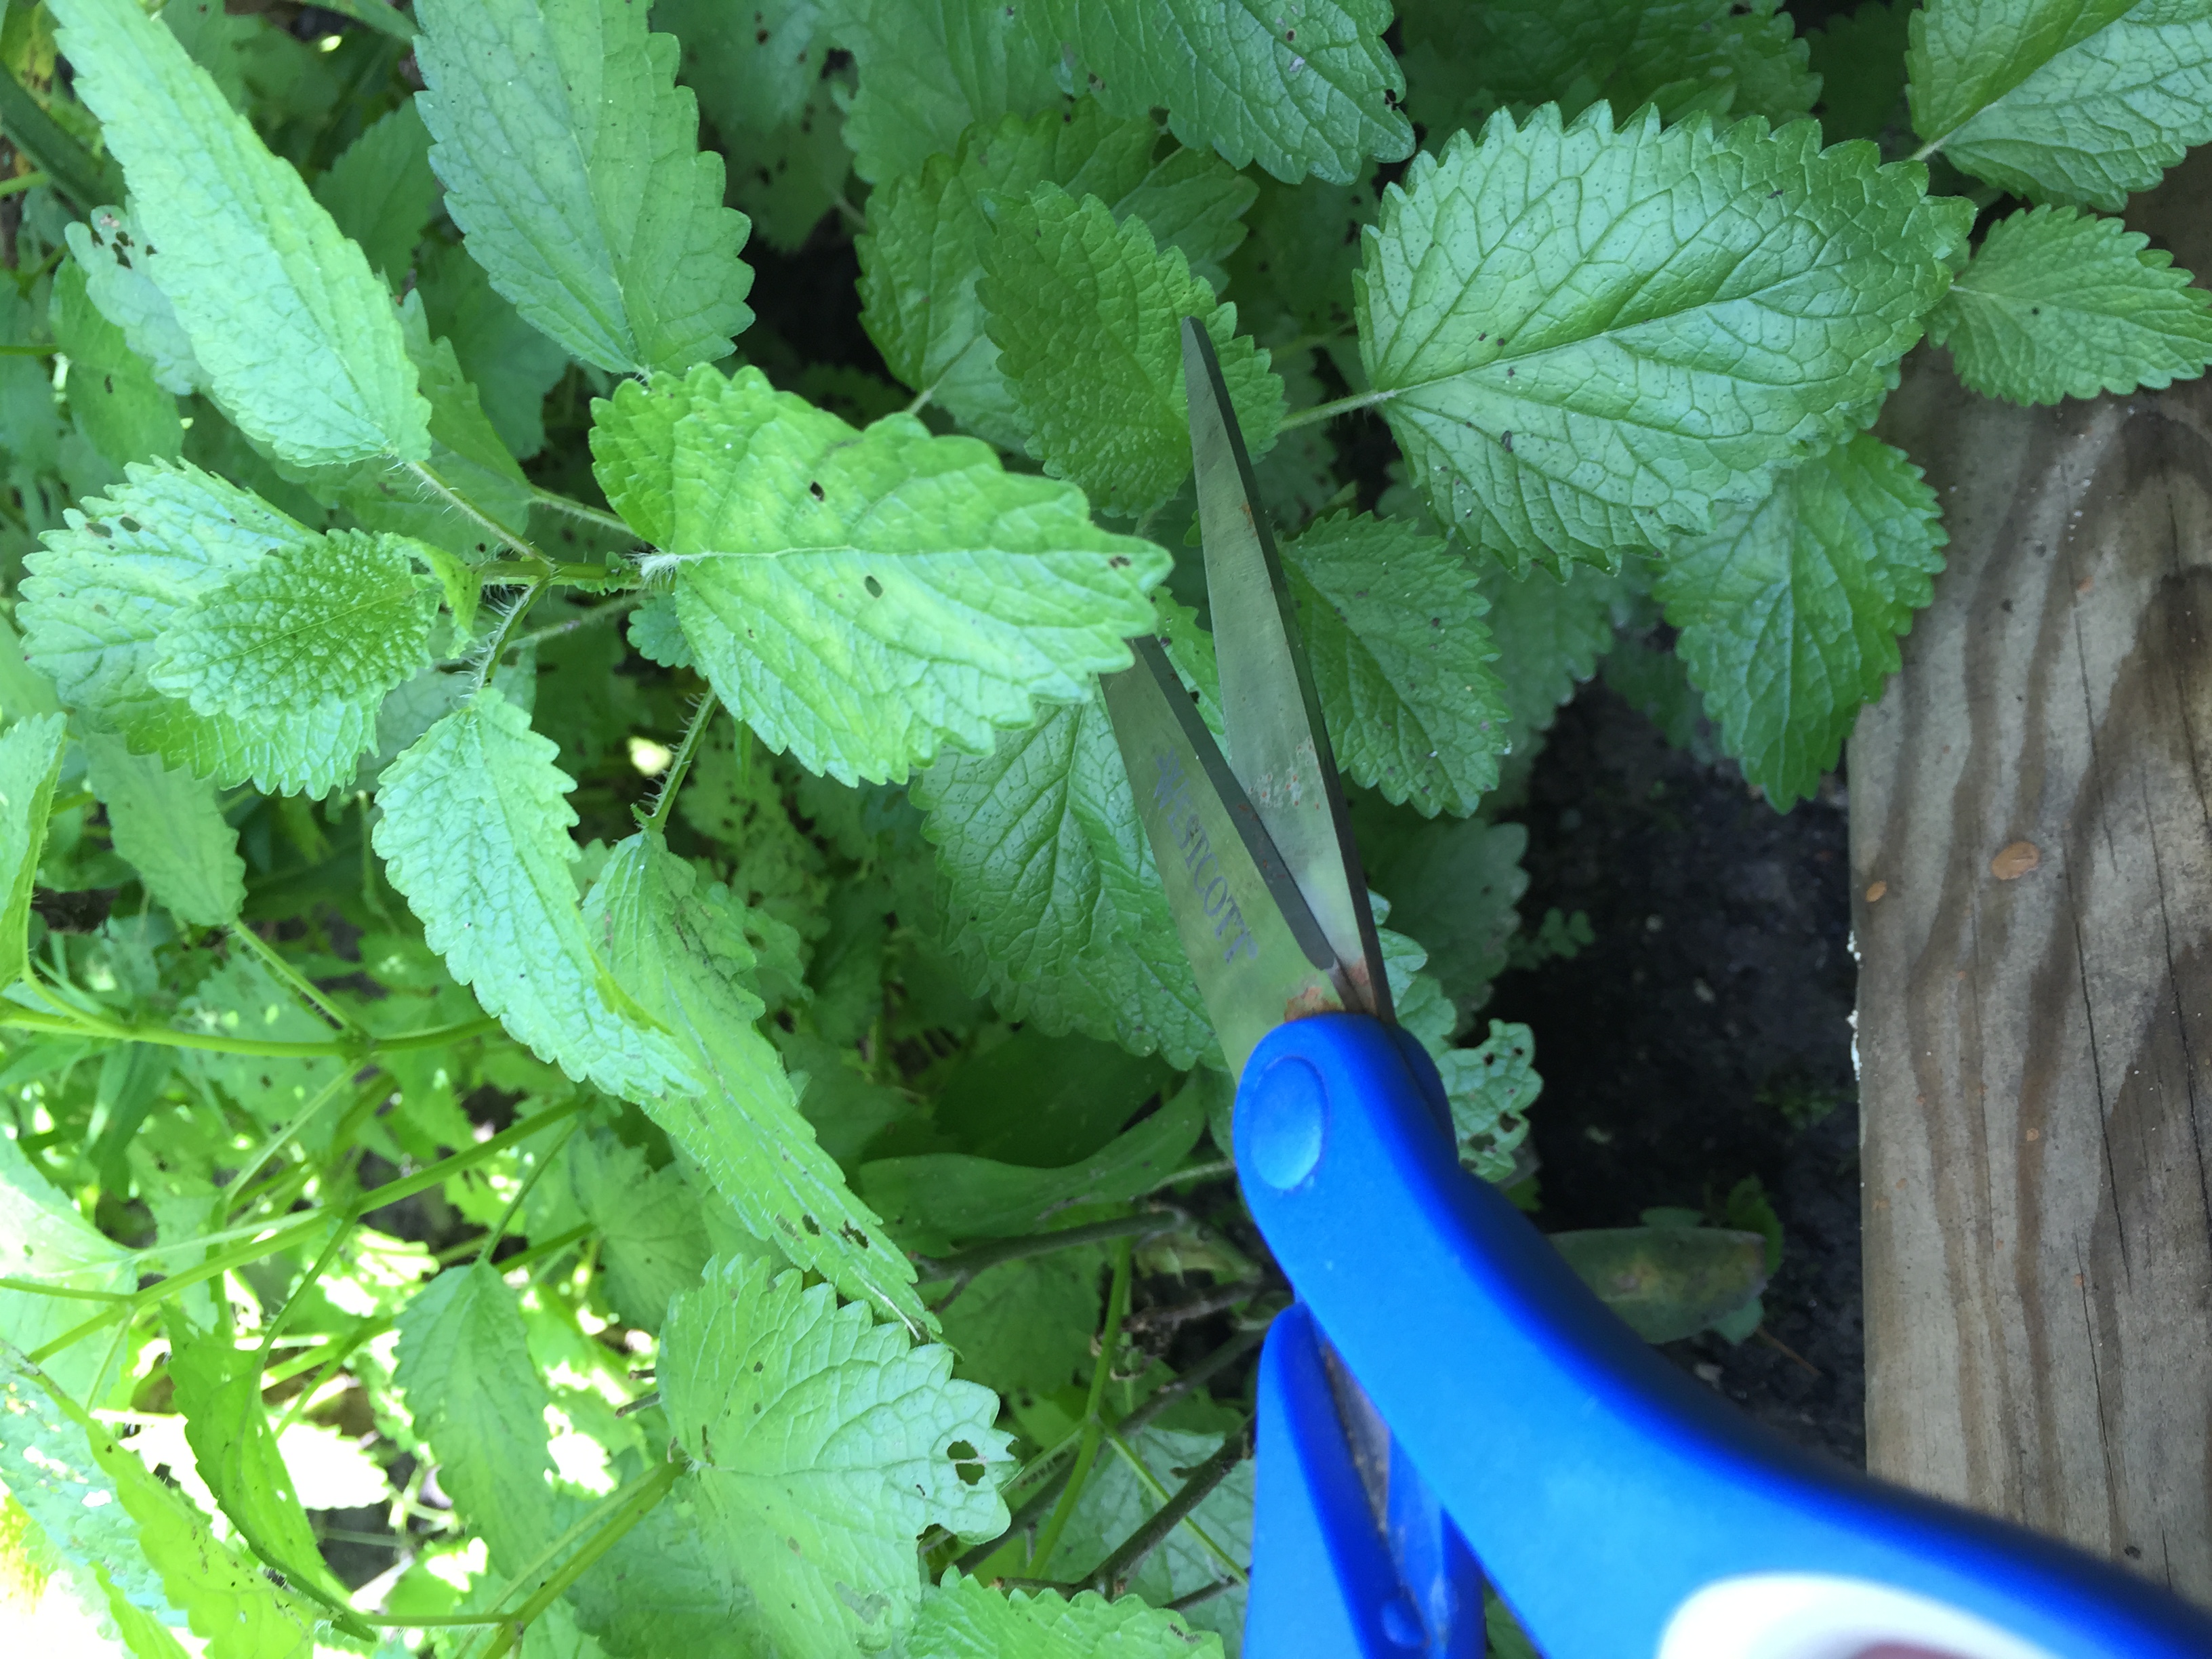
To wash them, gently spray off if they are not too dirty, or you can immerse in a cool water bath with a drop or two of organic veggie/fruit cleaner added, swish them around or soak for a few minutes if very dirty, rinse off, and pat dry. Once you have done this, you now need to let them fresh wilt for 24-48 hours so that the moisture evaporates; if you don’t do this, you could likely end up growing mold in your oil. They will become limp but not totally dry when fresh wilted. Thinner plants will dry wilt faster than thicker, so keep an eye on them. Some plants may wilt in just 6-8 hours.

Choose Your Oil

Next, choose your oil. If you’re using the oil for medicinal or culinary purposes, organic olive oil is your best choice. If you will be using the oil for beauty products, you may want to try organic sweet almond oil, organic coconut oil (warm infusions only), jojoba, sesame, or sunflower.

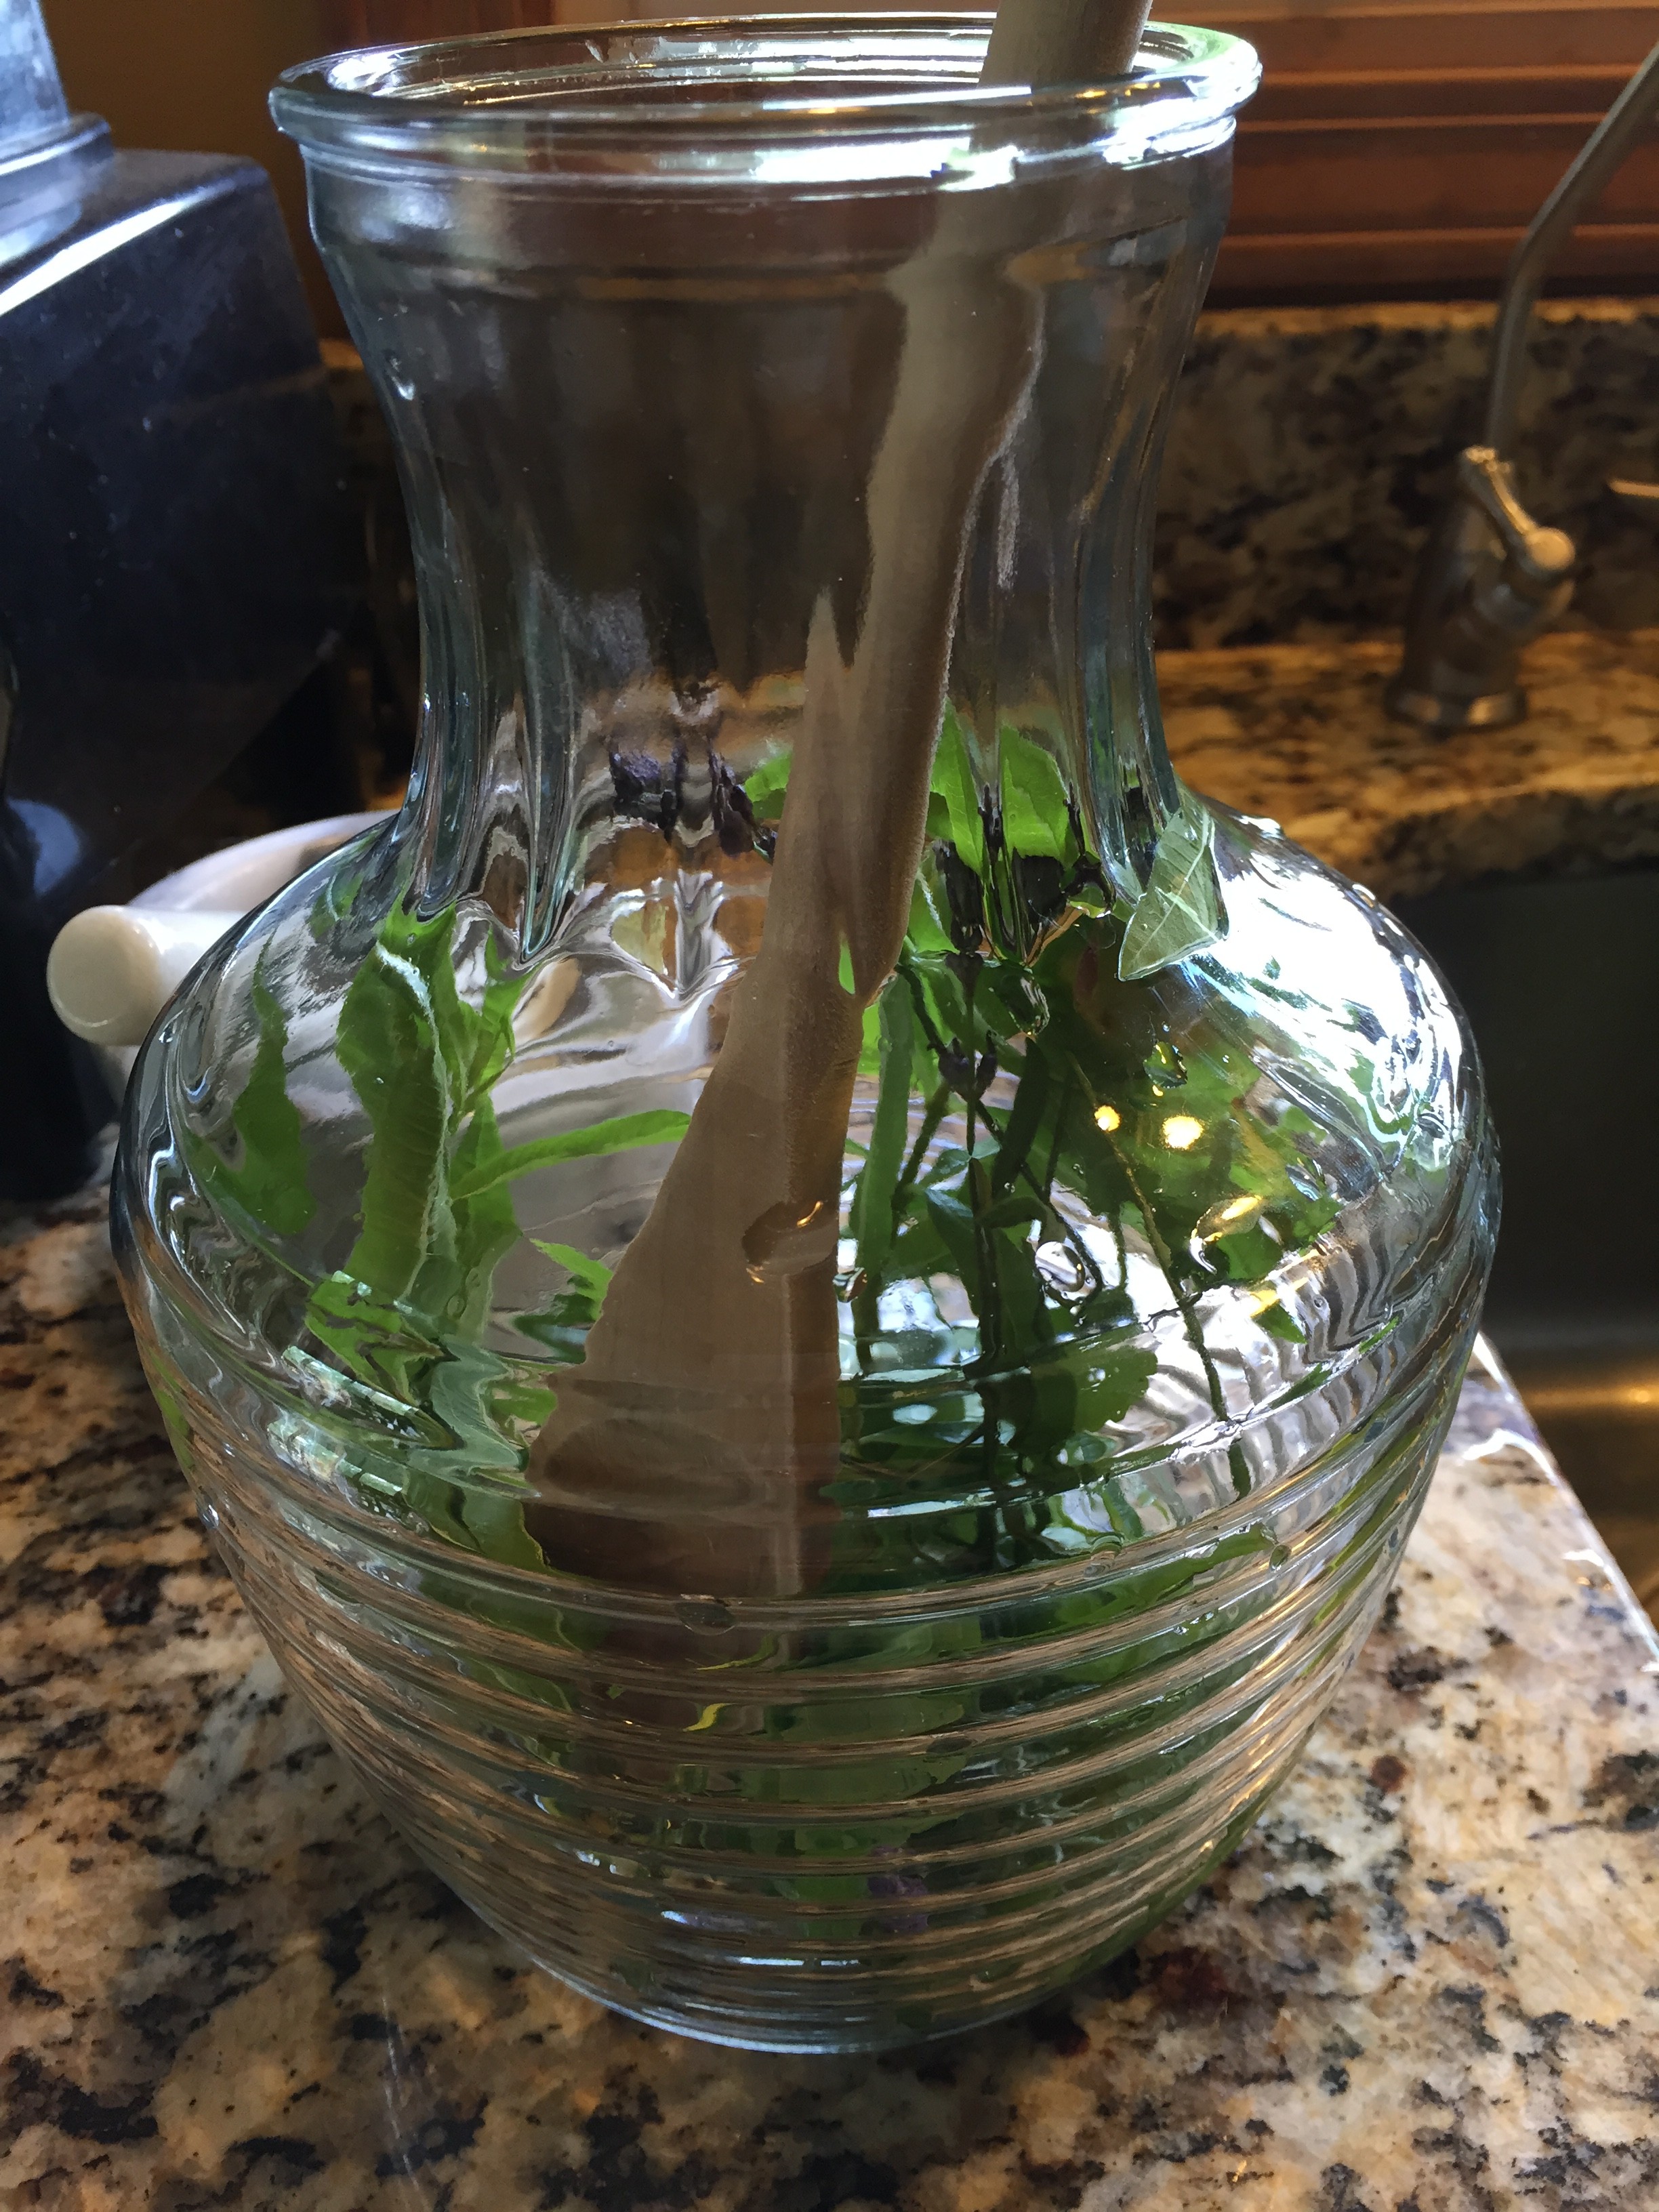
Add your fresh-wilted or dried violet flowers and leaves to a dry, sanitized glass jar and cover with oil so SHOPthat the plants are completely submerged with one to two inches of oil over the top. Cap. If you are using fresh wilted and are still concerned about moisture, cover the jar with a thick layer of cheesecloth instead of the cap and rubber band it to let any moisture evaporate. Let sit out for about 2 weeks in a warm spot. You can let it sit in the sunshine for a solar oil, as herbalist Rosemary Gladstar calls it.

Alternative: Use Your Slow Cooker

You can also use a small slow cooker to infuse the violets. I’ve found that my little crockpot turned to the “warm” setting (not low or high) is about the right temperature-between 110-120F. Infuse in a crockpot one week for fresh wilted (two weeks for St. John’s wort) and two weeks for dried.

After infusing, strain the mixture through cheesecloth, and use a rice press on the dried herbs. Dried herbs absorb the oil much more readily that fresh wilted plant material does, so a rice press helps to get out every last drop. Also, don’t use the press on fresh wilt because you don’t want to press out any possible moisture that may still be inside the plant cells.  After straining if you prefer, let it sit overnight undisturbed and strain it one more time the next morning. Put the finished oil in a dark, glass jar and store in a cool, dark place. The oil should last for one to three years (dried plant material will yield the longer shelf life). It’s always a good idea to label and date your product.

Use your oil  directly on your skin or to make tinctures, salves, and beauty products.

What do you like to make with violets? Share below. I’d love to hear your ideas!

eScentually yours,


Cozy Ginger for Winter Wellness

Warm, spicy, exotic. Three words that come to mind when I think of a favorite herb and oil of mine: ginger, or Zingiber officinale by its nomenclature. A perfect choice for winter wellness, ginger has a rich history as a medicinal, healing botanical.


GingerRoot

I first became familiar with it years ago when I was juicing and would add a thumb-size piece of the root to my current juicing recipe. You can’t miss its spicy flavor and aroma. Ginger tisane (tea) became my go-to favorite, and it’s especially comforting in the fall and winter. If I feel the chills or flu symptoms setting in, it is the first thing I reach for to help me fight off any nasty bug. It’s also know for being soothing to the stomach.

Besides all of these properties, when it’s used topically, ginger is a pain reliever. Last year I developed a blend for my weight-lifting son to use, and ginger is one of the main ingredients in it to help increase circulation and relieve aches, pains, and strains.

Let’s explore a bit of the science behind this herb.

Therapeutic Actions of Ginger

While there are several others, here are the main therapeutic actions of ginger.

  • Analgesic (pain relieving)
  • Anti-emetic (reduces nausea and vomiting)
  • Antispasmodic
  • Aphrodisiac
  • Carminative (soothes and settles the gut wall, relieves gas)
  • Digestive
  • Stomachic (tone and stimulate the action of the stomach)

Core Applications

While this list is not comprehensive, I’ve highlighted a few of the main systems of the body that ginger can affect.

  1. Digestive System. Historically ginger is know to help ease and prevent nausea, vomiting, , gas, stomachaches, and loss of appetite.
  2. Musculoskeletal System. When added to a cream or oil blend, ginger can help relieve muscular aches and pains from arthritis, sprains, rheumatism, joint pain, and stiffness.
  3. Respiratory System. Historically, ginger is indicated for colds, fevers, sore throats, sinusitis, bronchitis, congestion, and catarrh (excessive mucus in the nose or throat).
  4. Reproductive/Endocrine System. May be helpful for reduced sex drive, menstrual cramps and pain, amenorrhea, and dysmenorrhea.

Two Ways to Use Ginger for Winter Wellness

Whether you’re using the essential oil or the actual root, ginger is a delightful botanical to try. Here are two of my favorite ways to use it:

Ginger Tea

IMG_2344

Even thought it is a rhizome, ginger is so juicy that we can infuse it in water.

Directions

  1. Thinly slice or chop about one inch of fresh ginger root .
  2. Add to a Fresh press or put the ginger into an infuser and set in your teacup. Add 8 ounces of just-off-the-boil water.
  3. Steep for 10 minutes.
  4. Strain and drink.
IMG_2345

Variation: To add a lovely note of lemon plus get all the health benefits, add dried or fresh lemon balm or lemon verbena leaves. It also complements ginger nicely, as it is known to help digestive and respiratory complaints too. Honey and fresh lemon juice are two other wonderful additions if you want a sweeter version with additional lemon flavor. Add these directly before drinking.

Ginger Salt Glow

With it’s warming qualities, ginger makes a lovely salt scrub, especially for the winter months. You can also sub sugar for the salt. I like to use brown sugar.

  • 1 cup fine-grain sea salt
  • ¼ cup vegetable oil (for example: almond, apricot, or sunflower)
  • 12 drops Ginger Essential Oil

Directions: 

  1. Pour salt into a bowl and add the vegetable oil. Stir well.
  2. Add the essential oils. Stir until evenly dispersed. Add more oil to adjust to your liking.
  3. Store in a glass or PET plastic container.

To Use: Apply 2-3 times per week. Wet skin. Rub salt mixture in a continuous motion over body, avoiding cuts and the face, as salt is too rough for this delicate skin. Rinse off. Follow with a body lotion, cream, or oil.

Once you’ve experienced this exotic herb, you’ll want to find more ways to use it.

What’s your favorite way to use ginger for winter wellness? Be sure to share in the comments below!

Cautions:

The information here is provided for adults, not children. Pregnant women should also consult their doctors before using any essential oils. According to the Gale Health and Wellness, “dosages over 6 g could cause gastric problems and possibly ulcers. Ginger may slow down blood clotting time. Before taking ginger, consumers should check dosages with a healthcare provider. Additionally, consumers should not ingest the whole ginger plant; it has been found to damage the liver in animals. Ginger root is not recommended for people with gallstones.”

Resources:

Gale Group Health and Wellness Resource Center


Make a Refreshing Herbal Sun Tea

Herb TeaIf you like making sun tea, you’ll love making an herbal tisane with herbs from your own garden — or someone else’s! This is a simple recipe, easily adaptable to whatever fresh (or dried) herbs you have on hand. I’ll give you some ideas on herbs that are great to use and share my recipe, but use your imagination and see what tasty combinations you can come up with too — that’s half the fun.

What Is a Tisane?

Just in case you haven’t heard of the word tisane, it is simply water infused with plant material that is not made from the true tea leaf called Camellia sinensis (black, green, white, oolong, etc.). Most people refer to a tisane simply as “herbal tea.”

Herbs for Tisanes

If you like to grow herbs, you probably have several types in your garden that would make a refreshing tea. Here’s a few to try: lemon balm, lemon thyme, lemon verbena, lavender, mint, bergamot (bee balm), lemon grass, chamomile, and pineapple sage.

For my recipe, I used  lemon balm, lemon thyme, lemon verbena, and lavender. Here’s an easy step-by-step guide. Scroll to the bottom for a printable recipe card.

Lemon Lavender Herb Tea

Ingredients:

  • 2-quart glass jar
  • 2 quarts of water
  • 1 1/2 – 2 cups fresh herbs
  • stevia, honey, sugar (optional)

IMG_1107Directions:

1. Snip the herbs from your garden. I bring a basket to put them in and also a measuring cup outside with me to get an idea of the amount I will need.

2. Wash the herbs. I use a biodegradable natural cleaner (Shaklee’s Basic H) and lightly mist them with the spray, rinse them, and pat dry. I use the spray because the neighbor’s pets like to visit my garden.

IMG_11283. Put all the herbs into the jar and fill with water. Take a wooden spoon or other utensil and push the herbs to help release some of their scent and oils.

4. Set the jar outside in a warm sunny place and let it infuse for 4-6 hours.

5. Bring it inside, strain the herbs out and discard or compost them, and sweeten to taste if you want. You can also include some fresh sweet stevia leaves while you are infusing if you’d like to try sweetening it that way too.

6. Add ice, a fresh herb sprig if you’d like, and enjoy!

What are your favorite herbs to use in sun teas? Just leave a comment below and thanks for reading!


Lemon Lavender Sun Tea
Author: 
Recipe type: beverage
 

Make a refreshing herbal sun tea to enjoy on a hot summer day!
Ingredients
  • 2 quart glass jar
  • 2 quarts of water
  • 1½ -2 cups fresh herbs (lemon balm, lemon thyme, lemon verbena, and lavender)
  • Stevia, honey or sugar (optional)

Instructions
  1. Snip the herbs from your garden.
  2. Wash the herbs with a safe, biodegradable cleaner, rinse, and pat dry.
  3. Put all the herbs in the jar. Fill with water and press the herbs down with a wooden spoon.
  4. Set the jar outside in a warm, sunny spot and let infuse for 4-6 hours.
  5. Bring inside and strain the herbs out and discard them or compost them.
  6. Add sweetener if desired.
  7. Enjoy!