Starting Seeds Indoors with Rita Ward

Recently, the Polar Vortex had most of the U.S. in its icy grip, including the Midwest where I live. This winter we’ve been socked in with cold temps and snowy days. So it’s with great joy that I can make this announcement:
It’s time to think about starting seeds indoors for your spring garden!
A Quick Background

If it seems early to you, consider that lifelong gardener and seed starter extraordinaire Rita Ward has already been hard at work starting her seeds. Rita was my seatmate on a recent airplane trip, and as we talked and got acquainted, we discovered a mutual passion for gardening.“I’ve been gardening and going to farmers markets for 56 years,” she said. So I knew right away I could learn something from her. She was more than happy to give me some gardening tips to share, so let’s get started.
To give you a bit of perspective, Rita is retired and owns a small house located on her daughter’s 15-acre property in Cloverdale, Indiana. Each year she plants a full 1/2-acre plot and sells her produce all season long at the Greencastle farmers market and at a road stand in front of their property.
Rita’s Top 15 List
- Tomatoes
- Squash
- Peppers
- Melons
- Corn
- Green Beans
- Sweet potatoes
- Asparagus
- Persimmons
- Red raspberries
- blackberries
- strawberries
- Apples
- Peaches
- Plums
Tomatoes Galore!

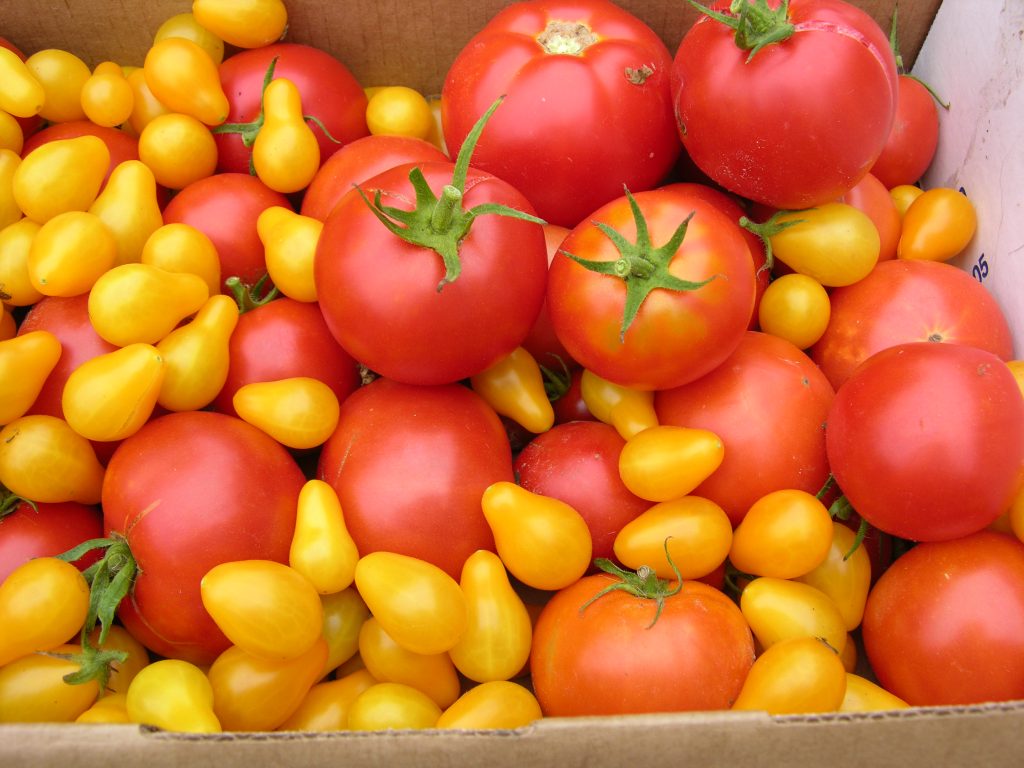
Every year Rita sets out an astonishing 300 tomato plants, all of which she propagates by starting seeds indoors. Now I’m sure that most of us will never need that many tomato plants, but however many you want to grow, it is much cheaper if you can grow the plants from seed yourself. Noting that “you can’t save seeds from hybrids,” Rita loves to grow all sorts of heirloom varieties.
Each year as she is harvesting her plants, she collects seed from her heirloom plants. She puts the seeds on paper towels to dry. Once they are dry, she puts the paper towel in a plastic bag, labels it, and stores it in the freezer until planting time rolls around the next year.
Starting Seeds in a Greenhouse
Now, I’ve never been very successful at growing plants from seed, so I was interested to hear Rita’s method. Actually, way of life is the more accurate description. You see, Rita was born following the Depression.
“My generation and my family were taught not to waste and to take care of everything.”
Rita Ward
That truth is clearly evident in how she gardens.
Method 1
Being that her home is very small, Rita has to make use of outdoor space when starting seeds. Every year in late winter, she completely encloses her patio by wrapping sturdy plastic around the posts to make an outdoor room. Inside of the now enclosed patio she puts a small, inexpensive greenhouse (see a sample picture at the bottom of this post).
Since late February is still freezing in Indiana, she had to devise a way to heat her patio. Rita found an online tutorial that showed her how to make a mini fireplace using landscaping stones, a bread pan, candles, and an upside down flower pot.

Rita’s Outdoor Flowerpot Fireplace DIY
- 3 landscaping bricks
- Metal bread pans from the Dollar Tree
- Emergency candles from the Dollar Tree
- Large UNGLAZED flowerpot
- Large pillar-type candles purchased at Goodwill and garage sales
- Paraffin wax
- Pour Pot to melt the wax in (can find at Hobby Lobby)
- Large metal pot to use as a double boiler
Directions:
- Fill the large pot with a few inches of water and turn on the heat. Add one or two pillar candles to the pour pot and some paraffin wax and set in the double boiler. Melt. The wicks from the candles should sink to the bottom of the pour pot as they melt. Pour the melted wax into a bread pan and fill about 3/4 full of the wax. Discard any of the wicks from the melted candles. (NEVER set a pan with wax directly on a burner to melt. Wax is flammable. Always use a double boiler.)
- Take one emergency candle and cut it into 3 pieces, being sure each piece has about one-quarter inch of wick protruding from the top. As the wax in the bread pan is starting to set up, take two or three pieces of the cut emergency candles and set them in the wax with the wick sticking out. These will be the wicks that you will light for the bread pan candle.
- Let the pan cool.
- Place one landscaping stone flat on the floor inside the enclosed patio area (not inside the small greenhouse). Set the bread pan on top of the stone. Stand up two bricks on either side. Put the upside down flowerpot on top as shown in the picture.
- Light the wicks.
- Rita says one bread pan candle will burn all night.
- Of course, use extreme caution, especially around children. The flowerpot will get extremely hot.
I found a similar flowerpot fireplace online tutorial, which I am sharing here. The big difference here is that Rita’s candles burn for one full night, while these only burn for 3 hours at a time.
Method 2
Because this winter has been so cold, Rita has focused on starting seeds indoors in her small furnace room. She had just enough space for her greenhouse. The room is warm, so she doesn’t need to worry about any extra heat, so no fireplace needed! Keep reading for instructions on seed starting.
Rita’s Tips for Successful Seed Starting.
- Try running a small fan to circulate air, helping to prevent fungus from forming on the plants.
- If the greenhouse is indoors, leave the door of the greenhouse open.
- Be sure to keep the soil moist.
- Use a mix of organic seed starter and organic potting soil. She thinks the seed starter is too light to use by itself.
Starting Seeds in a Paper Towel
Once her patio area/greenhouse is ready, Rita takes the seeds she has dried out of the freezer and works through the following steps:
- Purchase round plastic plant trays from the Dollar Store (the type you put under houseplants to catch water drainage).
- Line the bottom of the tray with a combination of organic seed starter mix and regular potting soil mixed together.
- Set the paper towel with the seeds that you dried directly on the soil and cover the paper towel and seeds with another layer of soil. Alternatively, purchase seeds and plant the seeds directly in the soil following the directions on the package. Carefully water. Cover the tray with a layer of plastic wrap. Make sure you keep the soil moist.
- While many sources advise to keep the seeds in the dark, Rita hangs LED electric candles (like the type you put in your window– see the picture) upside down on the rack so one candle is hanging above each shelf. She leaves them on around the clock. “The bulbs don’t get hot she says.”
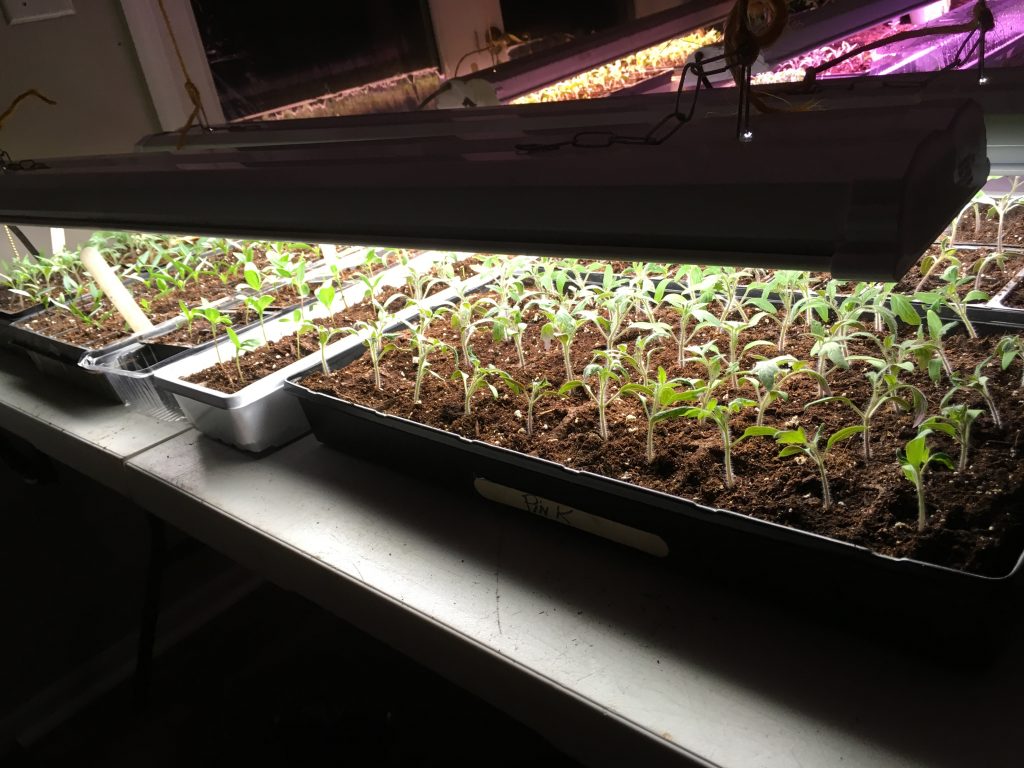
- When you see sprouts, remove the plastic wrap or lid. Hang grow lights (pictured at the bottom of the post) and keep them 2 to 3 inches above the plants. Rita actually keeps her lights burning day and night.
- Once the seedlings have two leaves, transplant them. Styrofoam cups with a hole work well or larger Jiffy pots (also pictured below). Continue to keep them under the grow lights until you move them outside.
- Rita deep waters the plants about once every 10 days. Between deep waterings, she mists them with a spray bottle when the soil starts looking dry.


Transplanting Outside
At the end of March, Rita moves the seedlings outdoors to their permanent location in the garden bed. Now this is about six weeks earlier than the last frost date, so she has to protect them. She covers about half of her half-acre plot with black plastic to cut down on the weeding and to help the soil warm up so that she can plant as early as possible. By this time she has over 500 seed tomato plants ready to be planted!
She then follows these steps for outdoor planting:
- Cut a hole in the black plastic and insert the tomato plant in hole.
- Take a sheet of newspaper, fold into a narrow strip and wrap around the base of the tomato plant. This helps to keep weeds at bay and helps keep the soil moist.
- Cover the roots and up to the first leaves with soil.
- Stake and cage each plant.
- Protect each plant with a plastic milk jug in cold temperatures. Be sure to remove jug in warmer temperatures to prevent wilting.
- She uses bamboo hoops and row cover fabric to further protect the plants in the evening and on any days that might be below freezing.
Since Rita gets such an early start with her plants, she is always one of the first ones at the farmers market to have tomatos to sell. In a good year, she’ll have tomatoes at the market by June 1.
Summer Harvest

With the amount of fruits and vegetables Rita plants, she has a bountiful harvest with plenty to sell and much to preserve. “Canning along with freezing, dehydrating, and wine-making keeps me from losing much from my gardening,” she said.
Rita is thankful for the skills she has been given and wants to pass them on. “This is beginning to be a lost art, don’t you think?” she said. “I feel like the Lord gave me this, so I need to take care of it!”
Rita’s Tip for Greening Up Tomatoes, Peppers, and Roses
- 1/2 cup Epsom Salt
- 1 1/2 gallons water
Mix the salt in the water and use to water tomatoes, peppers, and roses once every two to three weeks. Often, she also adds fish emulsion to the mix.
Are You Ready to Try Starting Seeds Indoors?
Now maybe you don’t have a half-acre that you want to plant like Rita, but you’ve been inspired by her story to try starting seeds at home. Starting at least some of your crop from seed gives you a wider variety of plants to choose from, including more heirloom varieties. Here are a few suggestions:
- Start small if you’ve never done this before.
- Make your own seed starting kits by purchasing round plastic trays like Rita or try starting seeds in egg cartons.
- Or, if you want an easier option, buy a Jiffy seed starting kit (pictured below) that you can find in any garden center, big box store, or on Amazon.
- Purchase a set of grow lights at a big box store or online.
- Remember to water and follow directions carefully.
Favorite Seed Companies
You can find seeds just about anywhere, but if you want to order online, here are some of my favorite companies.
- Botanical Interests They have a great variety of seeds, and I love their option of purchasing large packets of seeds and seed collections. They also have the MOST beautiful seed package artwork.
- Urban Farmer This store is just one mile from my house and they have a great selection of non-GMO seeds. They focus on heirloom varieties that don’t need to be cross-pollinated. They also sell garden supplies.
- Renee’s Garden.They also have a wonderful variety of seeds and beautiful artwork on the packaging as well.
- Seed Libraries. The public library near me (Carmel Clay Public Library) actually has a seed file cabinet, where you can “check out” heirloom seeds to plant in your garden. Check and see if your community has something similar.
Are you ready for the 2019 gardening season? I know I am. What are you planting, and will you be starting seeds indoors? Leave me a comment. I’d love to hear your plans!
Botanically me,
Just to let you know, I am an affiliate for Amazon and Botanical Interests. If you happen to purchase anything from Amazon or Botanical Interests through my links, I will make a small profit from it, so thank you very much. It helps me to continue writing and working. I only recommend products I use/believe in.

