Herbal Workshops for Indoor Herbs

Wouldn’t you love to be able to enjoy the healing plants of summer in winter too?

I know I would! There’s nothing better than fresh herbs. That’s why I’ve created a workshop to help us enjoy indoor herbs for wintertime use.

Schedule Workshop Now

During the Herb & Tea Workshop, you’ll make a cutting from your choice of herbs from my aromatherapy garden to take home with you. You can select from the following herbs: scented geranium, lemon verbena, lemon balm, peppermint,  lavender, or Rosemary.

Once the plant has taken root, you can transplant it in a small pot to watch it grow through the winter and then harvest from your own mini indoor herb garden. I’ll be sure to send home directions so you know exactly what to do.

Here’s what the hour-long herb workshop includes:

  • Taking a cutting from an established herb plant from my garden (includes the pot and soil).
  • Teaching time on how to care for your herb, along with some of the benefits of the type of herb you choose.
  • Printed directions on how to care for your herb.
  • A cup of herb tea. You get to choose the base of your tea (red rooibos, green rooibos, green tea) plus additional herbs, many of which are fresh from my garden: chamomile, sage, lavender, peppermint, lemon balm, lemon verbena, and thyme, depending on what is available. Besides the fresh tea, you’ll enjoy the lovely aromatherapy experience as you pick the fresh herbs from the garden.

I offer the herb workshop in Westfield, Indiana, and the cost is $30 per person. Schedule the herb workshop now or call 317-513-4270 with questions. When scheduling, be sure to give me your contact information.

Botanically me,


What Is an Aromatherapy Consultation?

  • Perhaps your introduction to essential oils was through an aromatherapy oils diffuser. Somewhere, either at a party or in a health food store, you smelled lavender or lemon or peppermint and decided you wanted your home to smell like that. Diffusers are a popular way to use essential oils for sure, but certainly not the only way.

Discovering Aromatherapy Uses

Essential oils can play a role in your overall wellness protocol. If you’re not sure what else to do in addition to diffusing, you may want to consider a consultation appointment with an aromatherapy practitioner. A certified aromatherapist can help you figure out other ways to incorporate essential oils in your life— and will do it in a way that is safe. Trained aromatherapists understand how to help clients navigate the multitude of information that’s on the Internet and shared at parties, including what’s safe and what isn’t.

What an Aromatherapy Consultation Includes

First of all, an aromatherapist should be clear about what he or she can’t do. Aromatherapists aren’t doctors. We can’t heal, prescribe, or treat. We don’t have patients; we have clients.

What we can do is look at how essential oils have been used historically and how they can be part of a wellness program today.

Your aromatherapy appointment will probably include the following:

  • Filling out an aromatherapy consultation form. Your aromatherapist should have you record your medical history. Be sure to be honest with any health conditions you have and any medications you take. This is important because some essential oils can react with meds or be contraindicated for certain health conditions. Be sure to note if your are pregnant (or trying to become) or nursing.
  • Deciding on purpose of appointment. Do you want to improve physical health? Mental health? Or are you more interested in beauty products? Mention any problems or conditions you would like to address. For example, is stress a problem? Or perhaps you would like a chemical-free natural perfume.
  • Picking a focus. In my aromatherapy business, once we’ve talked through all their concerns, I like to have my clients decide what is the most important item on their priority list and start there. Trying to address too many items at once muddles things up, and it’s hard to know what is helping what. When you’re working on one thing at a time, it becomes obvious if the aromatherapy protocol is  effective.
  • Choosing a protocol to try. Usually, your aromatherapist will present several possible essential oil options, and you choose what best resonates with you. Be an active part of your wellness plan. When you are invested, you are more likely to follow through on the plan.
  • Be honest in the follow-up. Be sure to let your aromatherapist know any results you see from your protocol, good, bad, or indifferent. Generally, natural products take longer to work than medicines because they are working to help balance the body, although some things may have a quicker response.
  • Pick additional areas to work on. Once you have addressed your most important issue, decide if you would like to tackle another area.

Taking the step to make making an appointment with an aromatherapy practitioner can give you another tool in your quest for health and wellness for you and your family. I offer consultations in my Botanically Me aromatherapy business in Indiana and also offer aromatherapy workshops if you’d like to try a fun, informative make ‘n take event. Contact me today for more information.


Plant an Aromatherapy Garden

I didn’t think planting season would ever arrive this year.

All winter long I’ve been anticipating growing an aromatherapy garden, but cold temperatures through April and dreary weather in the Midwest made me put my plans on hold. In literally one week in May, we went from late winter temperatures to early summer, and I eagerly jumped wholeheartedly into planting my scented garden.

But, I’m getting ahead of myself. Let’s back up a bit so I can briefly explain how I went about the concept of planting an aromatherapy garden, in case you want to also.

Researching an Aromatherapy Garden

As an aromatherapist, I have wanted to grow a garden that I could use in my business as a working garden for harvesting and as a beautiful place to let clients wander through. I spent some time during the winter reading and planning how to plant an aromatherapy garden. Some things to consider:

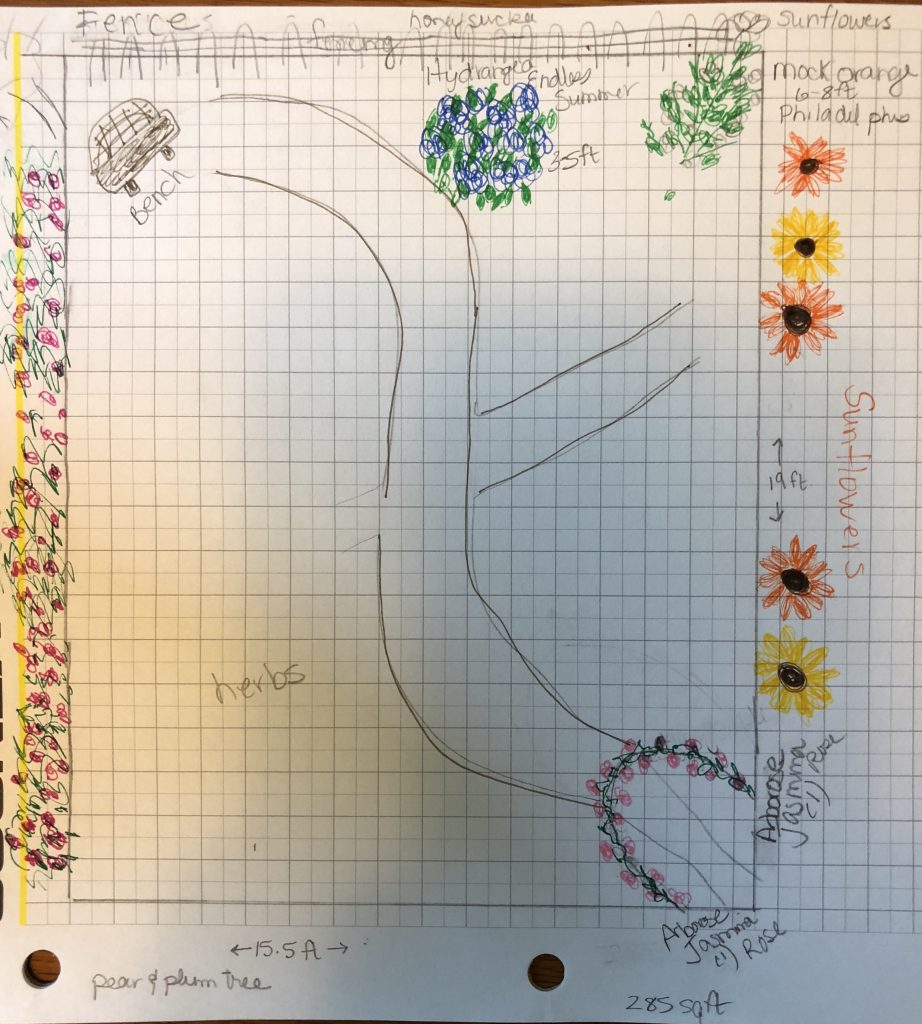
  • Plot size. You can go small or big, or even all in containers if you need to. I decided to repurpose a 15 x 19 garden plot that we let lie fallow last year while we were gone on a trip.
  • Garden style. After scouring several garden books, I realized that I LOVE natural cottage gardens. That worked out perfectly because many of the plants that are considered cottage garden plants also happen to be aromatherapy plants.
  • Plant list. Make a list of must-have plants that you want in your garden.
  • Lay out. I made a rough sketch, with the emphasis on rough, of my plot size, fitting in where I wanted the large size plants to go and the garden path. I didn’t add in all the smaller plants, because I like to do that when I’m outside so that I can actually see and add them in as I’m working.
  • Buy list. Figure out what you can buy locally and what you will need to order online.
  • Budget. As we all know, buying plants is addictive and it’s easy to go overboard. At least it is for me! Try to stick to your budget.
  • Care. I want my garden to be as organic as possible. I don’t like chemicals, and I want to harvest my plants to use in my products that I make for my Etsy shop and use with my consultation clients.
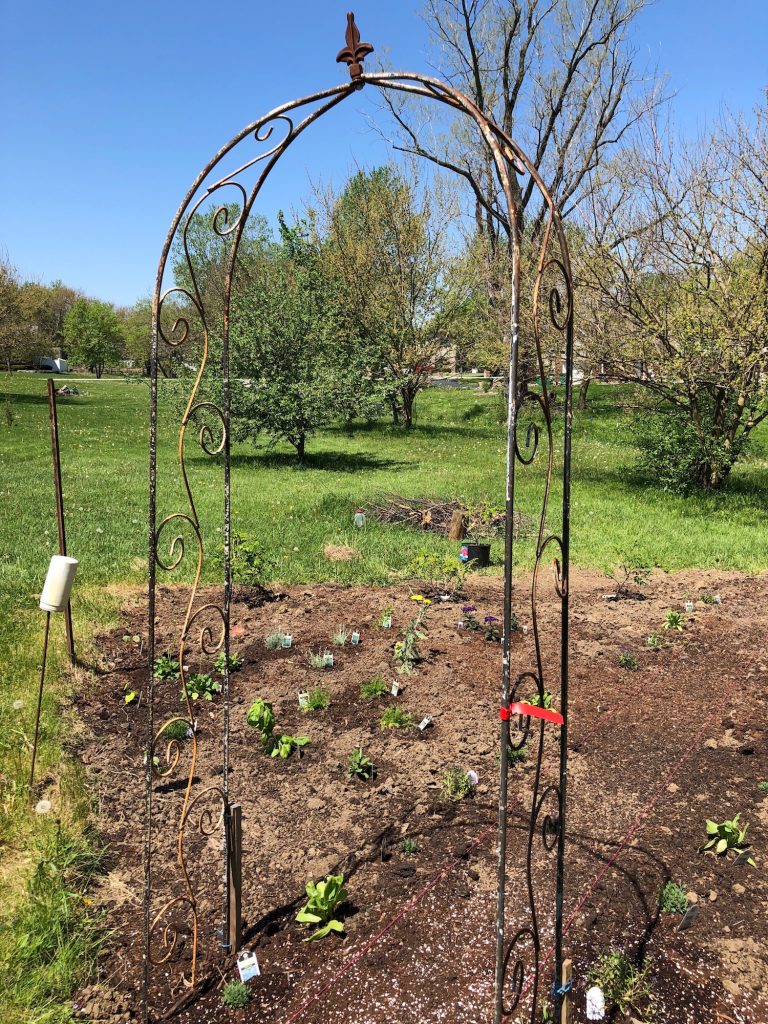
  • Garden accessories. I knew I wanted an arch for the entrance of my garden and I wanted a fence for the back side that I could use for vining and creeping plants. I was so happy to find a vintage arch at an antique shop and an easy-install fence at Menards.

Aromatherapy Garden Plants

Here’s a list of the plants in my garden:

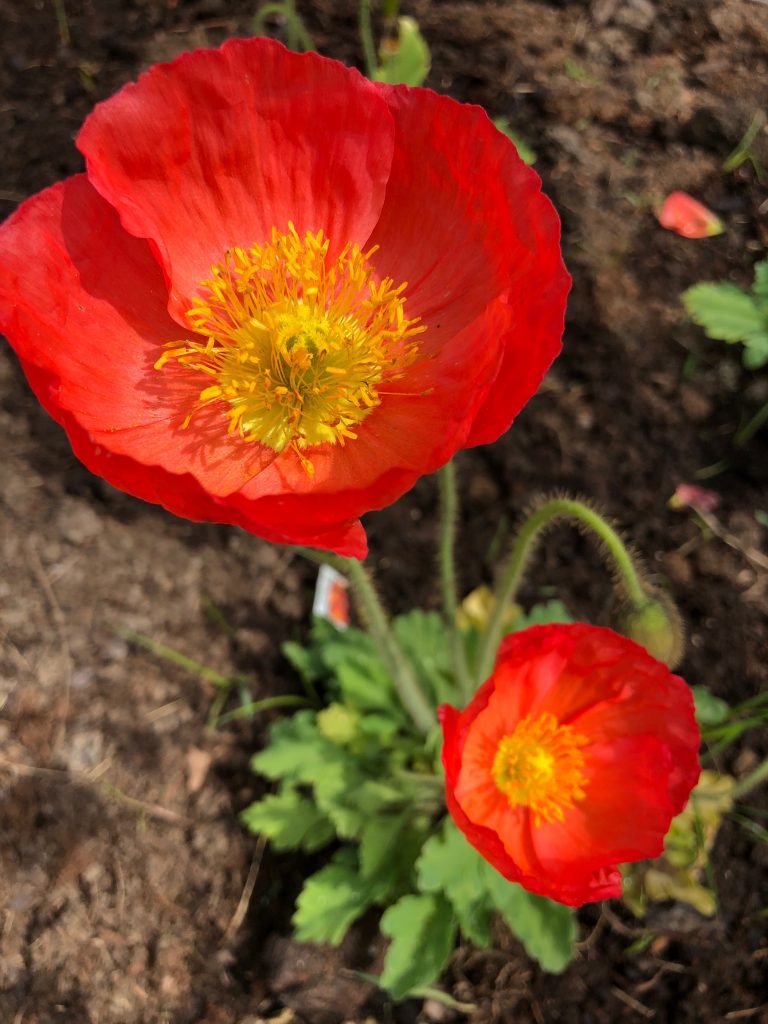
Calendula, lavender, alyssum, basil, rosemary, nasturtium, poppies, sweet peas, Larkspur, thyme, scented geraniums, German chamomile, yarrow, lemon verbena, curry (not the spice but helichrysum)

Heliotrope, Rosa Rugosa Hansa (rose hedges), pinks, hollyhocks, cosmos, violas, Shasta daisy, mock orange, musk mallow, mallow, butterfly bush, hydrangea, fragrant honeysuckle, a climbing rose called Pearly Gates, stock, pineapple sage, sage, sunflowers, and poppies

Whew! I know that’s a long list, but choose what you can handle and what you like and start there. If you’ve not gardened before, start small. You can always add more later. A simple, small aromatherapy herb garden of lavender, chamomile, scented geraniums, calendula, and mint would be a great start. Tip: plant the mint in a pot so that it doesn’t take over the whole garden.

Most of my plants I bought at a nursery, but a few of them I started from seed and transplanted into the garden. And I sowed the sweet peas and sunflowers directly into the garden.

Don’t Forget This Too

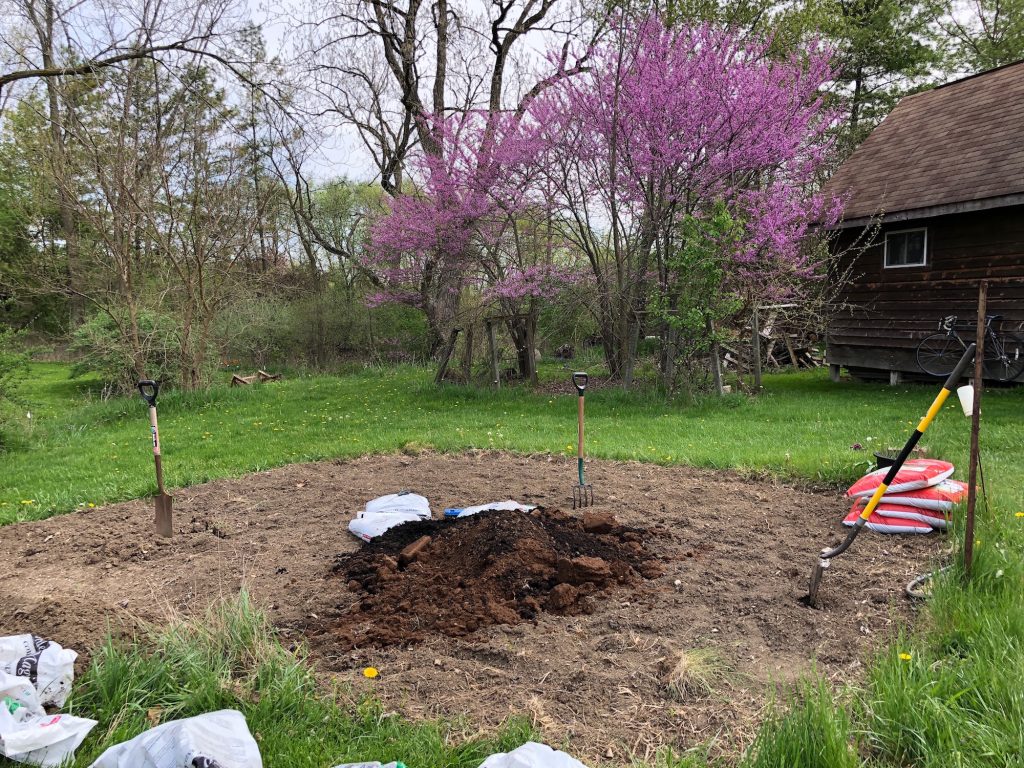
  • Soil. In my case, I have clay soil, so I bought many bags of peat moss and bags of a combination of manure and compost. I dumped all the bags in the middle of the garden, mixed it up, and worked it into the soil. If you are planting in containers, you will want to purchase a potting mix formulated for containers. If you are planting in a raised bed, you’ll also probably want to amend the soil to enrich it for planting, especially if you’re using the Square Foot gardening method or something similar.
  • Watering. Until your plants have established a healthy root structure, you’ll need to water them frequently. Try to water in the morning from the base of the plant and not douse the entire plant with water,which can lead to burns on your leaves and the start of fungus issues. If the weather is very hot, check them each day for watering and that goes doubly so for container plants.
  • Weeding. Doing a bit each day/week can keep weeds at bay. Trust me. I learned this the hard way. It’s not fair, but weeds seem to grow waaayy faster than plants do.
  • Feeding. Depending upon the plant, you may need to feed them to encourage growth/flowering. I work organic fertilizer into the soil before planting and then throughout the season I use compost, compost tea, and/or worm castings.

Enjoy Your Garden

It’s been about three weeks since I planted my garden. It’s been so much fun and so much work! I am learning a lot. I can tell my Pearly Gates roses will be my biggest challenge, as roses can be hard to grow organically, and mine are being attacked by bugs and fungus. We’ve had a very hot dry spell for May, so I’ve had to water a lot, but overall I am finding the process of growing an aromatherapy garden to be a joy. I keep finding more plants I want at garden shops and tucking them into the garden. It’s exciting to watch the plants grow and thrive.

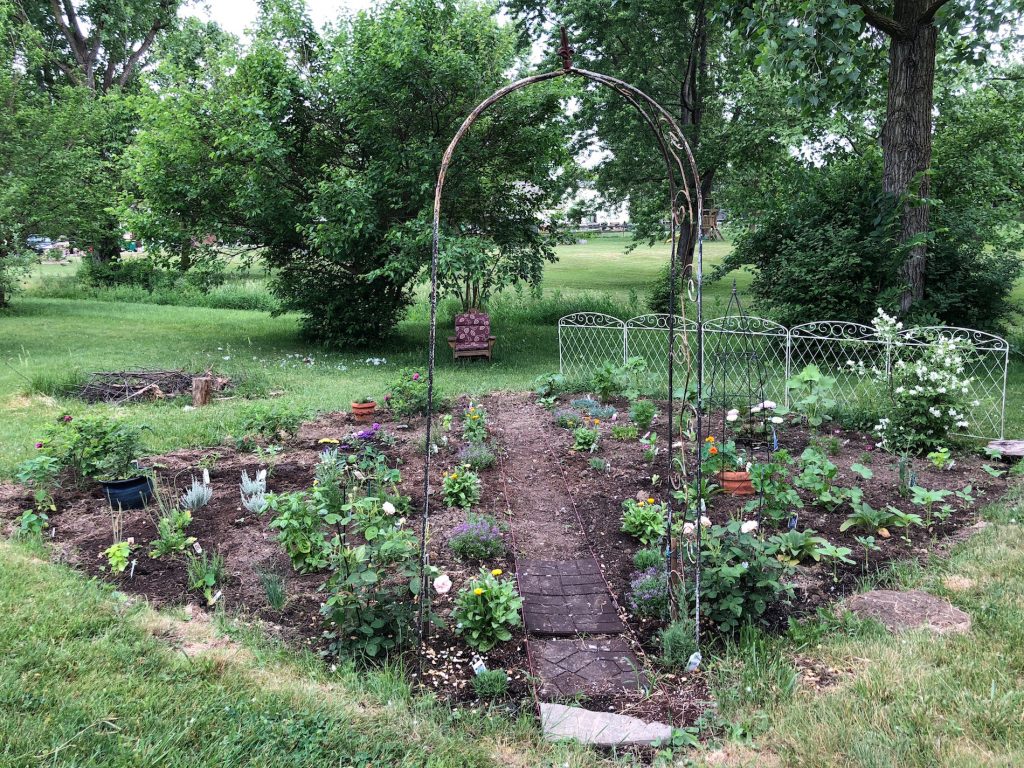
Here’s a picture right after planting.

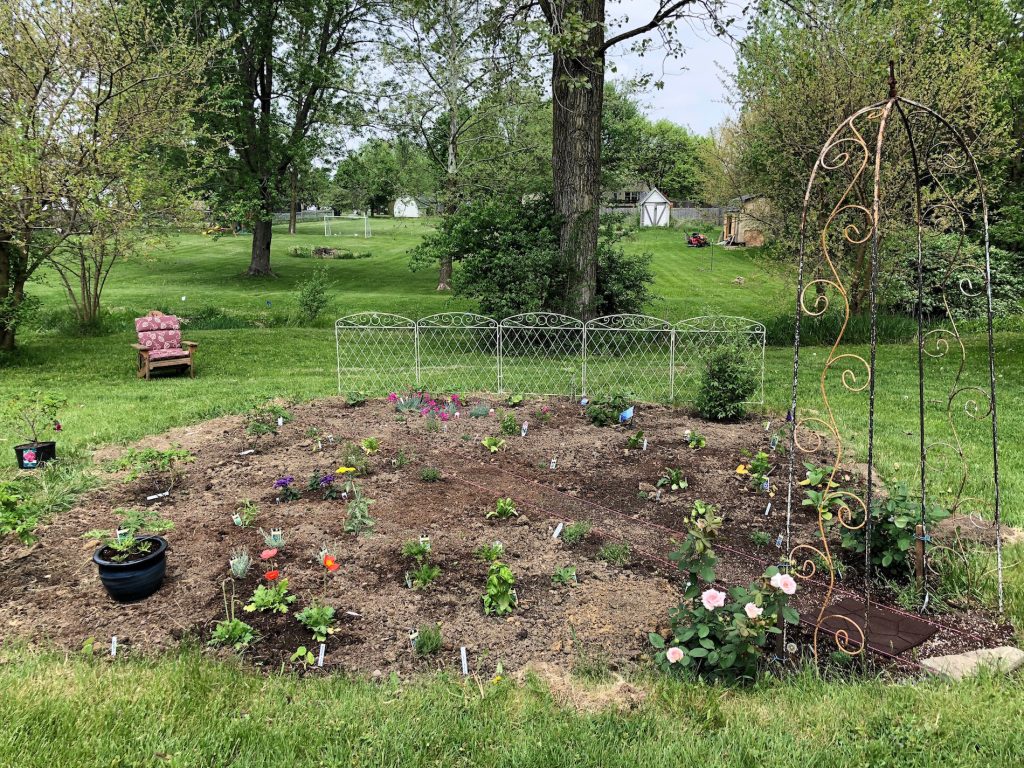
And here’s a picture three weeks later.

You can see, I still need to figure out what to do about my path. I’m leaning toward stone, so I need to finish that. I would also like to find a rustic bench to put at the end of the path.

In a future post, I’ll cover how I will be using/harvesting some of the plants.

Thanks for reading about my aromatherapy garden!

And now I’m wondering about you. Let me know what you’re planting this season.

Botanically me,


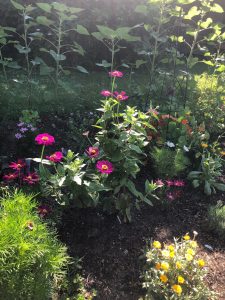
Mid-summer picture of my garden


Botanical Tools of the Trade

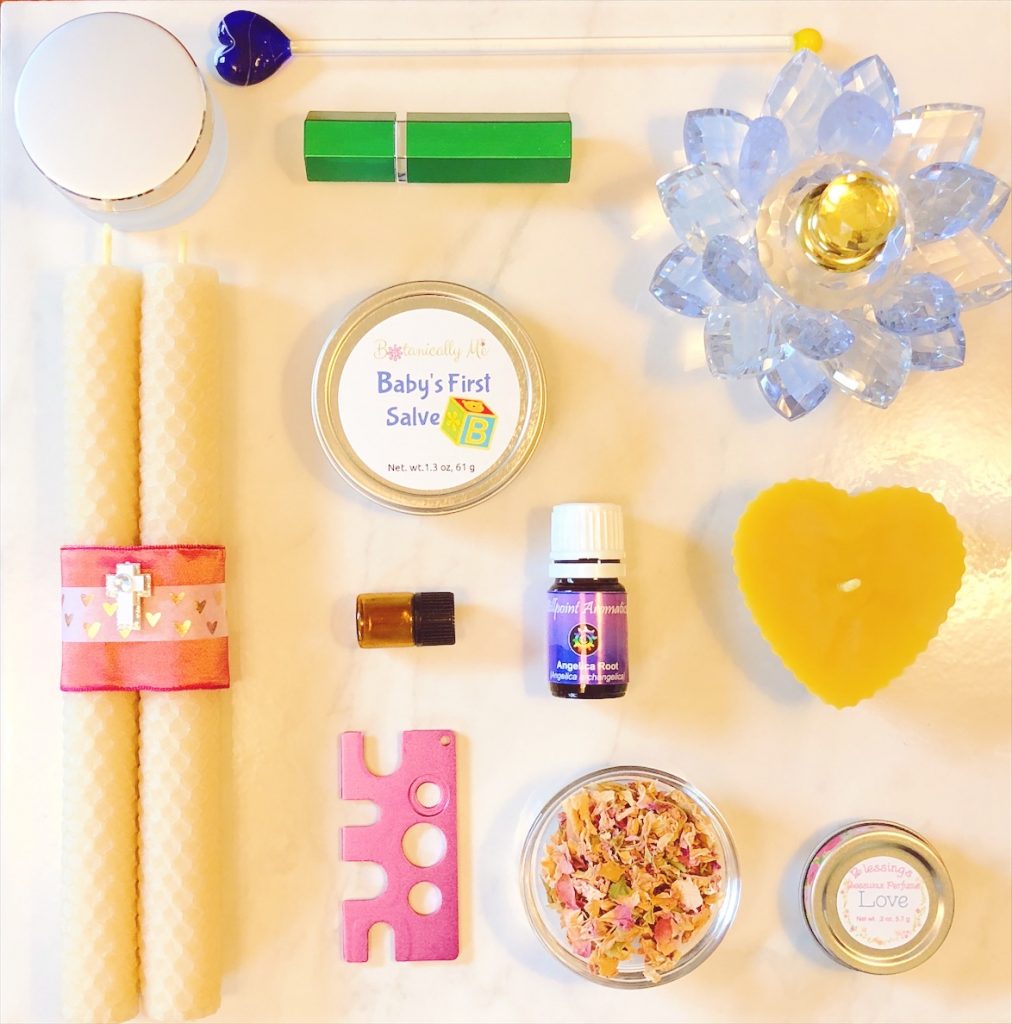
I took this picture for an Instagram post last month and love it so much because it captures some of the botanical products I make or aromatherapy ingredients/tools I use for Botanically Me. I thought I’d explain a little about each item.

We’ll start at the top left and move clockwise.

  1. #1 is a one-0unce beautiful glass jar with shiny silver lid that I use for my Rose Facial Balm. It can be difficult to find pretty jars for my products, and I was so happy to find this one.
  2. #2 is a green perfume atomizer I found at a discount store. I haven’t tried it out yet, but I will when I make an alcohol-based perfume.
  3. #3 is a vintage glass bartender stirrer that I discovered at my favorite vintage store. Glass stirrers can be hard to find today, as so many of them are plastic. Glass is perfect for using with essential oils because the glass won’t absorb the oil. I use these all the time when I’m making my products.
  4. #4 is a stunning glass perfume bottle that I found on my husband’s and my trip Kick Up Some Dust trip across the country last year. I got it at a discount price because one of the glass flower petals had fallen off and they had glued it back on. It’s barely discernible. I will have to make a very special perfume indeed to go in this special bottle.
  5. #5 is one of my heart-shaped pure beeswax candles that I make for my Etsy shop.
  6. #6 is a tin of my Love Blessings Beeswax perfume that I make for my Etsy shop. It’s prominent notes are rose and sandalwood.
  7. #7 is a glass jar filled with dried rose petals. I just love working with rose petals and can’t stop myself from smelling them every five seconds. I use them in everything from sugar scrubs to bath teas to oil infusions.
  8. #8 is a handy little tool I found that removes orifice reducers from essential oil bottles. These can be particularly hard to get off, and this tool makes it much easier. I just wipe it off with alcohol before using it on another bottle.
  9. #9 is a set of my Blessings Beeswax Taper candles from my Etsy shop. These were very popular over the holidays.
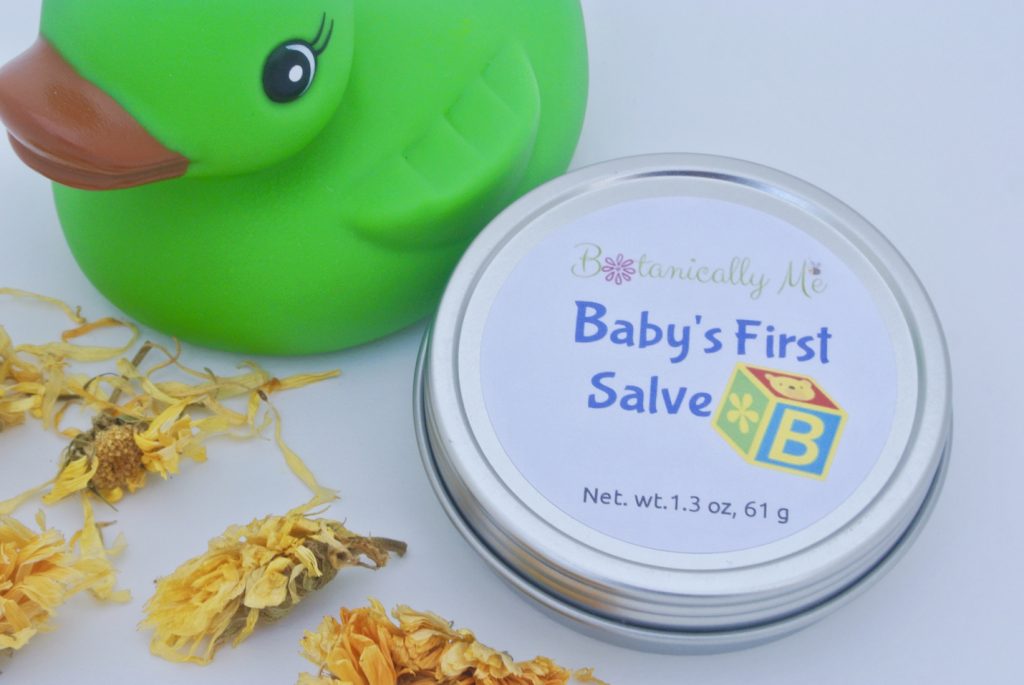
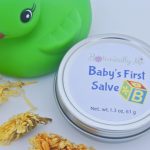
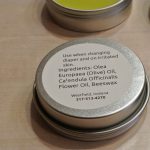
  10. #10 is a tin of my Baby’s First Salve product. This is perfect to use as a diaper cream or on other irritated skin of baby. It’s even safe for newborns because there isn’t any essential oil in it.
  11. #11 is a tiny 2-ml glass bottle that I use when creating a custom perfume for a client. I like to use these to hold perfume samples.
  12. And finally, #12 is a bottle of Angelica essential oil. Angelica is used in the perfume industry and is a herbaceous, earthy, spicy aroma. It is either a mid or top note, depending on what else it’s blended with. It also has therapeutic properties for the respiratory, digestive, and reproductive systems. It’s known as an aphrodisiac and antispasmodic and can be useful for a depressed state of mind.

Thanks for taking a peek into some of the tools I use and products I make in my business. If you have any questions, please just ask in the comment section.

Botanically me,


How To Make Baby Salve

Ever the game players, my daughter and son-in-law asked us to play a word game just shortly after arriving to our house for Thanksgiving. “Hmm. They’re getting a little overanxious with this game thing,” I remember thinking.

Five minutes later we were trying to puzzle out a maze of words when my husband started yelling, “Is it true? Is it true?”

With my mind on Thanksgiving details, I was only half with it. I looked closer at the words. “Andrew. August. Amber. Baby. Expecting.

I jumped up and down for the next five minutes as it sank in that we were going to be grandparents!

Best Diaper Cream for Babies

With that joyful news, I started pondering what botanical product I wanted to make for the baby shower. I’m all about chemical-free and natural, so I thought a salve that could double as a diaper rash cream would be perfect.

As I worked on the formulation, I realized that for a newborn, simple is best. Over the last few years, information has changed a bit regarding essential oil usage on newborns. The current information that I learned in my certification studies is that it’s best to wait until a baby is about six months of age before starting to use highly diluted essential oils topically. Please keep in mind that this applies even more so for premature babies because they have high skin permeability. (And please remember, it’s never a good idea to have a baby ingest essential oils, either.)

Now the caveat to my previously mentioned “nevers” is if your child is under the care of a doctor, naturopath, or clinical aromatherapist, and they advise otherwise.

However, in this case, I left out all essential oils from the recipe so that I—or you—wouldn’t be worried about using the baby salve on any age baby.

With that in mind, let’s look at the recipe. It’s really pretty simple.

Baby's First Salve

A natural, chemical-free salve recipe that doubles as a diaper cream.

  • 70 grams extra virgin olive oil (58%) ((EVOO is perfect for medicinal products))
  • 36 grams calendula oil (30%)
  • 14 grams beeswax (12%)
  • steel tin or glass container

Makes aout 4 ounces of salve.

    Beeswax

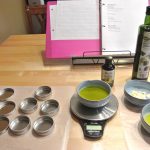
      1. Weigh and measure out all your ingredients. 

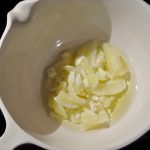
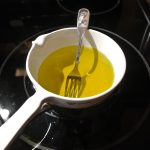
      2. Begin melting the beeswax in a double boiler.

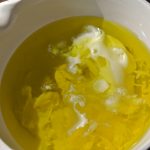
      3. When partially melted, add the calendula oil and olive oil.

      4. As you add the oils, the beeswax may harden again a bit, so continue to stir until everything has liquefied. I find that using a baby fork to stir works very well and it’s easy to clean.

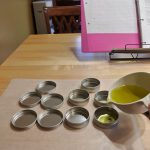
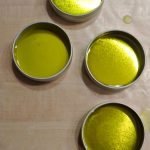
      5. Remove from heat, carefully wipe down the pot you are pouring from so that no moisture drips into your containers and pour immediately into sterilized containers.

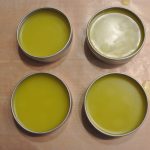
      6. Let set until it has hardened, about an hour or two depending upon the size of containers you are using.

      7. As it hardens the salve will change from clear to opaque.

      8. Be sure to label your product, including the ingredients.

      About the Ingredients

      Olive oil is a wonderful oil to use when making medicinal type products. It has a low risk of oxidative degradation. It contains vitamins E, K, squalene, and carotenoids. It’s an antioxidant that is helpful wound healing, dry skin, and for eczema,  just to name a few things.

      Calendula oil is an herbal oil you make through infusion, and it’s a powerhouse oil for the skin. I love growing my own calendula, drying it, and using it to infuse olive oil. It’s wonderful for wound healing and tissue repair, inflamed skin conditions, cracked skin, cracked nipples due to breast feeding (nontoxic to baby), burns, insect bites, and damaged tissues and ulcers.

      Beeswax is an emulsifier and a thickener, which makes it so beneficial in natural cosmetics. It helps seal in moisture to your skin. It is also healing for your skin. A powerful trio of ingredients used together in many recipes are beeswax, honey, and olive oil. It’s interesting to note that beeswax is being studied for its antimicrobial properties.

       How To Use Baby’s First Salve

      There are several ways to use this salve.

      •  Apply it when changing baby’s diaper to protect the skin and help heal it.
      •  Nursing mothers can use this salve on sore/cracked nipples. It is not harmful to babies.
      • Irritated patches of skin. My grandson has been teething and was constantly drooling, which caused a rash on his chin. My daughter applied some of the salve to this area.

      For sanitary purposes, I would recommend reserving a separate container of the salve for using with diaper changes and a separate container for other uses.

      Baby’s First Salve is a simple, easy way to safely care for and nurture your little blessing. And best of all, since you made it, you have complete control over every ingredient. If you decide you don’t want to make your own, you can purchase Baby’s First Salve from my line of botanical products.

      Use in good health!

      Botanically me,


      Beeswax for Health & Wellness

      Our bees working away!

      With it’s slightly sweet honeyed scent and glowing colors ranging from yellow to orange, it’s hard to resist natural beeswax.

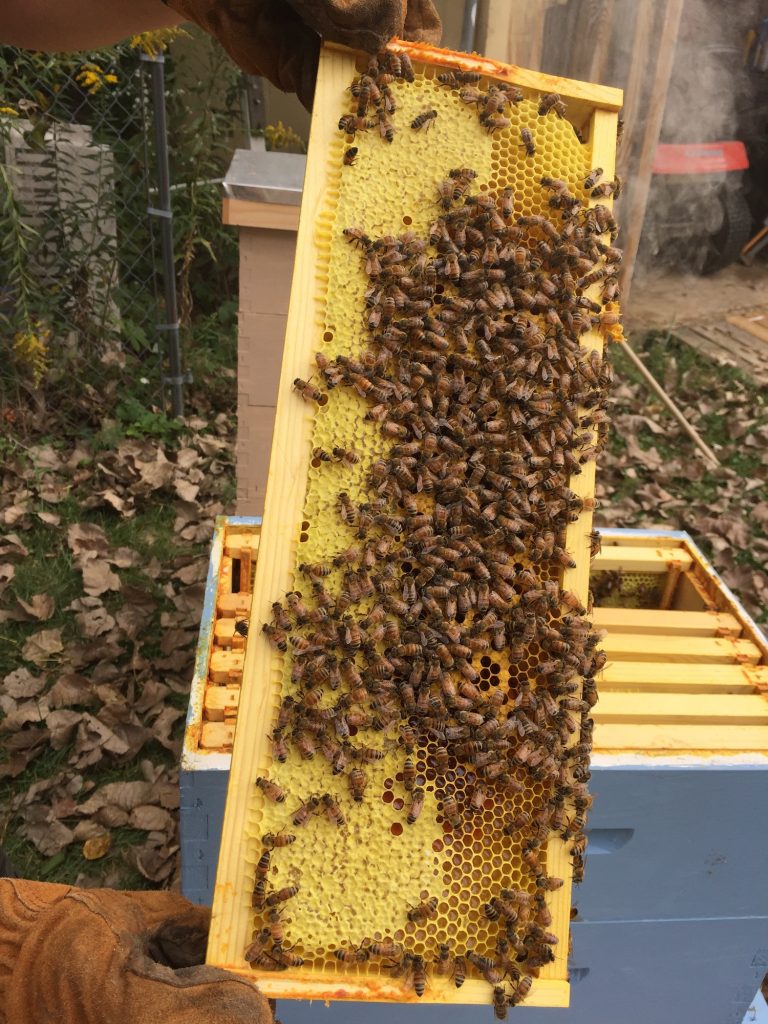
      Three years ago my husband and I took up the mantle of beekeepers, and while we have much to learn, we are fascinated by the day-to-day workings in a beehive and the goodness that the bees give to us. Besides pollinating about 70 percent of our food crops, honeybees produce honey, beeswax, royal jelly, pollen, and propolis.

      Today I want to focus on beeswax.

      Beeswax is produced by bees of the genus Apis and it’s actually comprised of over 300 components, including long-chain alkanes, acids, esters, polyesters, and hydroxy esters. What I find fascinating about botanicals including beeswax and essential oils, for example, is the very fact that we are using substances as God made them complete with all of their components within them.

      The reason I point that out is because when we consider the fact that most pharmaceutical drugs are isolating a single compound in a plant, synthesizing it and then distributing it as a pharmaceutical, we can see why we are having the problem with bacteria and viruses being able to mutate and become stronger than a drug, rendering the drug useless or much weakened in power. When you isolate one substance from the others in its natural state, you are ignoring any possible interactions with the myriad other substances that are probably contributing to the efficacy of the isolated substance.

      Beeswax Uses Past and Present

      Now let’s look at how one of my favorite substances has been and can be used.
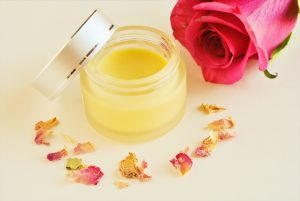
      My rose facial balm

      First of all, beeswax has been used for thousands of years in many different countries and cultures like Europe, Israel, Egypt and China. Applications included medicinal uses, beauty products, dietary supplements, and of course candles. Ancient writings even contain recipes of medicines and beauty products made with beeswax.

      Today beeswax is used in numerous ways including candles, ornaments, encaustic art, crayons, lip balms, salves, creams, balms, furniture polish, and as a waterproofing agent, in soap making, and in candy—just to name a few things!

      Benefits of Beeswax

      • Beeswax is an emulsifier and a thickener, which makes it so beneficial in natural cosmetics.
      • It has emollient properties and can help seal in moisture to your skin.
      • It is healing for your skin. A powerful trio of ingredients used together in many recipes are beeswax, honey, and olive oil.
      • It’s interesting to note that beeswax is also being studied for its antimicrobial properties (see link below to an article on this).
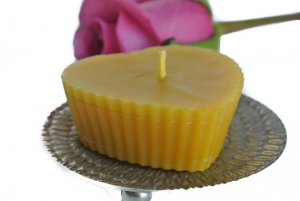
      I use beeswax in many of my products. I love beeswax candles because they don’t have any added chemicals in them. When I am burning a candle in the house, I don’t want to be adding substances to the air that could possibly be irritating to the respiratory system. The natural, gentle sweet aroma of pure beeswax is just right.

      I also favor beeswax for its ability to act as a natural thickener and healer in my products, such as salves and balms and solid perfumes. Since it appears that beeswax may have antimicrobial (antibacterial and antiviral) properties, I consider this an added bonus that can only benefit the user.

      When looking for local beeswax for sale, try to buy from a beekeeper that does minimal processing. Beeswax should still retain its scent and color.

      How to Break Apart a Block of Beeswax

      Working with the big blocks of beeswax can be a bit tricky. I have found two ways to break off smaller amounts of beeswax from the one-pound blocks:

      • Take a clean screwdriver and hammer. Pound the screwdriver into the beeswax until you fracture off a piece of beeswax that is easier to work with.
      • Use a sharp serrated knife to saw away at the beeswax, which will give you smaller chips of beeswax. Take care that the knife doesn’t slip.

      To clean beeswax off of your utensils or pans, I have found the easiest thing to do is to boil water in a kettle. As the water is steaming, hold the object to be cleaned in the stream of steam, constantly wiping off the melting wax with a paper towel until all the beeswax is removed. Be careful not to burn yourself!

      Today I am sharing a video I made for my Etsy shop that highlights four of my products that contain beeswax including solid perfume.

      Thanks for watching! Let me know of your experience with beeswax in the comment section below. Also see below for helpful (affiliate link) resources of books that I use for reference.

       Beeswax: A minireview of its antimicrobial activity and its application in medicine This is an interesting article about the scientific study of beeswax.

      Book source: Beeswax Alchemy: How to Make Your Own Soap, Candles, Balms, Creams, and Salves from the Hive

      On a side note …

      I’m very interested in those who are studying natural antibiotics and natural antivirals and their current and future role in the fight against bugs and superbugs. I’ve included two books that address this topic: Herbal Antivirals: Natural Remedies for Emerging & Resistant Viral Infections and Herbal Antibiotics, 2nd Edition: Natural Alternatives for Treating Drug-resistant Bacteria.

      SaveSave

      SaveSave

      SaveSave

      SaveSave

      SaveSave

      SaveSave

      SaveSave

      SaveSave

      SaveSave

      SaveSave

      SaveSave
      SaveSave

      SaveSave

      SaveSave

      SaveSave