Sharon Lovejoy on Garden Ideas for Kids

Artist, Author, Herbalist Sharon Lovejoy

I first met Sharon Lovejoy in the pages of her lovely book Sunflower Houses when I stumbled upon it in the library years ago.  I checked it out and was immediately captivated by her whimsical artwork and creative children’s garden projects just begging to be tried. 

Consequently, the first project I selected was the namesake of her book, the sunflower house. My two children and I had a fun summer planting and playing in our own sunflower house. 


gardening books
My collection of Sharon’s books

In the years since, I’ve added many of her other books to my collection, each one a treasure trove of ideas and inspiration. Recently, Sharon graciously agreed to let me interview her, and we talked about garden ideas for kids and her own gardening background.

Sharon’s Childhood

In her early years, Sharon’s love for nature was awakened by her Grandmother Lovejoy. Sharon’s parents built a tiny 420 square foot house in her grandmother’s back yard. “The first seven years of my life I lived in her garden …. My parents house was right smack under the peach trees and the apricot trees, and by the pathway of hollyhocks. It was absolutely in her garden,” she said.  
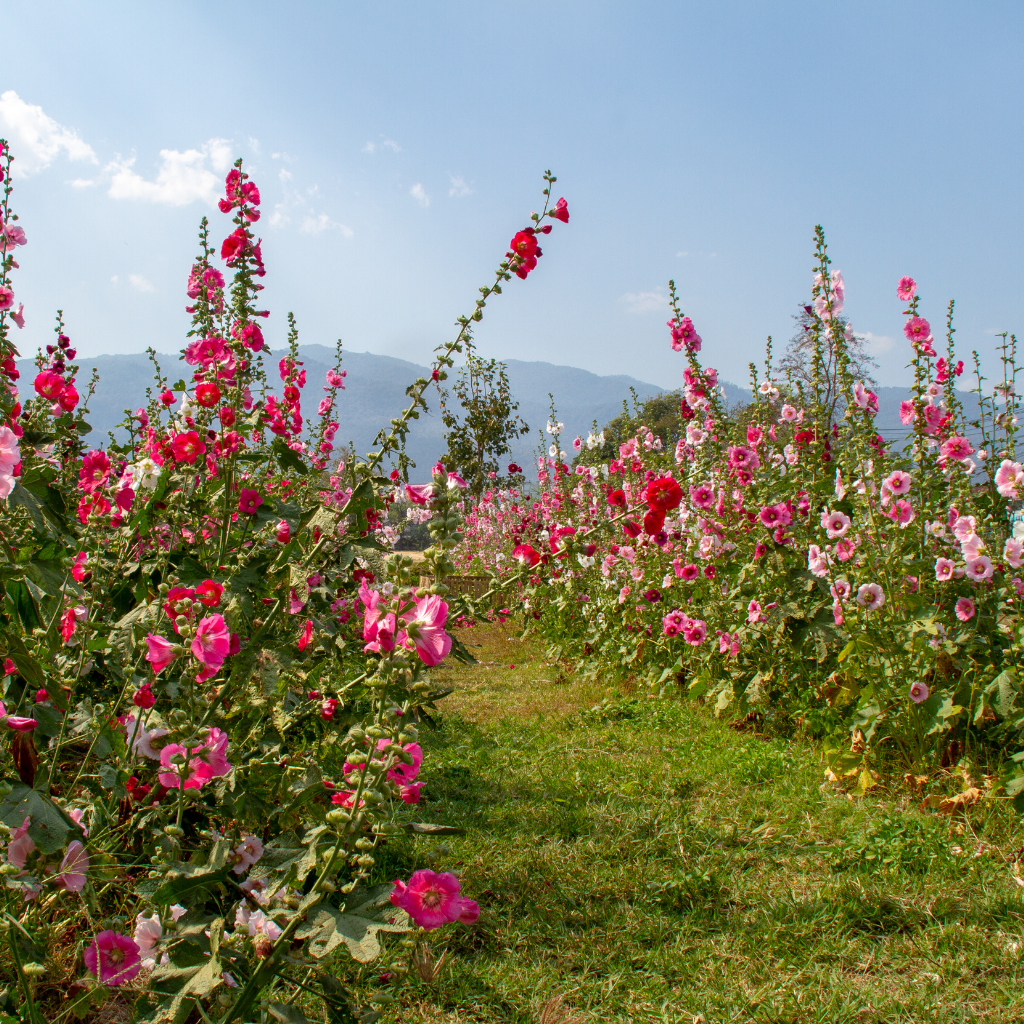
Every morning, Sharon ran down the Hollyhock pathway to Grandma’s house. The two explored outside, planted gardens, created art projects, and baked confections — often using the garden’s bounty.

Those idyllic years inspired Sharon to pursue a life as an artist, herbalist, writer, and all-around creative. She fills her books with gardening adventures galore that any child and child-at-heart will love.

Cultivate A Gardening Life with Your Kids

 Just as she was, Sharon wholeheartedly believes that children need to be outside in the fresh air and sunshine. “Outside nurtures us. Inside takes away,” she said.

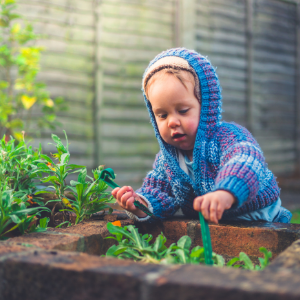
In her young adult years, she followed that advice with her own family. “I started taking my son Noah out into the garden when he was just 10 days old,” she said. “I grew herbs …. I would hold his little hand and brush it over things and hold things up to him and talk to him about them. He does that with his own children now.” 
gardening ideas for kids

Sharon believes that even if your family has never gardened, you can change that. “The garden can become a tradition, and once it’s a tradition, it’s part of your family history,” she said.

I think we can all agree that sounds wonderful, but how do you go about actually doing it, especially if gardening hasn’t been in your DNA? Whether you want to plant a toddler garden for little ones, a vegetable patch, or flowers, let’s look at some fun garden ideas for kids from Sharon.

Gardening Projects

For a first project, a container garden is perfect for children and parents to do together, especially if you don’t want to dig up the yard or don’t have much green space to work with.

 Container Gardening in a Half-Barrel

Half barrels or big pots are just right for growing vegetables. You can plant almost anything in them including vegetables, herbs, and flowers. Sharon pointed me to her book Camp Granny on page 141 for the details.

  1. Put your pot in an area of your yard that receives at least six hours of sun a day. 
  2. Drill a few 1/4 inch or 1/2 inch-size drainage holes in the bottom of the basket or pot (if it doesn’t already have them). 
  3. Cover the drainage holes on the bottom with pieces of screen or cheesecloth so the soil doesn’t fall out of the holes.
  4. Add a few inches of gravel to the bottom of the barrel (it helps with drainage).
  5. Fill the pot to the brim with bagged potting soil. If you’re planting a plant rather than seeds, you may have to remove some of the soil to make room. Water thoroughly. 
  6. Plant your seeds or plants following the directions on the package. Water seeds lightly (a spray bottle works for seeds) and plants more thoroughly (a watering can or hose). Always try to water plants from the bottom so you’re not dousing the leaves whenever you water. 

Container Garden Ideas

Now let’s look at some ideas on what to plant in the containers.

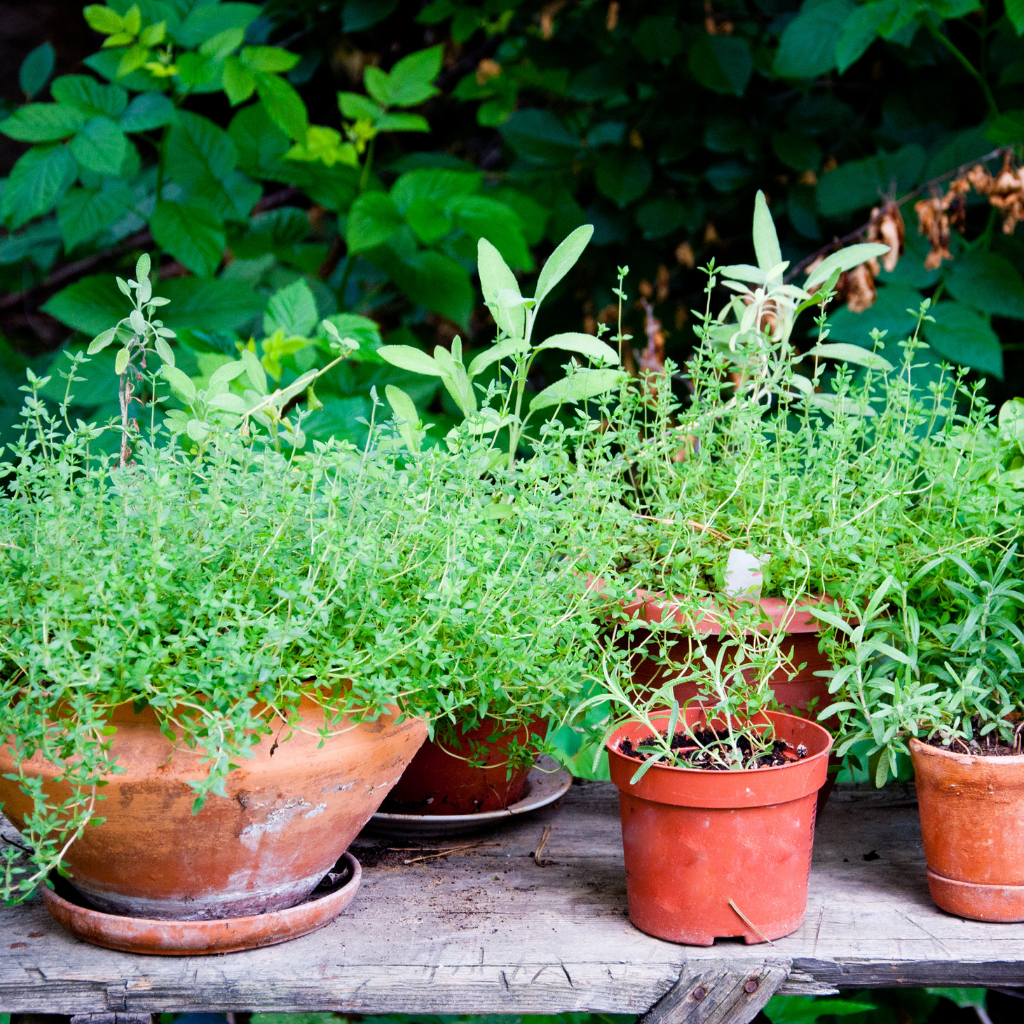
  • Herbs. Some favorites are basil, oregano, dill, parsley, cilantro, rosemary, garlic, and thyme. Take a trip to the nursery, and you’re sure to find some new ones to try too.
  • Vegetables. Cherry tomatoes do very well in big pots, as do lettuces, radishes, tiny carrots, squash (remember it will vine out over the pot unless you have a trellis for it to climb), and bell peppers.
  • Flowers. Try some edible flowers to add to salads like nasturtiums, violas, pansies, chive blooms, bachelor’s button, and dianthus. 
container garden ideas

Remember, don’t be afraid to mix the plants. For instance, pair a basil plant with a Roma tomato. Try an edible flower with cut-and-come-again mesclun and chives. It’s fun! For help with this, search the internet for the phrase companion planting.

Sharon’s Container Gardening Tips

Keep Sharon’s best tips for gardening in mind as you and your kids try different projects.
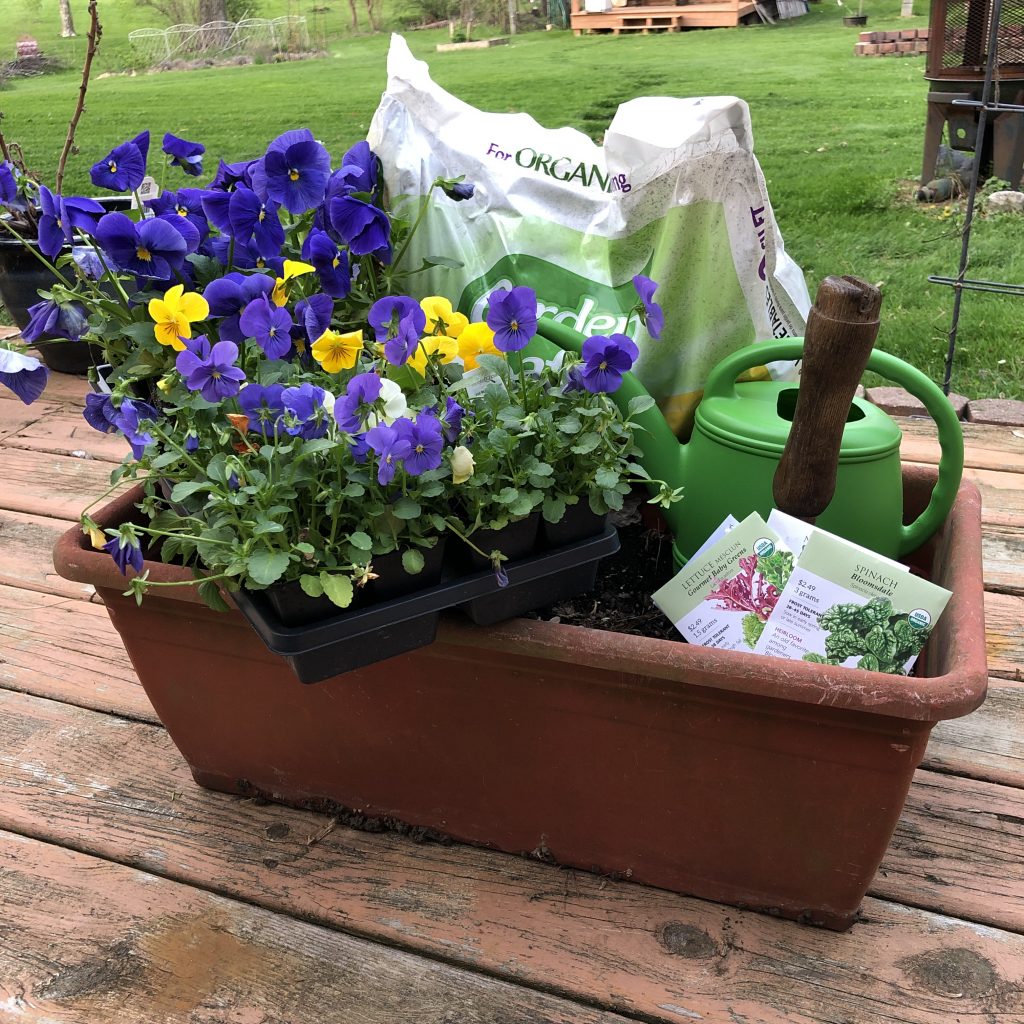
container gardening
  1. Put the container garden by your in-and-out door or other high-traffic  area so that it’s convenient for your child to access. 
  2. Buy a child-size watering can for your kids. The big ones are hard for children to handle because they get too heavy. Don’t use a hose. The water stream will blast the dirt out of the container and it helps spread any disease lurking in the dirt. 
  3. Buy kid-size yard tools. They are much easier for children to use. 
  4. “The best fertilizer is the gardener’s hands,” Sharon said. “Every day, every day, a mom or a dad or a grandma or an auntie should go outside with the child to check for bad bugs, check for any weeds that might have blown in there, and to make sure that things are moist.”
  5. No poisons. No sprays. Use fingers to pick things off. 
  6. Talk to your plants. 
  7. Learn the good and bad critters. Her book Trowel and Error has illustrations. 
  8. “Plant a tree for each of your children and let them chart life on that tree. Soon they’ll be saying things like, ‘That tree was that big when I was 6’ ” she said.
  9. Let children try unusual containers for planting. Sharon leads workshops where kids bring an old pair of shoes or boots to plant in. The children absolutely love it. Just be sure to put in drainage holes.
  10. Take pictures of your kids in the garden. 

Urban Gardening Ideas

But what if you live in the city and don’t have any or very little green space for gardening? No worries! Sharons has great ideas for urban gardeners too. Try one of these::
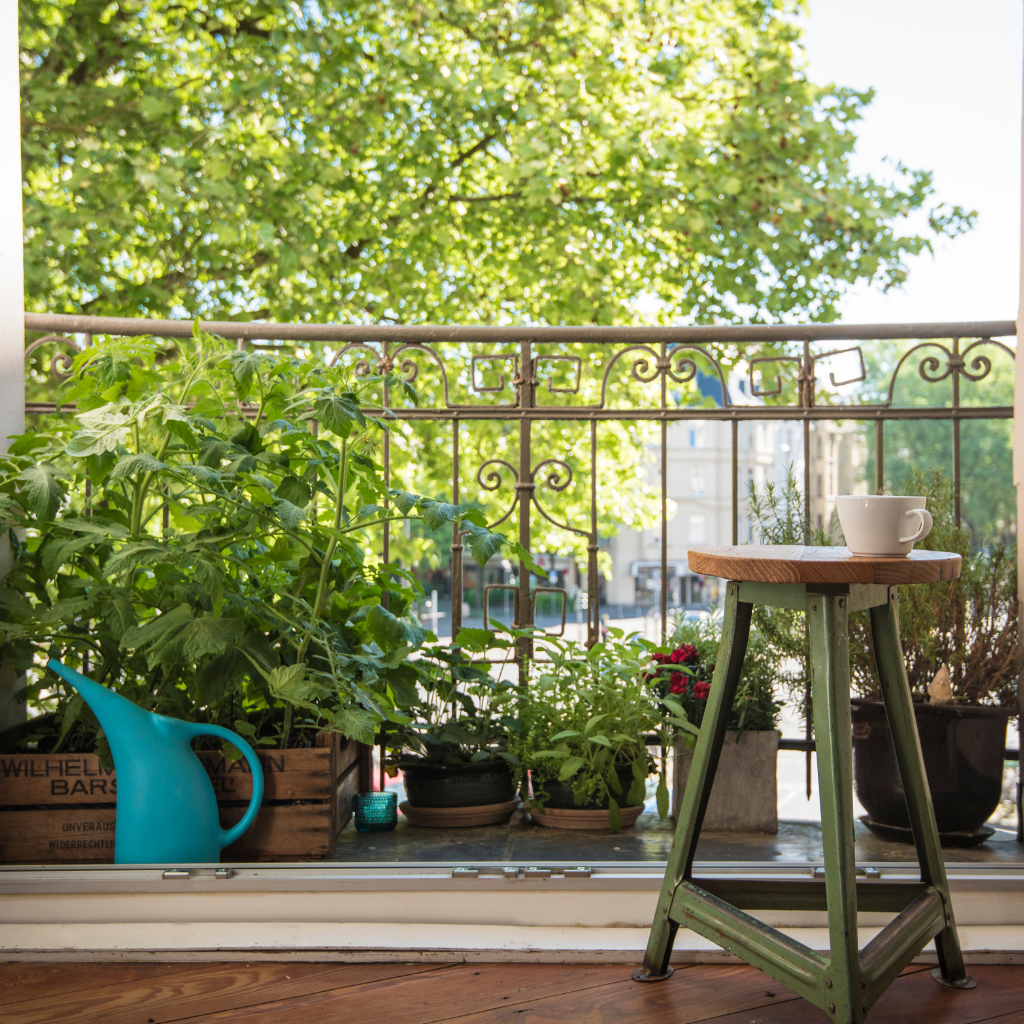
urban gardening

Kitchen Garbage Gardens 

Now before you think “ewww” and move on, garbage gardens are exciting projects that are all grown indoors using food scraps from your kitchen.  Chapter 4 in Sharon’s book Camp Granny is all about garbage gardens and filled with oodles of ideas, but here’s one to get you started.

Citrus Plant

The next time your child eats an orange or other citrus fruit, save the seeds and follow these directions:

  1. Rinse the seeds and soak overnight in a cup of warm water. 
  2. Fill a 4-inch wide pot or recycled container (like a yogurt cup) with potting soil. Making sure there are drainage holes in the bottom. 
  3. Plant two seeds to a container, one-half inch deep and cover with soil. 
  4. Water it thoroughly and label it.
  5. Place the pot in a shallow tray or saucer filled with some gravel and water.
  6. Place the tray in a sunny spot. 
  7. When the soil feels dry to touch (poke your finger about an inch deep in a different spot than where you planted the seeds), it’s time to water again. 
  8. Once the seedlings sprout, keep track of their growth by measuring monthly and recording progress in a nature journal. 
  9. Repot as necessary. Use a natural fertilizer every few weeks.

Indoor Gardening

In her book Trowel & Error, the last section covers indoor gardening projects. Sharon suggests urban gardeners can  grow herbs indoors in a sunny south window or under a Gro-light. Try any or all of the following herbs, as they are better situated for indoor growing conditions than some others: rosemary, oregano, savory, chives, thyme, mint, parsley, and sage. 

Sharon’s Urban Gardening Tips for Indoor Herbs

  • Turn them weekly so they grow evenly
  • Talk to them
  • Trim them as needed for cooking 
  • Feed them weekly with a half solution of a balanced fertilizer
  • Water as needed 

Explorer’s Kit

Perhaps you need to encourage an indoor-loving child to get outside a bit more. What child can resist a kid’s gardening kit? Here’s what Sharon keeps on hand for her grandchildren and other children when they come over:
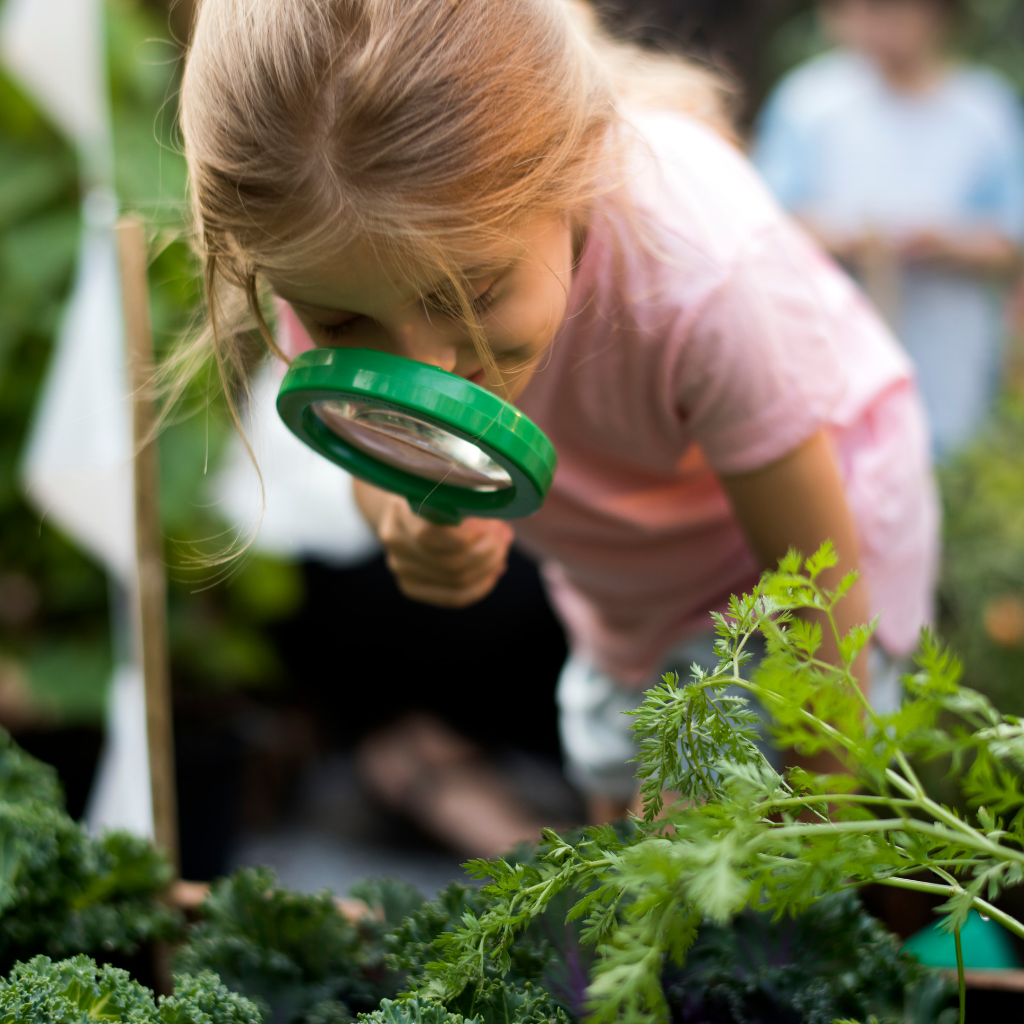
kids gardening kit
  • A magnifying glass to look at the tiny details of plants and insects.
  • A notebook or journal for children to write or draw about what they see.
  • A sheet of plexiglass to view insects on. They can look at all sides of them through the plexiglass.
  • A stethoscope for listening to trees drinking and bugs chewing and boring into the bark.
  • A canning jar with a ring lid and a piece of nylon screen to observe insects and then let them go.
  • A measuring tape or ruler.
  • A camera for those not-to-miss shots in the garden.
  • A flashlight to use at night. 

Above all, Sharon is a big believer in getting out into the garden everyday with kids to observe it. “There isn’t a day that goes by that I’m not absolutely astonished,” she said. “Paying attention is my daily inspiration.”

A Word About Creativity

Finally, Sharon believes that children are naturally creative. It’s the adults who have often had their creativity stomped out from the ups and downs of  life. Adults need to be sure they aren’t stifling the creativity in their children, and perhaps work to recapture their own. 

Miss Jenna, after she got her first harvest of lettuce from my gardening workshop

Overall, Sharon said one of the most important things is to do what the poet Mary Oliver says, “Pay attention. Be astonished. Tell about it.”

You can find Sharon Lovejoy online at her website, on Instagram, and on Facebook.

How about you? Are you inspired to try a gardening project with your kids? Let me know what you’ll be planting this summer and fall. If you’d like help with a gardening project, I offer a container gardening workshop in the Indianapolis area for parents and kids to do together. This is a great time to start a container garden for late summer/early fall harvest. Just click on the above link or the picture for details! It’s in Westfield and convenient to Noblesville, Carmel, Fishers, Zionsville, Sheridan, and the surrounding areas.

container gardening class for kids
email signature

Just a note, my links to Sharon’s books are Amazon affiliate links, and if you purchase any of them, I will receive a small amount of money from that purchase. Thank you if you do that. It helps me to continue my work!


Starting Seeds Indoors with Rita Ward

starting seeds indoors

Recently, the Polar Vortex had most of the U.S. in its icy grip, including the Midwest where I live. This winter we’ve been socked in with cold temps and snowy days. So it’s with great joy that I can make this announcement: 

 It’s time to think about starting seeds indoors for your spring garden! 


A Quick Background

Rita Ward
Rita Ward

If it seems early to you, consider that lifelong gardener and seed starter extraordinaire Rita Ward has already been hard at work starting her seeds. Rita was my seatmate on a recent airplane trip, and as we talked and got acquainted, we discovered a mutual passion for gardening.“I’ve been gardening and going to farmers markets for 56 years,” she said. So I knew right away I could learn something from her. She was more than happy to give me some gardening tips to share, so let’s get started.

To give you a bit of perspective, Rita is retired and owns a small house located on her daughter’s 15-acre property in Cloverdale, Indiana. Each year she plants a full 1/2-acre plot and sells her produce all season long at the Greencastle farmers market and at a road stand in front of their property.

Rita’s Top 15 List

  • Tomatoes
  • Squash
  • Peppers
  • Melons
  • Corn
  • Green Beans
  • Sweet potatoes
  • Asparagus
  • Persimmons
  • Red raspberries
  • blackberries
  • strawberries
  • Apples
  • Peaches
  • Plums

Tomatoes Galore!

tomatoes

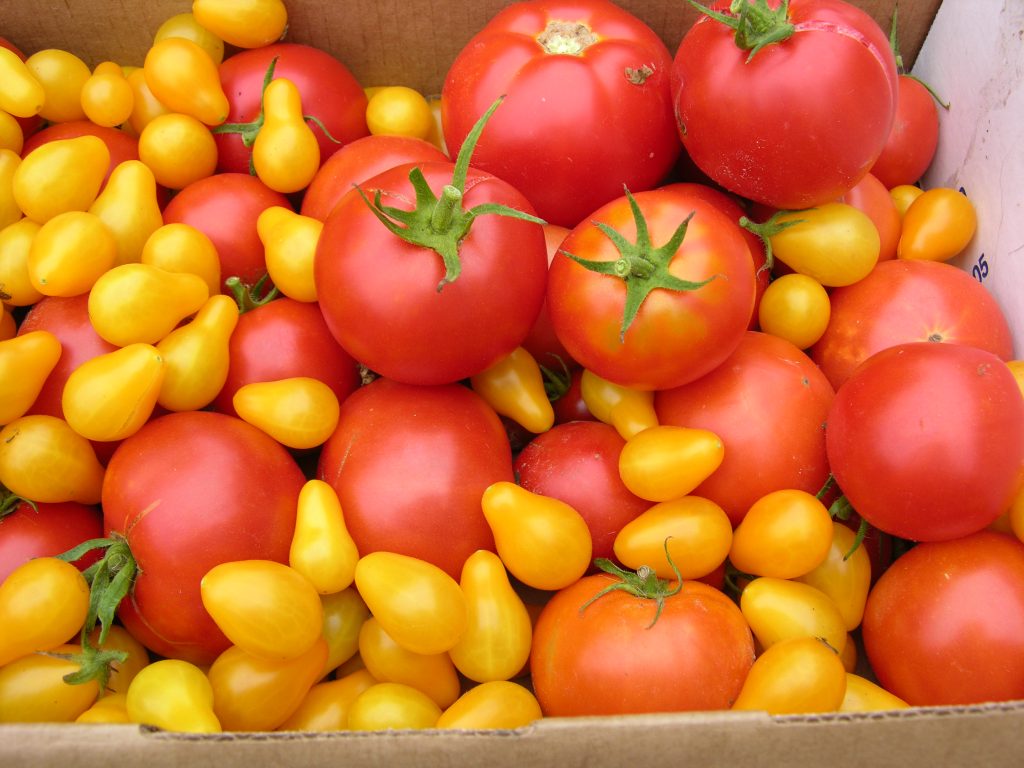
Every year Rita sets out an astonishing 300 tomato plants, all of which she propagates by starting seeds indoors. Now I’m sure that most of us will never need that many tomato plants, but however many you want to grow, it is much cheaper if you can grow the plants from seed yourself. Noting that “you can’t save seeds from hybrids,” Rita loves to grow all sorts of heirloom varieties.

Each year as she is harvesting her plants, she collects seed from her heirloom plants. She puts the seeds on paper towels to dry. Once they are dry, she puts the paper towel in a plastic bag, labels it, and stores it in the freezer until planting time rolls around the next year. 

Starting Seeds in a Greenhouse

Now, I’ve never been very successful at growing plants from seed, so I was interested to hear Rita’s method. Actually, way of life is the more accurate description. You see, Rita was born following the Depression.

“My generation and my family were taught not to waste and to take care of everything.”

Rita Ward

That truth is clearly evident in how she gardens.

Method 1

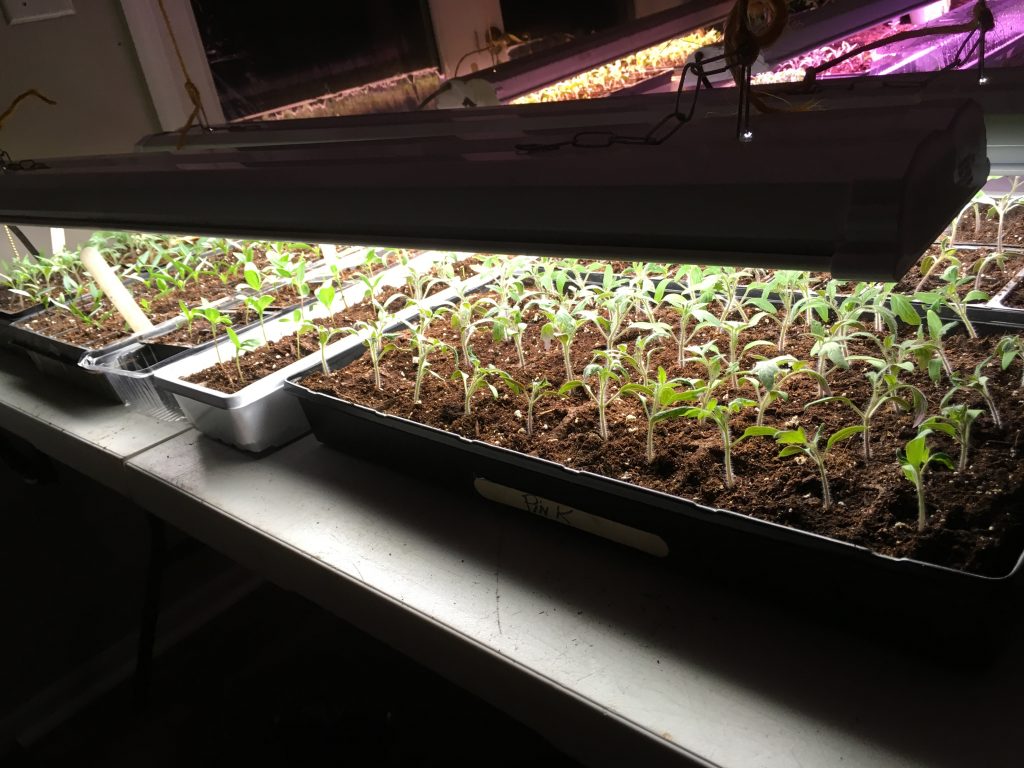
Being that her home is very small, Rita has to make use of outdoor space when starting seeds. Every year in late winter, she completely encloses her patio by wrapping sturdy plastic around the posts to make an outdoor room. Inside of the now enclosed patio she puts a small, inexpensive greenhouse (see a sample picture at the bottom of this post).

Since late February is still freezing in Indiana, she had to devise a way to heat her patio. Rita found an online tutorial that showed her how to make a mini fireplace using landscaping stones, a bread pan, candles, and an upside down flower pot.

Rita’s Flowerpot Fireplace

Rita’s Outdoor Flowerpot Fireplace DIY

Directions:

  1. Fill the large pot with a few inches of water and turn on the heat. Add one or two pillar candles to the pour pot and some paraffin wax and set in the double boiler. Melt. The wicks from the candles should sink to the bottom of the pour pot as they melt. Pour the melted wax into a bread pan and fill about 3/4 full of the wax. Discard any of the wicks from the melted candles. (NEVER set a pan with wax directly on a burner to melt. Wax is flammable. Always use a double boiler.)
  2. Take one emergency candle and cut it into 3 pieces, being sure each piece has about one-quarter inch of wick protruding from the top. As the wax in the bread pan is starting to set up, take two or three pieces of the cut emergency candles and set them in the wax with the wick sticking out. These will be the wicks that you will light for the bread pan candle.
  3. Let the pan cool.
  4. Place one landscaping stone flat on the floor inside the enclosed patio area (not inside the small greenhouse). Set the bread pan on top of the stone. Stand up two bricks on either side. Put the upside down flowerpot on top as shown in the picture.
  5. Light the wicks.
  6. Rita says one bread pan candle will burn all night.
  7. Of course, use extreme caution, especially around children. The flowerpot will get extremely hot.

I found a similar flowerpot fireplace online tutorial, which I am sharing here. The big difference here is that Rita’s candles burn for one full night, while these only burn for 3 hours at a time.

Method 2

Because this winter has been so cold, Rita has focused on starting seeds indoors in her small furnace room. She had just enough space for her greenhouse. The room is warm, so she doesn’t need to worry about any extra heat, so no fireplace needed! Keep reading for instructions on seed starting.

Rita’s Tips for Successful Seed Starting.

  • Try running a small fan to circulate air, helping to prevent fungus from forming on the plants.
  • If the greenhouse is indoors, leave the door of the greenhouse open. 
  • Be sure to keep the soil moist.
  • Use a mix of organic seed starter and organic potting soil. She thinks the seed starter is too light to use by itself.

Starting Seeds in a Paper Towel

Once her patio area/greenhouse is ready, Rita takes the seeds she has dried out of the freezer and works through the following steps:

  1. Purchase round plastic plant trays from the Dollar Store (the type you put under houseplants to catch water drainage).
  2. Line the bottom of the tray with a combination of organic seed starter mix and regular potting soil mixed together.
  3. Set the paper towel with the seeds that you dried directly on the soil and cover the paper towel and seeds with another layer of soil. Alternatively, purchase seeds and plant the seeds directly in the soil following the directions on the package. Carefully water. Cover the tray with a layer of plastic wrap. Make sure you keep the soil moist.
  4. While many sources advise to keep the seeds in the dark, Rita hangs LED electric candles (like the type you put in your window– see the picture) upside down on the rack so one candle is hanging above each shelf. She leaves them on around the clock. “The bulbs don’t get hot she says.”
  5. When you see sprouts, remove the plastic wrap or lid. Hang grow lights (pictured at the bottom of the post) and keep them 2 to 3 inches above the plants. Rita actually keeps her lights burning day and night. 
  6. Once the seedlings have two leaves, transplant them. Styrofoam cups with a hole work well or larger Jiffy pots (also pictured below). Continue to keep them under the grow lights until you move them outside.
  7. Rita deep waters the plants about once every 10 days. Between deep waterings, she mists them with a spray bottle when the soil starts looking dry.
Rita’s Greenhouse with Seedlings
seedlings
Growing Seedlings

Transplanting Outside

At the end of March, Rita moves the seedlings outdoors to their permanent location in the garden bed. Now this is about six weeks earlier than the last frost date, so she has to protect them. She covers about half of her half-acre plot with black plastic to cut down on the weeding and to help the soil warm up so that she can plant as early as possible. By this time she has over 500 seed tomato plants ready to be planted!

She then follows these steps for outdoor planting:

  • Cut a hole in the black plastic and insert the tomato plant in hole.
  • Take a sheet of newspaper, fold into a narrow strip and wrap around the base of the tomato plant. This helps to keep weeds at bay and helps keep the soil moist.
  • Cover the roots and up to the first leaves with  soil.
  • Stake and cage each plant.
  • Protect each plant  with a plastic milk jug in cold temperatures. Be sure to remove jug in warmer temperatures to prevent wilting.
  • She uses bamboo hoops and row cover fabric to further protect the plants in the evening and on any days that might be below freezing.

Since Rita gets such an early start with her plants, she is always one of the first ones at the farmers market to have tomatos to sell. In a good year, she’ll have tomatoes at the market by June 1.

Summer Harvest

Garden Harvest

With the amount of fruits and vegetables Rita plants, she has a bountiful harvest with plenty to sell and much to preserve. “Canning along with freezing, dehydrating, and wine-making keeps me from losing much from my gardening,” she said. 

Rita is thankful for the skills she has been given and wants to pass them on. “This is beginning to be a lost art, don’t you think?” she said. “I feel like the Lord gave me this, so I need to take care of it!”

Rita’s Tip for Greening Up Tomatoes, Peppers, and Roses

  • 1/2 cup Epsom Salt
  • 1 1/2 gallons water

Mix the salt in the water and use to water tomatoes, peppers, and roses once every two to three weeks. Often, she also adds fish emulsion to the mix.

Are You Ready to Try Starting Seeds Indoors?

Now maybe you don’t have a half-acre that you want to plant like Rita, but you’ve been inspired by her story to try starting seeds at home. Starting at least some of your crop from seed gives you a wider variety of plants to choose from, including more heirloom varieties. Here are a few suggestions:

  1. Start small if you’ve never done this before.
  2. Make your own seed starting kits by purchasing round plastic trays like Rita or try starting seeds in egg cartons.
  3. Or, if you want an easier option, buy a Jiffy seed starting kit (pictured below) that you can find in any garden center, big box store, or on Amazon.
  4. Purchase a set of grow lights at a big box store or online.
  5. Remember to water and follow directions carefully. 

Favorite Seed Companies

You can find seeds just about anywhere, but if you want to order online, here are some of my favorite companies.

  • Botanical Interests They have a great variety of seeds, and I love their option of purchasing large packets of seeds and seed collections. They also have the MOST beautiful seed package artwork.
  • Urban Farmer This store is just one mile from my house and they have a great selection of non-GMO seeds. They focus on heirloom varieties that don’t need to be cross-pollinated. They also sell garden supplies.
  •  Renee’s Garden.They also have a wonderful variety of seeds and beautiful artwork on the packaging as well.
  • Seed Libraries. The public library near me (Carmel Clay Public Library) actually has a seed file cabinet, where you can “check out” heirloom seeds to plant in your garden. Check and see if your community has something similar.

Are you ready for the 2019 gardening season? I know I am. What are you planting, and will you be starting seeds indoors? Leave me a comment. I’d love to hear your plans!

Botanically me,

email signature

Just to let you know, I am an affiliate for Amazon and Botanical Interests. If you happen to purchase anything from Amazon or Botanical Interests through my links, I will make a small profit from it, so thank you very much. It helps me to continue writing and working. I only recommend products I use/believe in.


Herbal Workshops for Indoor Herbs

Wouldn’t you love to be able to enjoy the healing plants of summer in winter too?

I know I would! There’s nothing better than fresh herbs. That’s why I’ve created a workshop to help us enjoy indoor herbs for wintertime use.

Schedule Workshop Now

During the Herb & Tea Workshop, you’ll make a cutting from your choice of herbs from my aromatherapy garden to take home with you. You can select from the following herbs: scented geranium, lemon verbena, lemon balm, peppermint,  lavender, or Rosemary.

Once the plant has taken root, you can transplant it in a small pot to watch it grow through the winter and then harvest from your own mini indoor herb garden. I’ll be sure to send home directions so you know exactly what to do.

Here’s what the hour-long herb workshop includes:

  • Taking a cutting from an established herb plant from my garden (includes the pot and soil).
  • Teaching time on how to care for your herb, along with some of the benefits of the type of herb you choose.
  • Printed directions on how to care for your herb.
  • A cup of herb tea. You get to choose the base of your tea (red rooibos, green rooibos, green tea) plus additional herbs, many of which are fresh from my garden: chamomile, sage, lavender, peppermint, lemon balm, lemon verbena, and thyme, depending on what is available. Besides the fresh tea, you’ll enjoy the lovely aromatherapy experience as you pick the fresh herbs from the garden.

I offer the herb workshop in Westfield, Indiana, and the cost is $30 per person. Schedule the herb workshop now or call 317-513-4270 with questions. When scheduling, be sure to give me your contact information.

Botanically me,


Plant an Aromatherapy Garden

I didn’t think planting season would ever arrive this year.

All winter long I’ve been anticipating growing an aromatherapy garden, but cold temperatures through April and dreary weather in the Midwest made me put my plans on hold. In literally one week in May, we went from late winter temperatures to early summer, and I eagerly jumped wholeheartedly into planting my scented garden.

But, I’m getting ahead of myself. Let’s back up a bit so I can briefly explain how I went about the concept of planting an aromatherapy garden, in case you want to also.

Researching an Aromatherapy Garden

As an aromatherapist, I have wanted to grow a garden that I could use in my business as a working garden for harvesting and as a beautiful place to let clients wander through. I spent some time during the winter reading and planning how to plant an aromatherapy garden. Some things to consider:

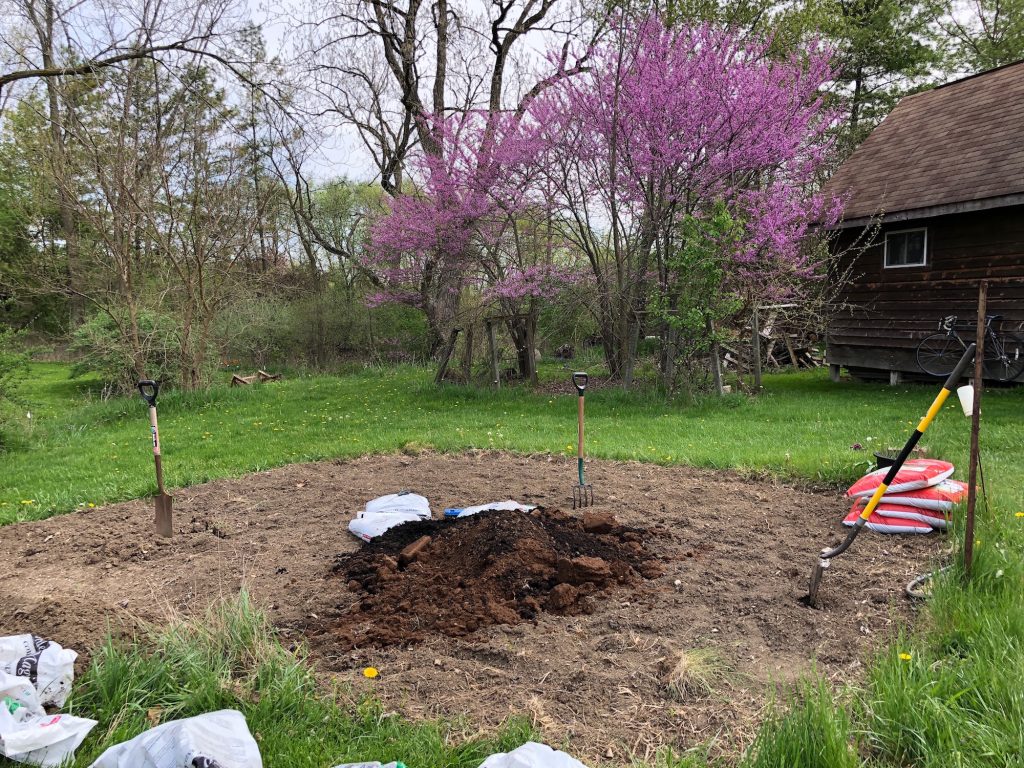
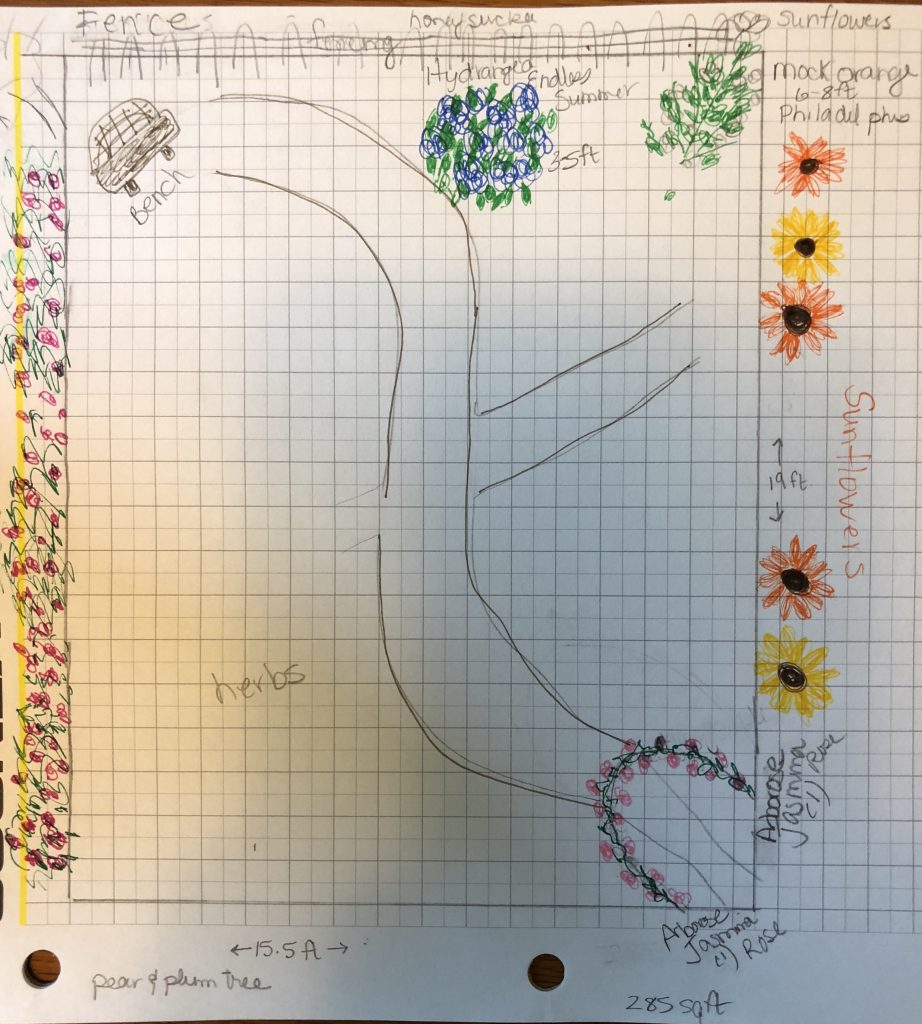
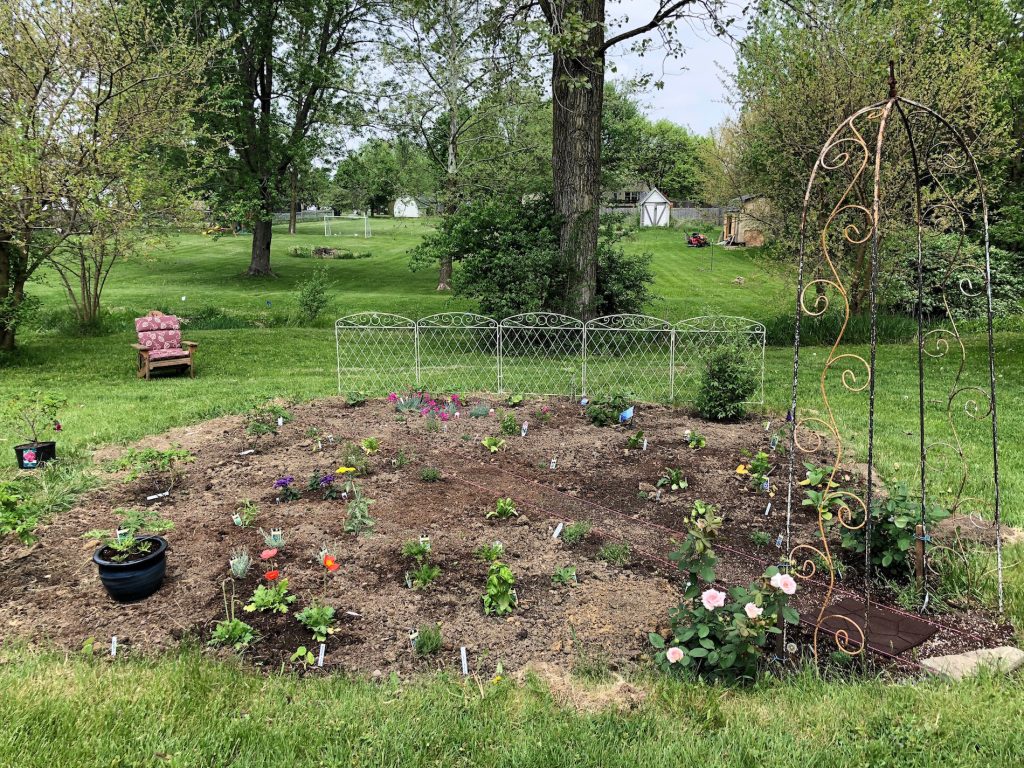
  • Plot size. You can go small or big, or even all in containers if you need to. I decided to repurpose a 15 x 19 garden plot that we let lie fallow last year while we were gone on a trip.
  • Garden style. After scouring several garden books, I realized that I LOVE natural cottage gardens. That worked out perfectly because many of the plants that are considered cottage garden plants also happen to be aromatherapy plants.
  • Plant list. Make a list of must-have plants that you want in your garden.
  • Lay out. I made a rough sketch, with the emphasis on rough, of my plot size, fitting in where I wanted the large size plants to go and the garden path. I didn’t add in all the smaller plants, because I like to do that when I’m outside so that I can actually see and add them in as I’m working.
  • Buy list. Figure out what you can buy locally and what you will need to order online.
  • Budget. As we all know, buying plants is addictive and it’s easy to go overboard. At least it is for me! Try to stick to your budget.
  • Care. I want my garden to be as organic as possible. I don’t like chemicals, and I want to harvest my plants to use in my products that I make for my Etsy shop and use with my consultation clients.
  • Garden accessories. I knew I wanted an arch for the entrance of my garden and I wanted a fence for the back side that I could use for vining and creeping plants. I was so happy to find a vintage arch at an antique shop and an easy-install fence at Menards.

Aromatherapy Garden Plants

Here’s a list of the plants in my garden:

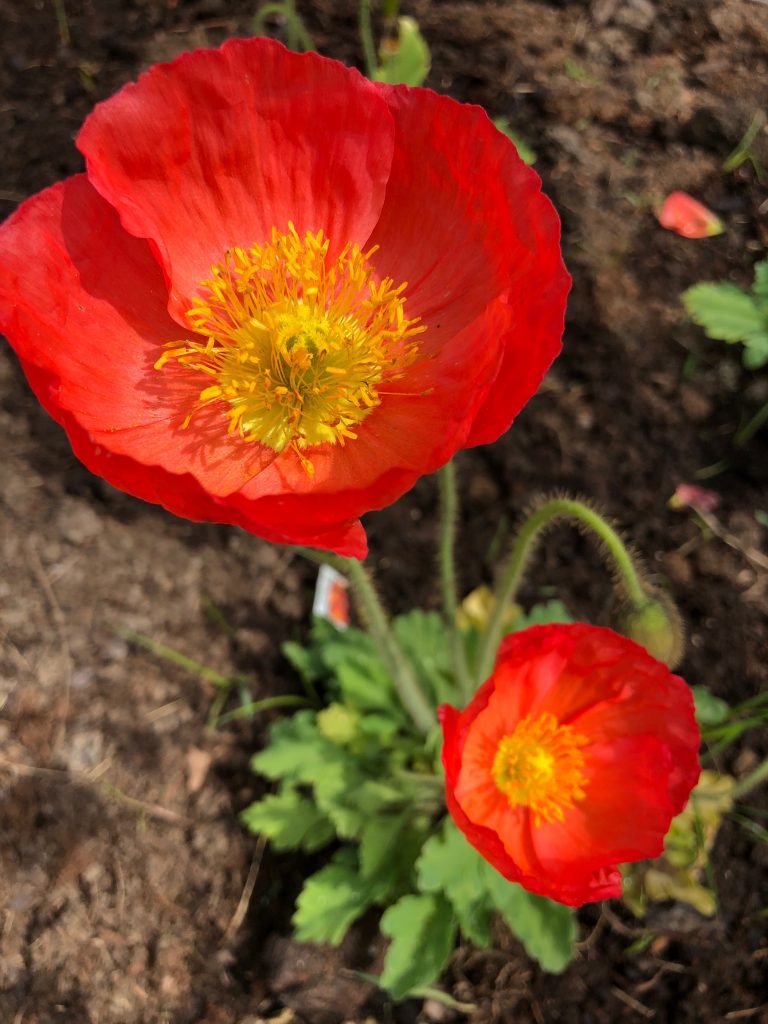
Calendula, lavender, alyssum, basil, rosemary, nasturtium, poppies, sweet peas, Larkspur, thyme, scented geraniums, German chamomile, yarrow, lemon verbena, curry (not the spice but helichrysum)

Heliotrope, Rosa Rugosa Hansa (rose hedges), pinks, hollyhocks, cosmos, violas, Shasta daisy, mock orange, musk mallow, mallow, butterfly bush, hydrangea, fragrant honeysuckle, a climbing rose called Pearly Gates, stock, pineapple sage, sage, sunflowers, and poppies

Whew! I know that’s a long list, but choose what you can handle and what you like and start there. If you’ve not gardened before, start small. You can always add more later. A simple, small aromatherapy herb garden of lavender, chamomile, scented geraniums, calendula, and mint would be a great start. Tip: plant the mint in a pot so that it doesn’t take over the whole garden.

Most of my plants I bought at a nursery, but a few of them I started from seed and transplanted into the garden. And I sowed the sweet peas and sunflowers directly into the garden.

Don’t Forget This Too

  • Soil. In my case, I have clay soil, so I bought many bags of peat moss and bags of a combination of manure and compost. I dumped all the bags in the middle of the garden, mixed it up, and worked it into the soil. If you are planting in containers, you will want to purchase a potting mix formulated for containers. If you are planting in a raised bed, you’ll also probably want to amend the soil to enrich it for planting, especially if you’re using the Square Foot gardening method or something similar.
  • Watering. Until your plants have established a healthy root structure, you’ll need to water them frequently. Try to water in the morning from the base of the plant and not douse the entire plant with water,which can lead to burns on your leaves and the start of fungus issues. If the weather is very hot, check them each day for watering and that goes doubly so for container plants.
  • Weeding. Doing a bit each day/week can keep weeds at bay. Trust me. I learned this the hard way. It’s not fair, but weeds seem to grow waaayy faster than plants do.
  • Feeding. Depending upon the plant, you may need to feed them to encourage growth/flowering. I work organic fertilizer into the soil before planting and then throughout the season I use compost, compost tea, and/or worm castings.

Enjoy Your Garden

It’s been about three weeks since I planted my garden. It’s been so much fun and so much work! I am learning a lot. I can tell my Pearly Gates roses will be my biggest challenge, as roses can be hard to grow organically, and mine are being attacked by bugs and fungus. We’ve had a very hot dry spell for May, so I’ve had to water a lot, but overall I am finding the process of growing an aromatherapy garden to be a joy. I keep finding more plants I want at garden shops and tucking them into the garden. It’s exciting to watch the plants grow and thrive.
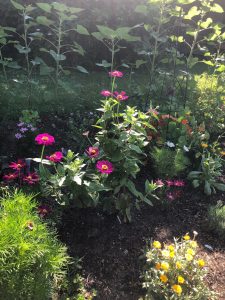
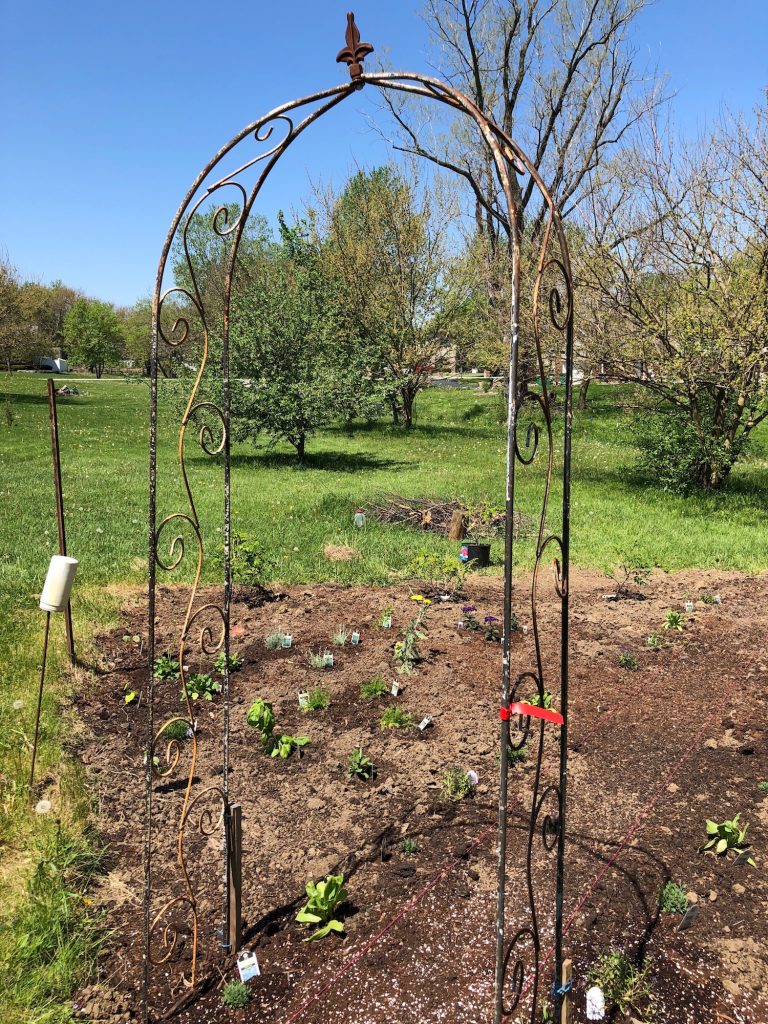
Here’s a picture right after planting.

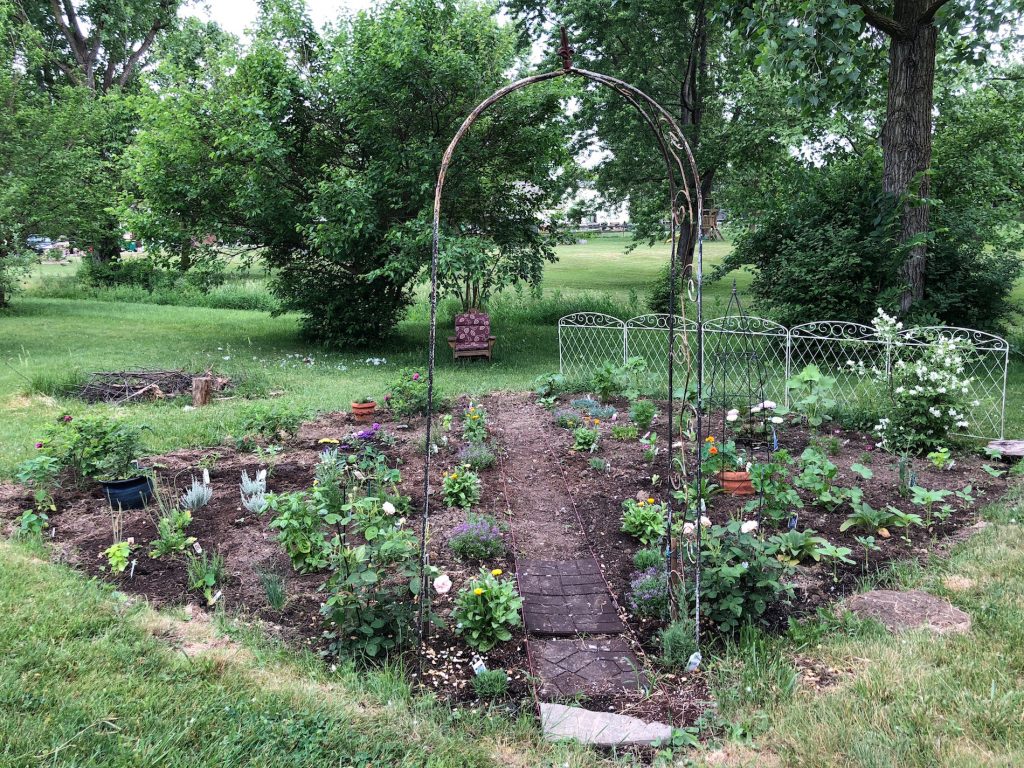
And here’s a picture three weeks later.

You can see, I still need to figure out what to do about my path. I’m leaning toward stone, so I need to finish that. I would also like to find a rustic bench to put at the end of the path.

In a future post, I’ll cover how I will be using/harvesting some of the plants.

Thanks for reading about my aromatherapy garden!

And now I’m wondering about you. Let me know what you’re planting this season.

Botanically me,


Mid-summer picture of my garden


Plant an Indoor Herb Garden

I don’t know about you, but when I’m smack in the middle of blah winter months, I miss working in my herb garden and being surrounded by the aromas and visions of blooming herbs, flowers, and veggies. Winter days can be a bit dreary after the excitement and busyness of the holidays. Especially this year. We’ve had days and days of sub-zero temperatures and snow. It’s a real winter.

This morning I woke up and decided I couldn’t wait a minute longer for some greenery. I called around and found a nursery that had a few herb plants in stock. Perfect! I could see a little indoor herb garden springing to life in my mind already. I love herbs because they’re instant aromatherapy. I can’t help but smile when every time I walk by I catch a whiff of their sweet or spicy fragrance.

Growing Herbs Indoors

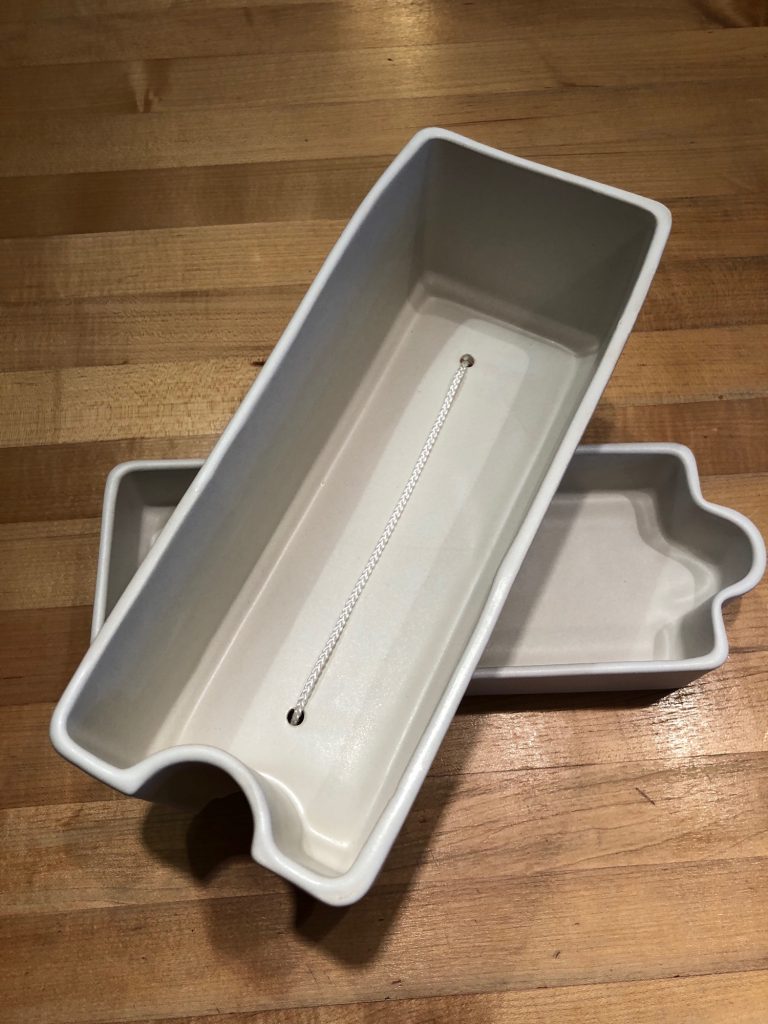
First of all, I need a planter for growing herbs indoors. For a while I’ve had my eye on a self-watering planter that I saw at the IKEA store that recently opened up near my home. I love the design of this. It’s in two pieces. The bottom is a separate reservoir with a wick that threads through two holes in the top part of the planter. The wick then dangles down into the reservoir and Voila! No worries about my plants drying up if we’re going to be gone for a week or so.

The planter looked big enough for two herb plants, so the next stop was to the local nursery to find my plants.

Choosing My Herbs

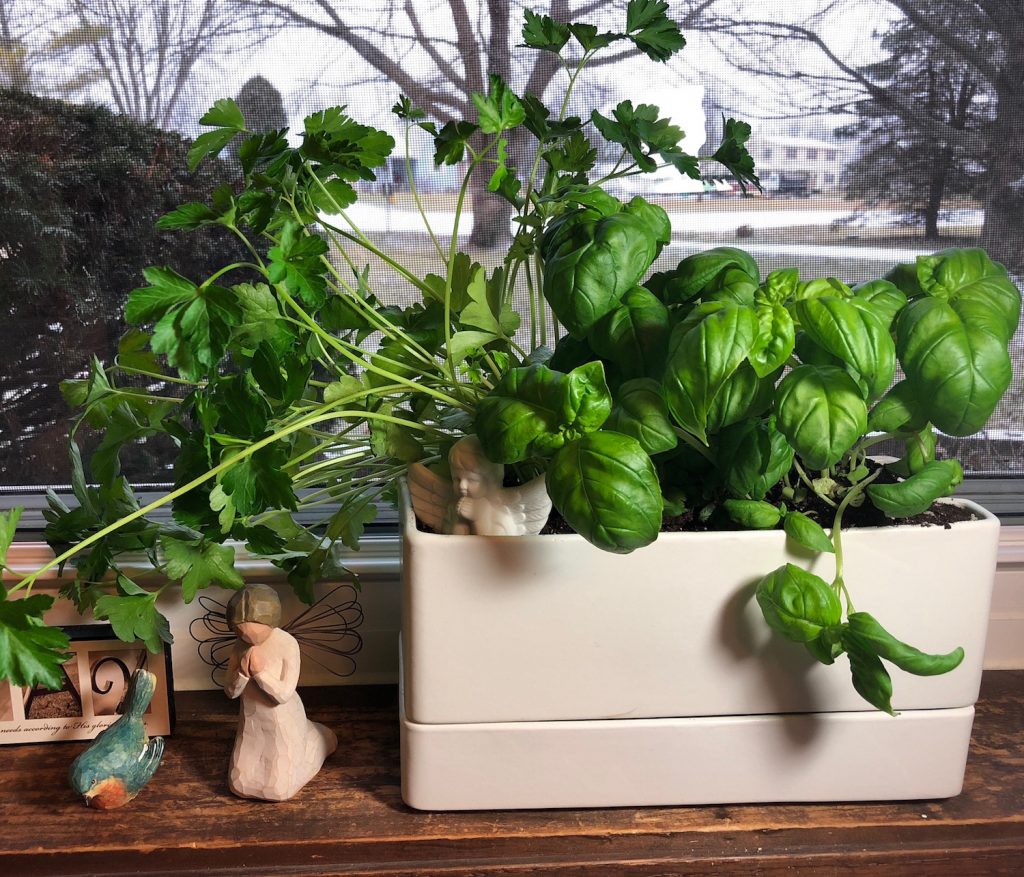
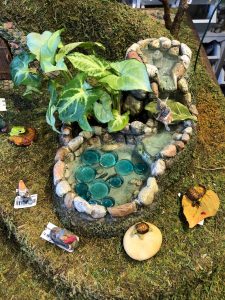
I walked in and wandered around taking my time soaking in the bursts of color and scent, enjoying the display of fairy gardens, succulent gardens, air plants, houseplants, and a small selection of herbs. I had been hoping (unrealistically) to find a lavender plant, but the herbs in stock were of the more culinary variety: basil, sage, oregano, parsley, and mint. I decided on basil and parsley.

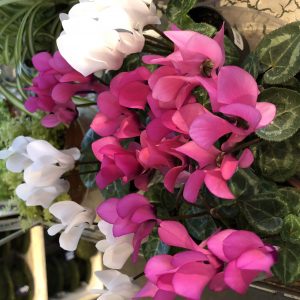
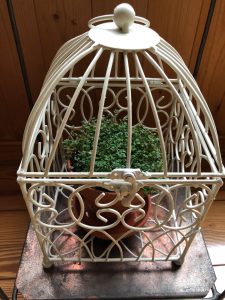
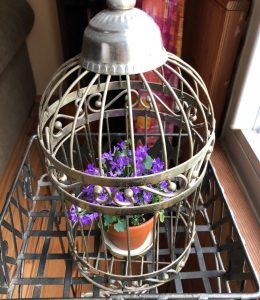
Of course I couldn’t stop there. I also chose a pot of baby tears and a tiny purple blooming plant called campanula, because I really wanted a pop of color too. I could just picture them inside two bird cages I found last summer at a garage sale. One has been sitting empty on the shelf, and the other is filled with a few tired twine balls. Time to breathe some life into them.

I gathered my plants and materials, paid for them, and headed home.

Wow. The planter, which looked so big in the store, looks small next to the two healthy herbs. I really need a bigger planter, but I decide to use it anyway. I can replant them outside this spring. I pot up my herbs and water them and add just a bit of water to the reservoir. For now I’ll set this on the windowsill in my office. I love the life and aroma it adds while I’m working.

Indoor House Plants

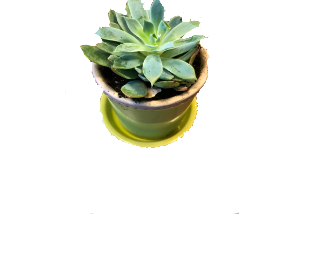
Here’s pictures of the other plants too. The baby tears and campanula are happily perched in their bird cages in front of the large picture window in my living room. And a mini succulent plant I bought a few weeks ago at the botanical garden in St. Louis is on my desk in its happy green pot.

I think I have enough greenery now to get me through to planting season. How about you? Do you have any indoor plants or gardens? Share what you do to get your garden fix during the winter months.

Botanically Me,


SaveSave

SaveSave

SaveSave

SaveSave

SaveSave

SaveSave

SaveSave

SaveSave


From Garden to Table: 4 Ways to Use Nasturtium

Have you looked out the window at your garden lately? The beginning of August is prime garden season in Indiana where I am. Most of the plants that l planted back in April and May are growing like mad. It’s time to start reaping the benefits of these beautiful blooms. Where to start?

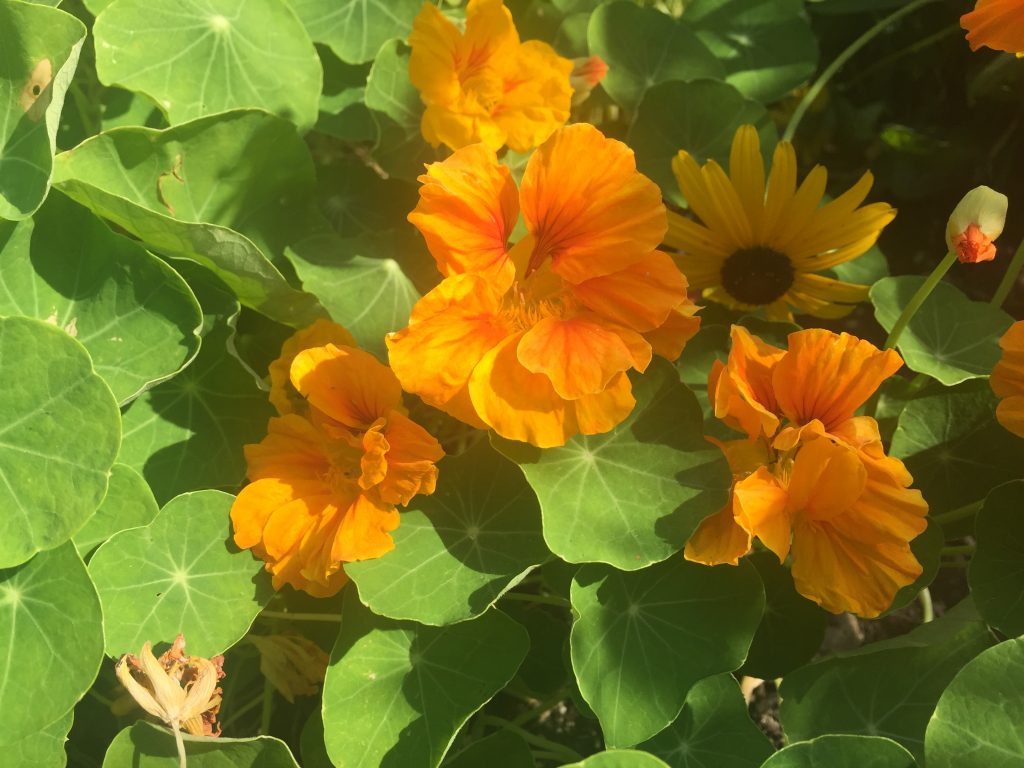
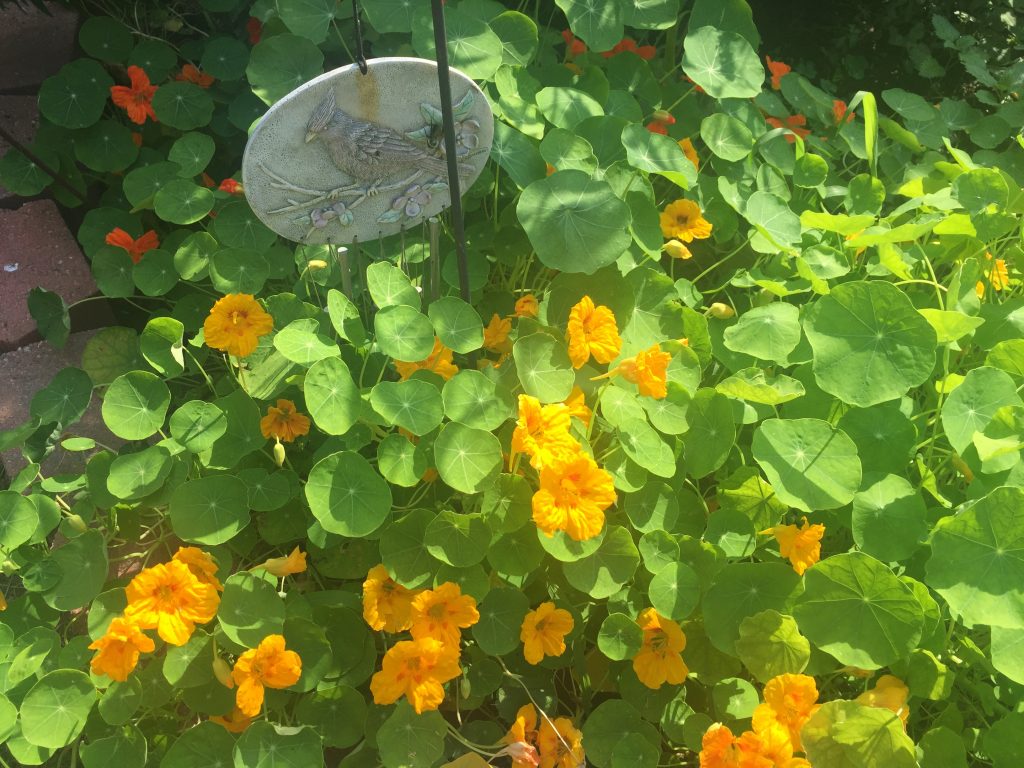
Nasturtiums spreading joyfully through the garden

For me, I’m starting with my nasturtiums.

From just three or four plants I planted this spring, I’ve got a bumper crop of nasturtiums. If you’ve not planted them before, they spread like crazy and happily fill in the blank places in your garden. They’re a low-maintenance, high-enjoyment type of plant. Let’s look at some ways I like to use them at my house.

Arrange them in a Vase

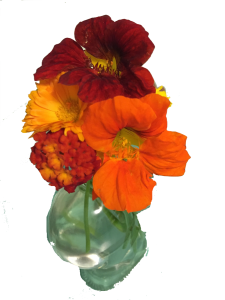
I love to snip several stems of nasturtiums, tie them together, add water, and put them in a pretty little vase. It doesn’t get much simpler than that. But simple doesn’t mean boring. They certainly pack a punch of color and scent. I adore the smell of nasturtiums. They’re a close second to the scent of roses. When you walk by a patch basking in the summer sun, you can’t help but be enveloped in their warm, sweet aroma. And even a small display in your home will infuse your room with their lovely scent for a few days.


Add them to your Salad

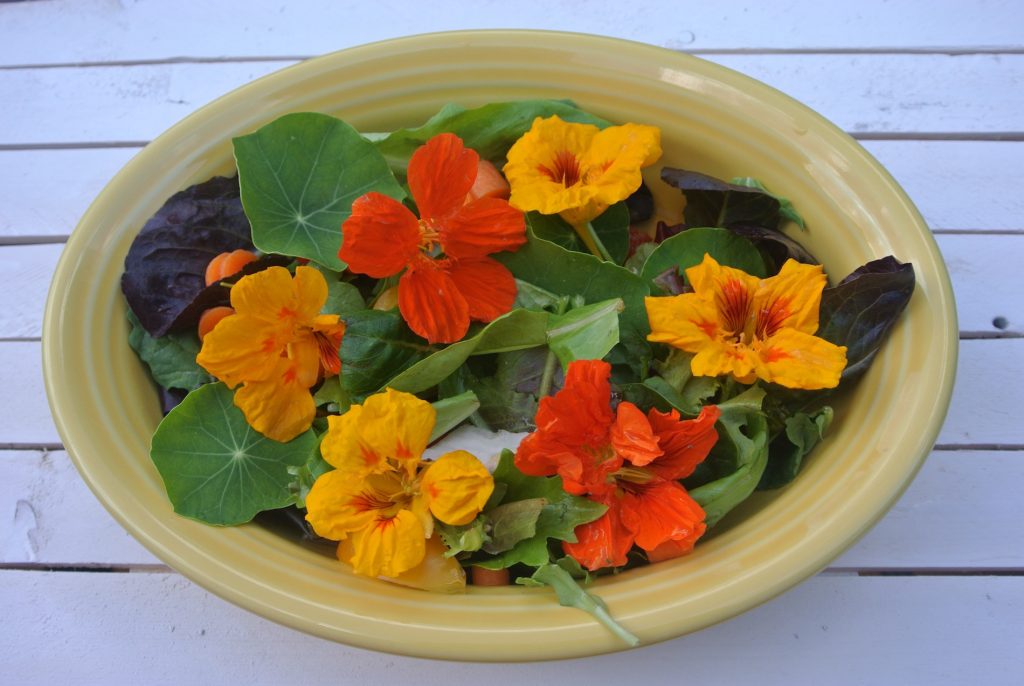
Both the flowers and the leaves of nasturtiums are edible and high in Vitamin C. Snip the mild-peppery flavored leaves into smaller pieces and toss them in with other salad greens. The flowers are tasty too and make a beautiful display in your salad. I purchased a bottle of violet balsamic vinegar from a specialty shop, and I splash that over the top of the salad along with EVOO (extra virgin olive oil). Use about twice as much EVOO as vinegar. It tastes divine!


Make a Roll-up with the Leaves

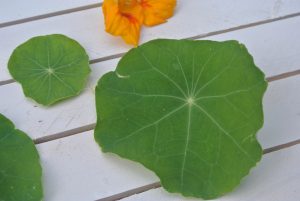
Nasturtium leaves can grow as large as the palm of your hand, so they make an excellent roll-up for cheese spreads, tuna, egg, or chicken salad, and the like. Simply spread the leaf with the

filling of your choice (I love dill-flavored cream cheese), add any other filling you desire such as shaved turkey or ham, roll up, and secure with a toothpick. Arrange on a plate and drizzle your favorite type of dressing over the top. To really make it shine, add a few nasturtium flowers to the plate.


Recipe from Phyllis Shaudys The Pleasure of Herbs

My very first herb book that I ever purchased was The Pleasure of Herbs by Phyllis Shaudys, and it is still my favorite. I bought my copy in the 1980s and it is packed with recipes and projects. I found this recipe for Nasturtium Salad, which she adapted from the Herb Society of Greater Cincinnati in the August chapter, and I’ve adapted by adding lettuce and other vegetables.

Nasturtium Salad
Author: Phyllis Shaudys
Cuisine: salad
Serves: 4 servings
 

Ingredients
  • 1 cucumber
  • 1 cucumber
  • 12 small nasturtium leaves
  • 12 small nasturtium leaves
  • ½ tsp. Dry mustard
  • ½ tsp. Dry mustard
  • 2 Tbsp. Wine vinegar
  • 2 Tbsp. Wine vinegar
  • 6 Tbsp. Salad oil
  • 6 Tbsp. Salad oil
  • Salt, freshly ground pepper to taste
  • Salt, freshly ground pepper to taste
  • 2 Tbsp. Chopped fresh tarragon
  • 2 Tbsp. Chopped fresh tarragon
  • 6 Nasturtium flowers with leaves

Instructions
  1. Peel and slice cucumbers thinly. Wash cherry tomatoes, red pepper, mesclun leaves. Wash nasturtium leaves; remove stems and drain. Mix well in blender the remaining ingredients except for the flowers with leaves. When ready to serve, combine the cucumbers, small nasturtium leaves, mesclun, tomatoes, pepper strips and the dressing and toss gently. Garnish with the flowers with leaves.

#version#

Now it’s your turn. If you don’t have nasturtiums in your garden, choose something else and delight yourself in the botanical goodness that’s right our your back door. Leave a comment as to what you’re harvesting today!

Botanically me,

SaveSave

SaveSave

SaveSave

SaveSave